
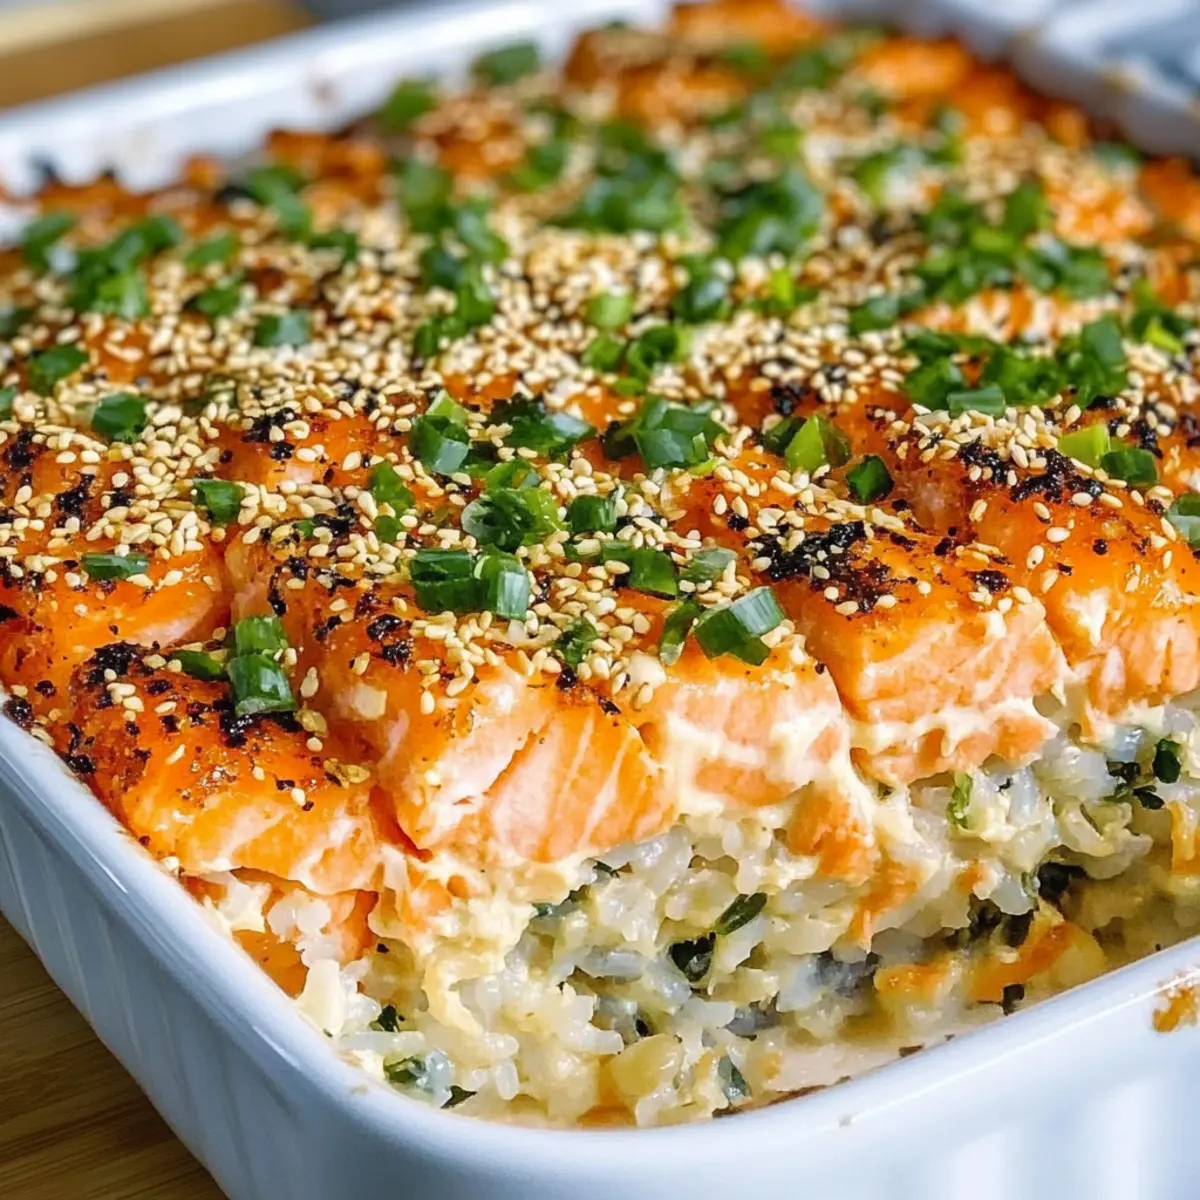
As I dug into dinner prep one evening, I couldn’t help but feel a tickle of excitement when I decided to bring a twist to our usual menu. Voila! The Deconstructed Salmon Sushi Bake was born—a delightful fusion that captures the essence of sushi without the fuss of rolling each piece! This scrumptious casserole features a creamy, slightly spicy interior and crispy edges that make each slice a joy to savor. With its quick prep time, this dish is perfect for busy weeknights, yet it’s also potluck-friendly, designed to impress your friends and family. So, get ready to transform the way you think about sushi—what variations are you eager to try?
Why Try This Salmon Sushi Bake?
Simplicity: No need for rolling sushi here! This dish is a user-friendly casserole that makes sushi accessible to everyone, even beginners.
Flavor Fusion: With bold flavors from Kewpie mayo, sriracha, and fresh salmon, this recipe harmonizes deliciously without feeling overwhelming.
Versatile Options: Choose your adventure—from a classic Spicy Crab Version to intriguing Poke Bowl Inspired delights. The possibilities are endless!
Crowd-Pleasing Appeal: Perfect for potlucks, this dish is a guaranteed hit! It’s easy to whip up and share, and everyone will want the recipe.
Meal Prep Friendly: Prepare it ahead of time and bake fresh before serving. This makes it an optimal choice for busy weeknights or entertaining.
Pair it with a refreshing cucumber salad for an amazing contrast! Want more quick and satisfying ideas? Check out my Dump Bake Chicken or Cheese Veggie Bake for more easy meals.
Salmon Sushi Bake Ingredients
• Dive into the delightful flavors with this Salmon Sushi Bake!
For the Rice
- Sushi Rice – Base of the dish, providing the perfect texture. Note: Use short-grain sushi rice for ideal results.
- Rice Vinegar – Adds a tangy acidity to balance the dish’s richness. Can substitute with apple cider vinegar if needed.
- Sugar – Enhances the subtle sweetness in the rice. Can reduce or replace with honey for a healthier option.
- Salt – Essential for giving your rice flavor.
- Toasted Sesame Oil – Infuses a nutty element. Regular sesame oil can be used instead, if preferred.
- Mirin – Sweet cooking wine that elevates the rice flavor. A mix of sugar and water can replace it if absent.
For the Salmon Mixture
- Cooked Salmon (flaked) – Provides a rich, savory depth to the bake.
- Cream Cheese – Adds creaminess and richness. Opt for Neufchâtel for a lighter version.
- Kewpie Mayo – Brings a unique flavor and creamy texture. Regular mayo can be used, though the taste will differ.
- Sriracha – Adds that tantalizing spicy kick. Adjust the amount to suit your heat preference.
- Low-Sodium Soy Sauce – Enhances the umami without excess salt.
- Garlic Powder – An aromatic flavor powerhouse.
- Green Onions (chopped) – Introduces a burst of freshness and crunch.
For the Toppings
- Furikake Seasoning – Japanese rice seasoning that contributes incredible flavor and texture.
- Sesame Seeds – Adds crunch and decorative flair.
- Nori Sheets – Perfect for scooping up servings of this delectable dish.
Get ready to enjoy a warm, comforting meal that’s as delightful to make as it is to eat!
Step‑by‑Step Instructions for Salmon Sushi Bake
Step 1: Prep the Sushi Rice
Begin by rinsing 2 cups of sushi rice under cold water until the water runs clear. Cook the rice according to package instructions, typically in a rice cooker or on the stovetop. Once cooked, transfer the rice to a large bowl and gently mix in 1/4 cup of rice vinegar, 1 tablespoon of sugar, 1 teaspoon of salt, and 1 tablespoon of toasted sesame oil. Allow the rice to cool to room temperature for easy handling.
Step 2: Prepare the Salmon Mixture
In a mixing bowl, combine 8 ounces of softened cream cheese, 1/2 cup of Kewpie mayo, 2 tablespoons of sriracha, 2 tablespoons of low-sodium soy sauce, 1 teaspoon of garlic powder, and 2 cups of flaked, cooked salmon. Add 1/4 cup of chopped green onions to the mixture. Stir well until everything is fully incorporated, and the mixture has a creamy consistency. This flavorful filling will bring the Salmon Sushi Bake to life.
Step 3: Assemble the Layers
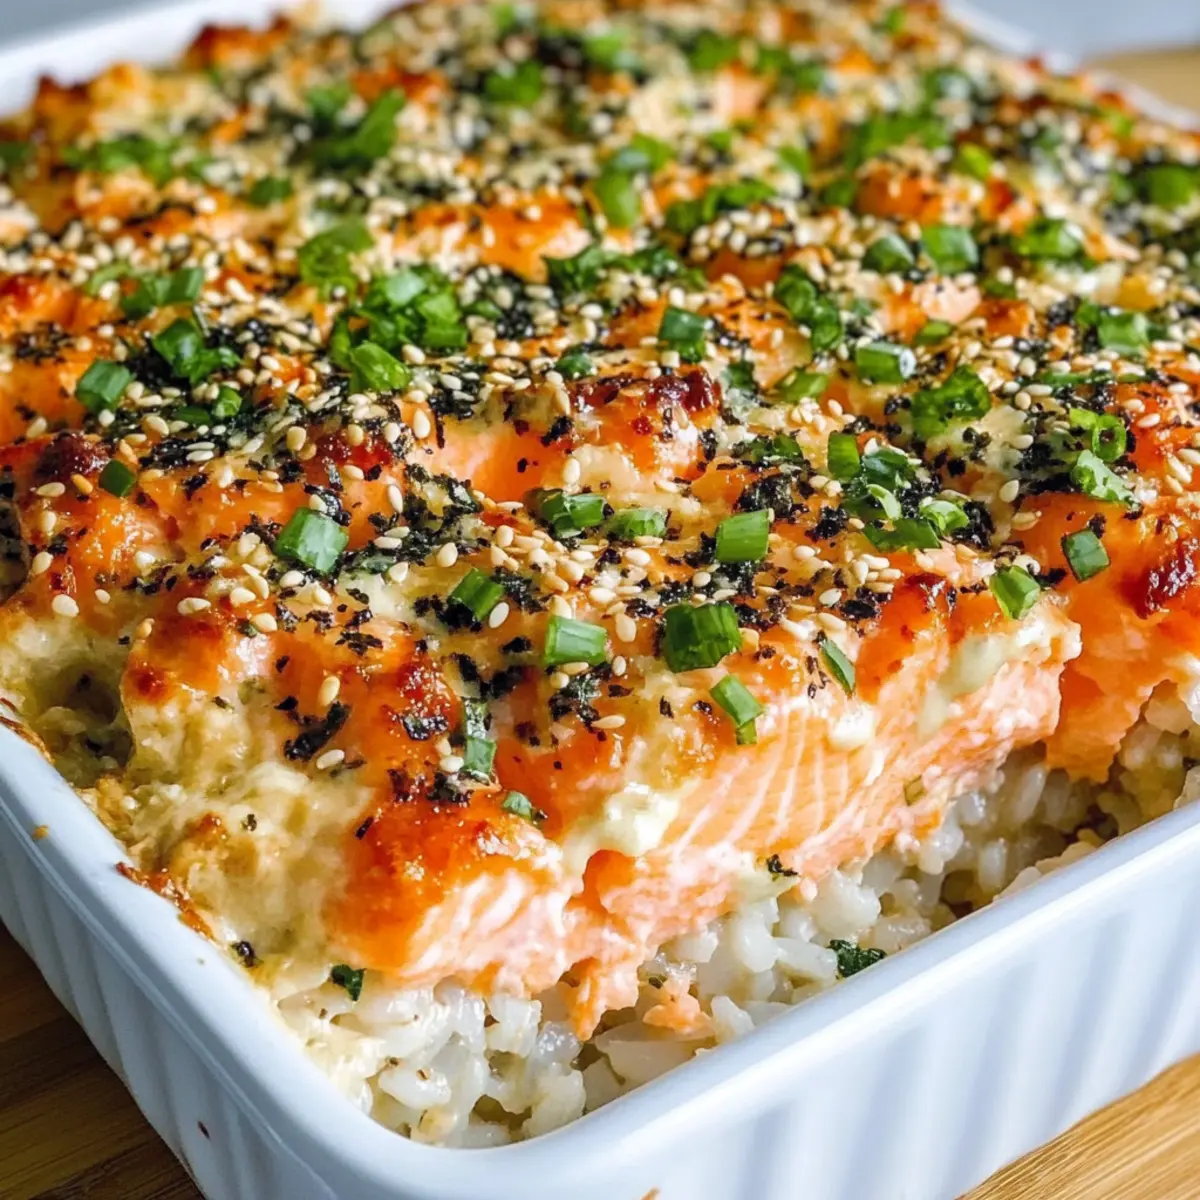
Take a greased 9×13 inch baking dish and evenly press the cooled sushi rice into the bottom, forming a smooth layer. Next, spread the salmon mixture over the rice, ensuring it’s applied evenly to cover the surface completely. Use a spatula to create a flat, even layer, setting the stage for a delightful texture in your Salmon Sushi Bake.
Step 4: Add Toppings
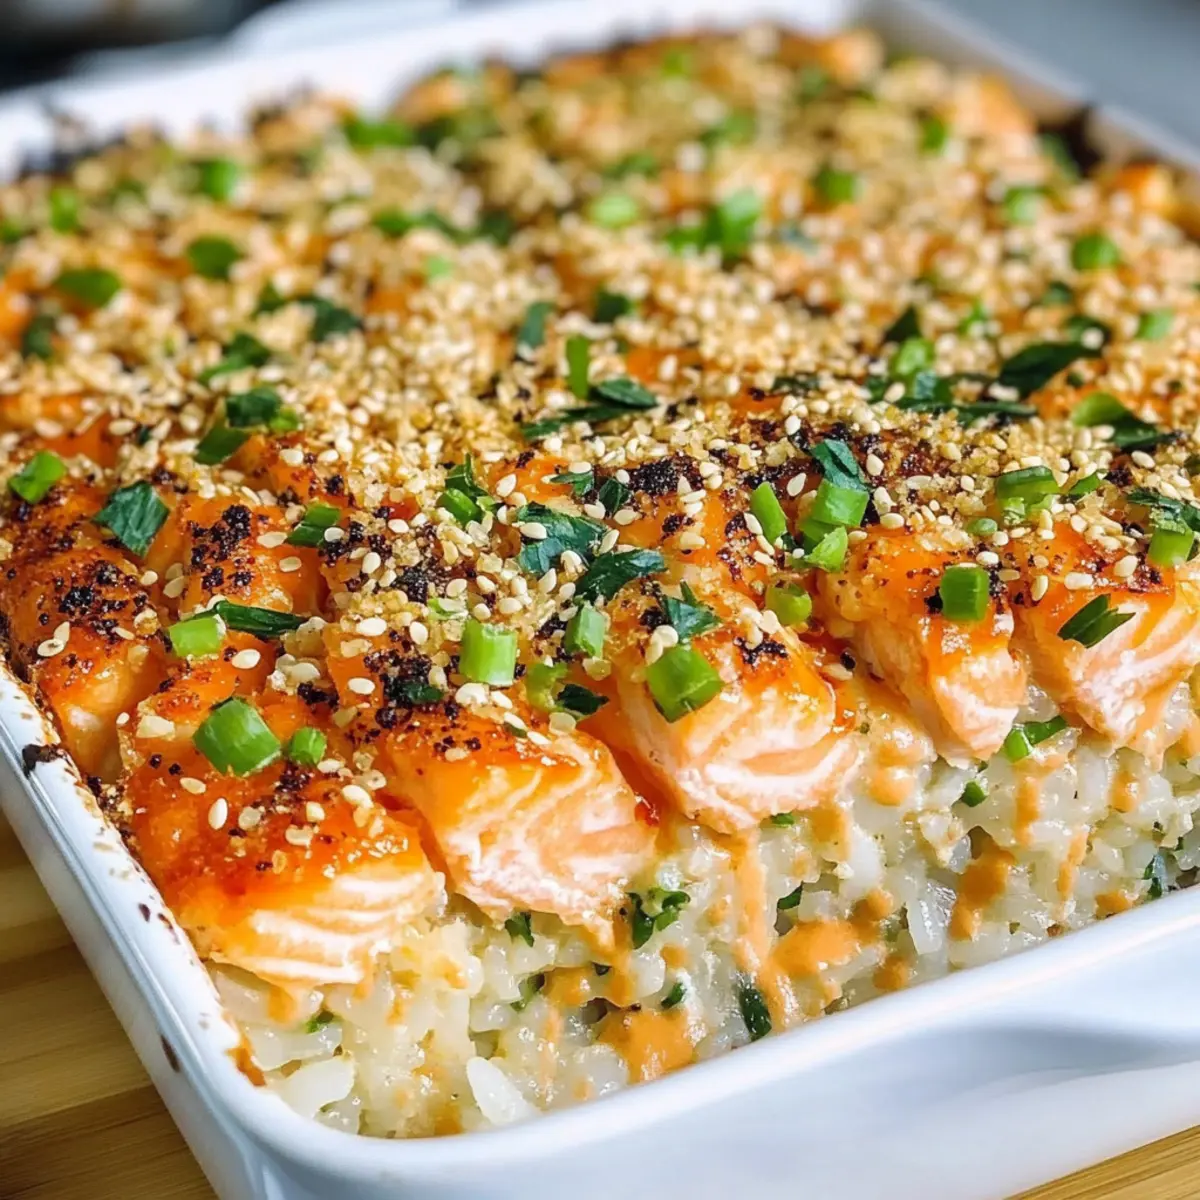
Drizzle your desired amount of spicy mayo over the top layer of the salmon mixture for added flavor. Then, sprinkle a generous amount of furikake seasoning and sesame seeds all over the top. These toppings not only enhance flavor but also add a beautiful finish to your Salmon Sushi Bake for that appealing presentation.
Step 5: Bake the Casserole
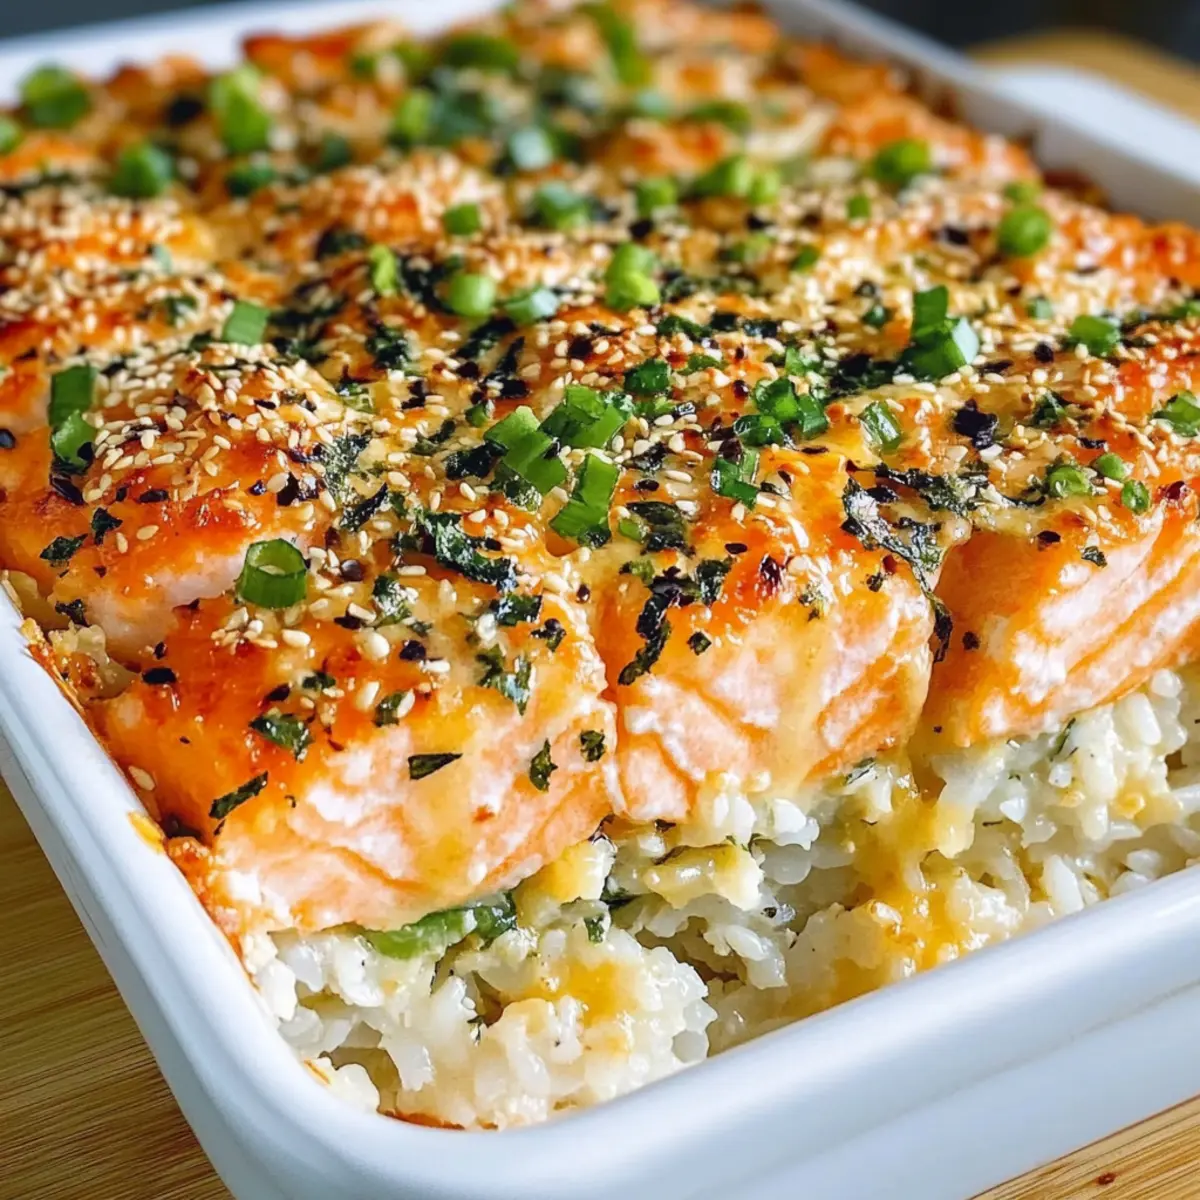
Preheat your oven to 375°F (190°C) and once ready, place the baking dish inside. Bake for 25–30 minutes or until the top is deliciously golden brown and bubbly. Keep an eye on the dish during the last few minutes of baking, as the visual cue of bubbling edges indicates it’s ready to come out.
Step 6: Cool and Serve
Once out of the oven, let your Salmon Sushi Bake sit for about 5 minutes before slicing. This resting period helps the layers set, making it easier to serve. Pair it with cut nori sheets on the side, allowing everyone to scoop up their portions and enjoy this delightful, fuss-free take on sushi!
How to Store and Freeze Salmon Sushi Bake
Fridge: Store leftovers in an airtight container for up to 3-4 days. This helps maintain the freshness and flavors of your Salmon Sushi Bake.
Freezer: For longer storage, freeze the baked casserole after it has cooled completely. Wrap it tightly in plastic wrap and then in aluminum foil for up to 2 months.
Reheating: To reheat, thaw overnight in the fridge. Warm in the oven at 350°F (175°C) for about 15-20 minutes, until heated through.
Make-Ahead Tips: Unbaked layers can be prepared in advance and refrigerated. Just assemble and bake fresh when ready to serve, saving time on busy days!
Expert Tips for Salmon Sushi Bake
-
Use the Right Rice: Choose short-grain sushi rice for the perfect texture; other types may yield a gummy or dry result.
-
Cool Before Layering: Allow the sushi rice to cool fully before pressing it into the dish. This prevents a gummy base and ensures crisp edges.
-
Check Baking Time: Keep an eye on the baking time. Overbaking can result in dryness, so aim for a golden top, not burnt.
-
Customize Your Spices: Adjust the sriracha based on your preferred spice level. Too much can overpower the delicate salmon flavor in the Salmon Sushi Bake.
-
Serve Fresh: Always serve hot and fresh for the best experience; if leftovers occur, store them in the fridge and consume within 3-4 days.
Salmon Sushi Bake Variations & Substitutions
Feel free to get creative with this scrumptious dish and make it your own!
-
Spicy Crab: Swap out salmon for fresh crab meat for a delightful twist. This variation is bursting with ocean flavor!
-
California Roll Style: Incorporate diced avocado and cucumber for that classic California roll feel. It adds a refreshing crunch and creamy texture that’s irresistible.
-
Spicy Tuna Twist: Replace the salmon with spicy tuna tartare for a hot and zesty kick. This adds an exciting kick to the dish, perfect for spice lovers!
-
Poke Bowl Inspired: Serve over a bed of mixed greens with your favorite poke bowl toppings like edamame and pickled ginger. It’s a light, vibrant version that’s loaded with freshness.
-
Vegetarian Friendly: Substitute cooked salmon with roasted veggies such as zucchini, carrots, and bell peppers. It’s colorful and full of flavor while being a fabulous choice for veggie lovers!
-
Quinoa Base: For a healthier alternative, use quinoa instead of sushi rice. This swap adds a nutty flavor and a protein boost to the dish, making it even more satisfying.
-
Low-Carb Option: Opt for cauliflower rice to lower carbs while still enjoying that sushi essence. It’s an excellent way to stay on track without sacrificing flavor!
-
Extra Heat: Add sliced jalapeños or a dash of chili flakes to your salmon mixture for a flavorful heat boost. Customize the spice level to your taste for the perfect kick!
Experiment with these ideas to create a version of the Salmon Sushi Bake that speaks to your palate. And if you’re looking for more delightful casseroles, don’t miss my Baked Italian Sub or Cheese Veggie Bake; they’re sure to become new favorites!
Make Ahead Options
These Deconstructed Salmon Sushi Bake layers are perfect for meal prep, making dinner a breeze on busy nights! You can prepare the sushi rice and salmon mixture up to 24 hours in advance. Simply store each component in airtight containers in the fridge to keep them fresh. While the rice cools, mix your salmon filling and then layer it as instructed in the baking dish. Cover it tightly with plastic wrap or aluminum foil before refrigerating. When you’re ready to serve, just preheat your oven and bake the assembled dish according to the instructions, adding a few extra minutes if it’s going in cold. This way, you’ll enjoy the same incredible flavors with minimal effort!
What to Serve with Deconstructed Salmon Sushi Bake
Elevate your mealtime experience by pairing this delightful sushi-inspired dish with vibrant sides and refreshing drinks.
-
Cucumber Salad: A refreshing crunch that adds a cool balance to the warm, creamy bake.
-
Seaweed Salad: Light and slightly salty, it complements the rich flavors of the sushi bake beautifully.
-
Edamame: These steamed green soybeans offer a satisfying pop of freshness and is a lovely finger food to enjoy with the main dish.
-
Miso Soup: The warm, savory broth provides a comforting contrast and deepens the Asian-inspired dining experience.
-
Pickled Ginger: A tangy bite that cleanses the palate, making each mouthful of salmon sushi bake even more enjoyable.
-
Sake: Perfectly harmonious, this traditional Japanese rice wine enhances the flavors of your dish while adding an element of festivity.
-
Matcha Green Tea: This delicately earthy drink pairs beautifully, offering a calming conclusion to your meal.
-
Fruit Sorbet: A light and refreshing dessert that cleanses the palate after the savory salmon sushi bake.
Try these pairings for a stunningly memorable meal that will leave your guests delighted!
Salmon Sushi Bake Recipe FAQs
How do I choose the right sushi rice for this recipe?
Absolutely! It’s essential to use short-grain sushi rice for the best texture in your Salmon Sushi Bake. Look for rice marked as sushi rice, or glutinous rice. This type of rice becomes sticky when cooked, helping to hold the dish together beautifully.
What is the best way to store leftover Salmon Sushi Bake?
Store your leftover Salmon Sushi Bake in an airtight container in the refrigerator for 3-4 days. Make sure to let it cool completely before sealing. This method keeps it fresh while maintaining its flavors and textures.
Can I freeze the Salmon Sushi Bake?
Yes, you can freeze your Salmon Sushi Bake! First, let it cool completely. Then wrap it tightly in plastic wrap and again in aluminum foil. This keeps it fresh for up to 2 months. When you’re ready to enjoy it again, thaw overnight in the fridge and reheat at 350°F (175°C) for about 15-20 minutes.
What should I do if my bake turns out soggy?
To avoid a soggy Salmon Sushi Bake, ensure your sushi rice is fully cooled before layering it in the dish, and watch the baking time closely. If it does turn out soggy, you can try serving it with a sprinkle of furikake and fresh green onions on top to add texture; it won’t be perfect, but it will still be tasty!
What are some dietary considerations for this recipe?
When preparing your Salmon Sushi Bake, be mindful of dietary restrictions. The dish contains fish and dairy, so substitute cream cheese with a plant-based version if you’re aiming for a vegan option. Additionally, check for soy allergies if using low-sodium soy sauce; coconut aminos could serve as a great alternative.
Can I use fresh salmon instead of cooked salmon?
Very! If you’re using fresh salmon, it’s best to poach or bake it first before flaking, as raw fish isn’t safe for this bake. Lightly seasoning and cooking the salmon will add delicious flavor while keeping the dish safe for consumption. Enjoy experimenting with this flexible recipe!
Savory Salmon Sushi Bake: Simple, Delicious, and Fun to Make
Ingredients
Equipment
Method
- Begin by rinsing 2 cups of sushi rice under cold water until the water runs clear. Cook the rice according to package instructions. Once cooked, transfer to a bowl and mix in 1/4 cup rice vinegar, 1 tablespoon sugar, 1 teaspoon salt, and 1 tablespoon toasted sesame oil. Allow to cool.
- In a mixing bowl, combine 8 ounces of softened cream cheese, 1/2 cup of Kewpie mayo, 2 tablespoons sriracha, 2 tablespoons low-sodium soy sauce, 1 teaspoon garlic powder, and 2 cups flaked cooked salmon. Add 1/4 cup chopped green onions, and stir well until creamy.
- Press the cooled sushi rice into the bottom of a greased 9x13 inch baking dish, forming an even layer. Spread the salmon mixture over the rice, ensuring it's applied evenly.
- Drizzle spicy mayo over the salmon mixture, then sprinkle a generous amount of furikake seasoning and sesame seeds on top.
- Preheat oven to 375°F (190°C). Bake for 25–30 minutes or until the top is golden brown and bubbly.
- Let your Salmon Sushi Bake sit for about 5 minutes before slicing for easier serving. Serve with cut nori sheets on the side.
Leave a Reply