
The moment I unwrapped the fragrant layers of my Pistachio Mascarpone Layer Cake, I was transported to a sun-soaked café in the Middle East, savoring every creamy bite. This elegant dessert not only dazzles with its vibrant green hues but also brings a delightful harmony of flavors, blending nutty pistachios with silky mascarpone. Perfect for celebrations or cozy afternoons, this cake is surprisingly easy to make, inviting even novice bakers to dive in and impress. Plus, it offers fantastic flexibility with options for gluten-free and vegan adaptations, ensuring everyone at the table can indulge. Are you ready to elevate your dessert game and create a show-stopping centerpiece?
Why should you try this cake?
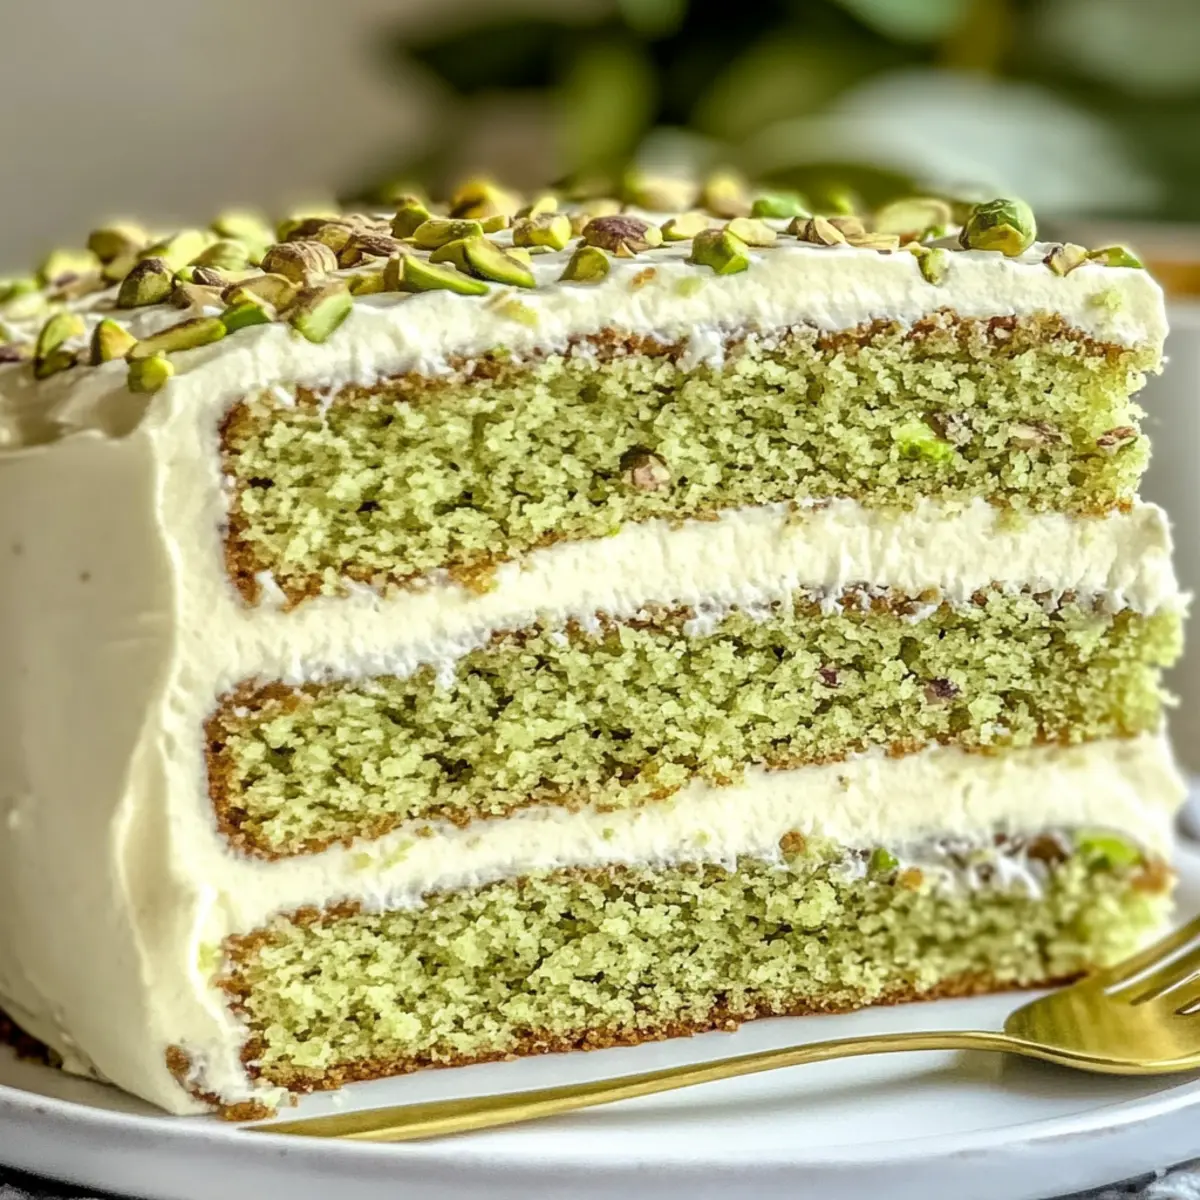
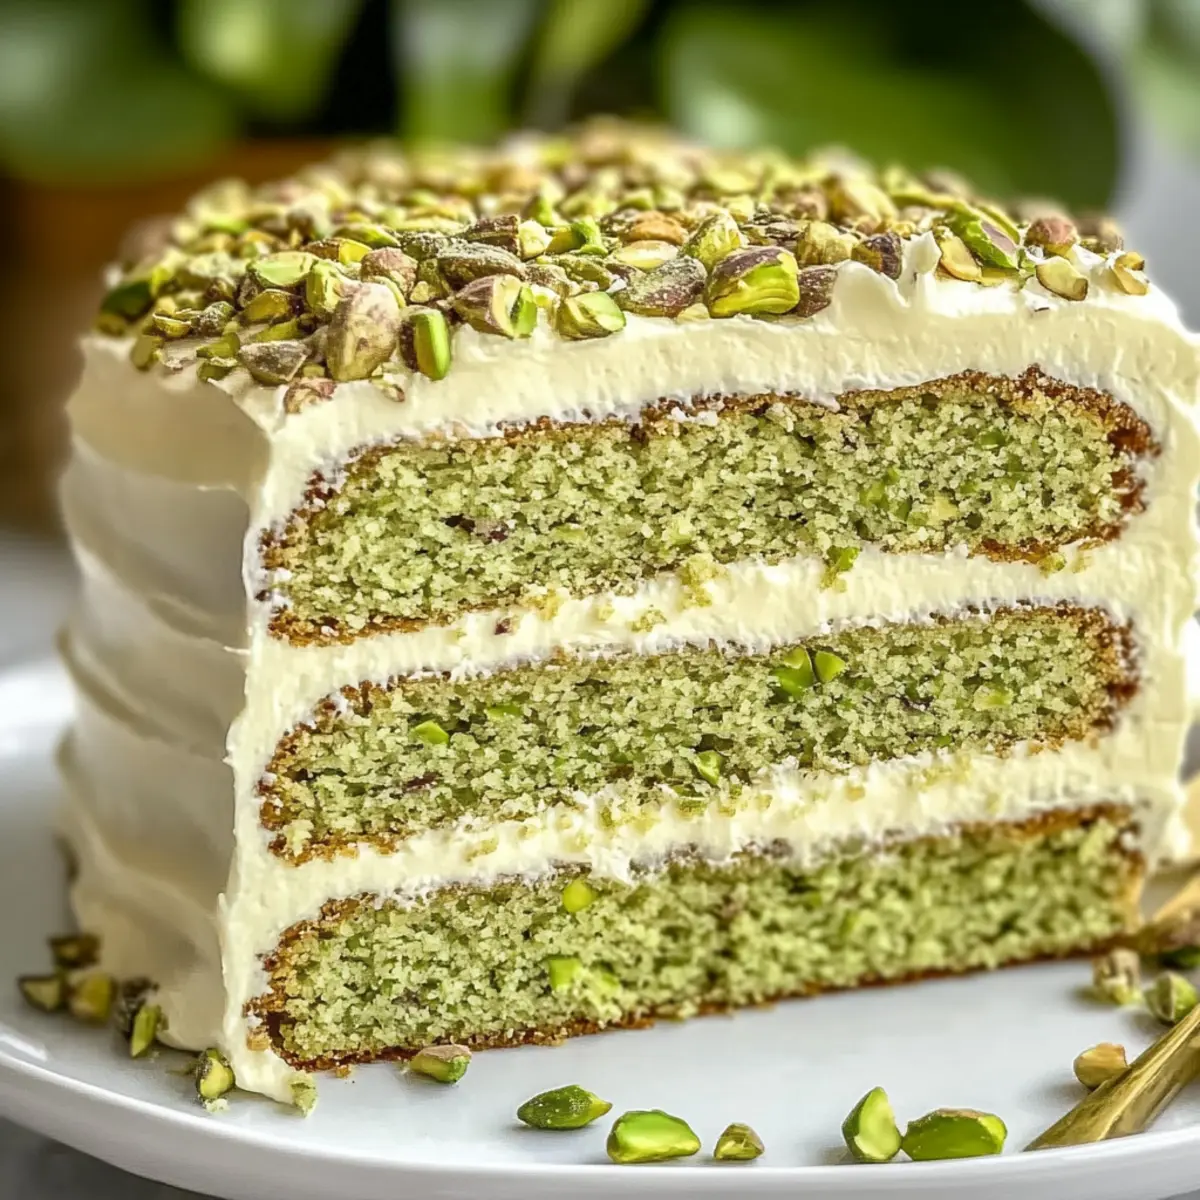
Impressive Visuals: The vibrant green layers of this cake make it a stunning showpiece for any celebration.
Rich, Creamy Texture: Every bite delivers a luscious mouthfeel, combining nutty pistachios with the smoothness of mascarpone cheese.
Easy Variations: With options for gluten-free and vegan adaptations, this dessert is inclusive and versatile for every guest.
Time-Saving Recipe: It’s surprisingly simple to prepare, allowing even novice bakers to craft a gourmet dessert that looks and tastes like it came from a fancy bakery.
Crowd-Pleasing Flavor: Perfect for birthdays, gatherings, or just a cozy afternoon, this cake ensures that everyone will rave about your baking skills. For more delightful recipes, check out my High Protein Pancake to keep your brunches exciting!
Pistachio Mascarpone Layer Cake Ingredients
For the Cake Base
• All-Purpose Flour – Provides structure to the cake. Substitution: Use a 1:1 gluten-free flour blend for the gluten-free option.
• Unsalted Butter – Adds richness and moisture. Ensure it’s softened for easy creaming.
• Granulated Sugar – Sweetens and contributes to the cake’s texture.
• Large Eggs – Binds ingredients and adds moisture. Use room temperature for better incorporation.
• Vanilla Extract – Enhances the flavor profile.
• Baking Powder & Baking Soda – Leavening agents that help the cake rise.
• Salt – Balances sweetness and enhances flavor.
For the Frosting
• Mascarpone Cheese – Provides creaminess and richness in the frosting.
• Heavy Cream – Adds stability and volume to the frosting.
• Powdered Sugar – Sweetens and thickens the frosting.
• Pistachio Extract – Intensifies the pistachio flavor in the frosting.
For the Garnish
• Pistachios – Main flavor ingredient, adds crunch. Use unsalted, roasted for the best flavor.
• Fresh Mint Leaves – For garnish; adds freshness and color.
This delightful Pistachio Mascarpone Layer Cake will not only impress with its aesthetics but also thrill with every creamy bite!
Step‑by‑Step Instructions for Pistachio Mascarpone Layer Cake
Step 1: Preheat and Prepare
Begin by preheating your oven to 350°F (175°C). While it warms up, grease and line three 9-inch round cake pans with parchment paper to prevent sticking. This preparation not only ensures an even bake but also makes for easy cake removal later.
Step 2: Creaming the Butter and Sugar
In a large mixing bowl, cream together the softened unsalted butter and granulated sugar using an electric mixer on medium speed. Beat for about 3-4 minutes until the mixture is light and fluffy, turning pale in color. This process incorporates air, resulting in a tender Pistachio Mascarpone Layer Cake.
Step 3: Incorporating the Eggs and Vanilla
Add the large eggs one at a time to the butter and sugar mixture, ensuring each egg is fully blended before adding the next. After incorporating all the eggs, mix in the vanilla extract until thoroughly combined. The batter should appear smooth and creamy, indicating it’s ready for the dry ingredients.
Step 4: Mixing the Dry Ingredients
In a separate bowl, whisk together the all-purpose flour, baking powder, baking soda, and salt. Gradually add this dry mixture to the wet ingredients, folding gently to combine. Be careful not to overmix—stop as soon as you see no flour streaks to keep your cake light and fluffy.
Step 5: Dividing and Baking the Batter
Evenly divide the cake batter among the prepared pans. Use a spatula to spread it out evenly, ensuring a uniform surface. Bake in your preheated oven for 25-30 minutes, or until a toothpick inserted into the center comes out clean. The cakes should be lightly golden on top when done.
Step 6: Cooling the Cakes
Once baked, remove the pans from the oven and let them cool in the pans for about 10 minutes. After this initial cooling, carefully transfer the cakes to a wire rack to cool completely. This step is crucial to avoid sogginess and allows for easier frosting later on.
Step 7: Making the Frosting
While the cakes cool, prepare the frosting. In a mixing bowl, beat heavy cream with an electric mixer until soft peaks form. Then, gently fold in the mascarpone cheese, pistachio extract, and powdered sugar. Beat just until the mixture is smooth and combined—be careful not to overwhip!
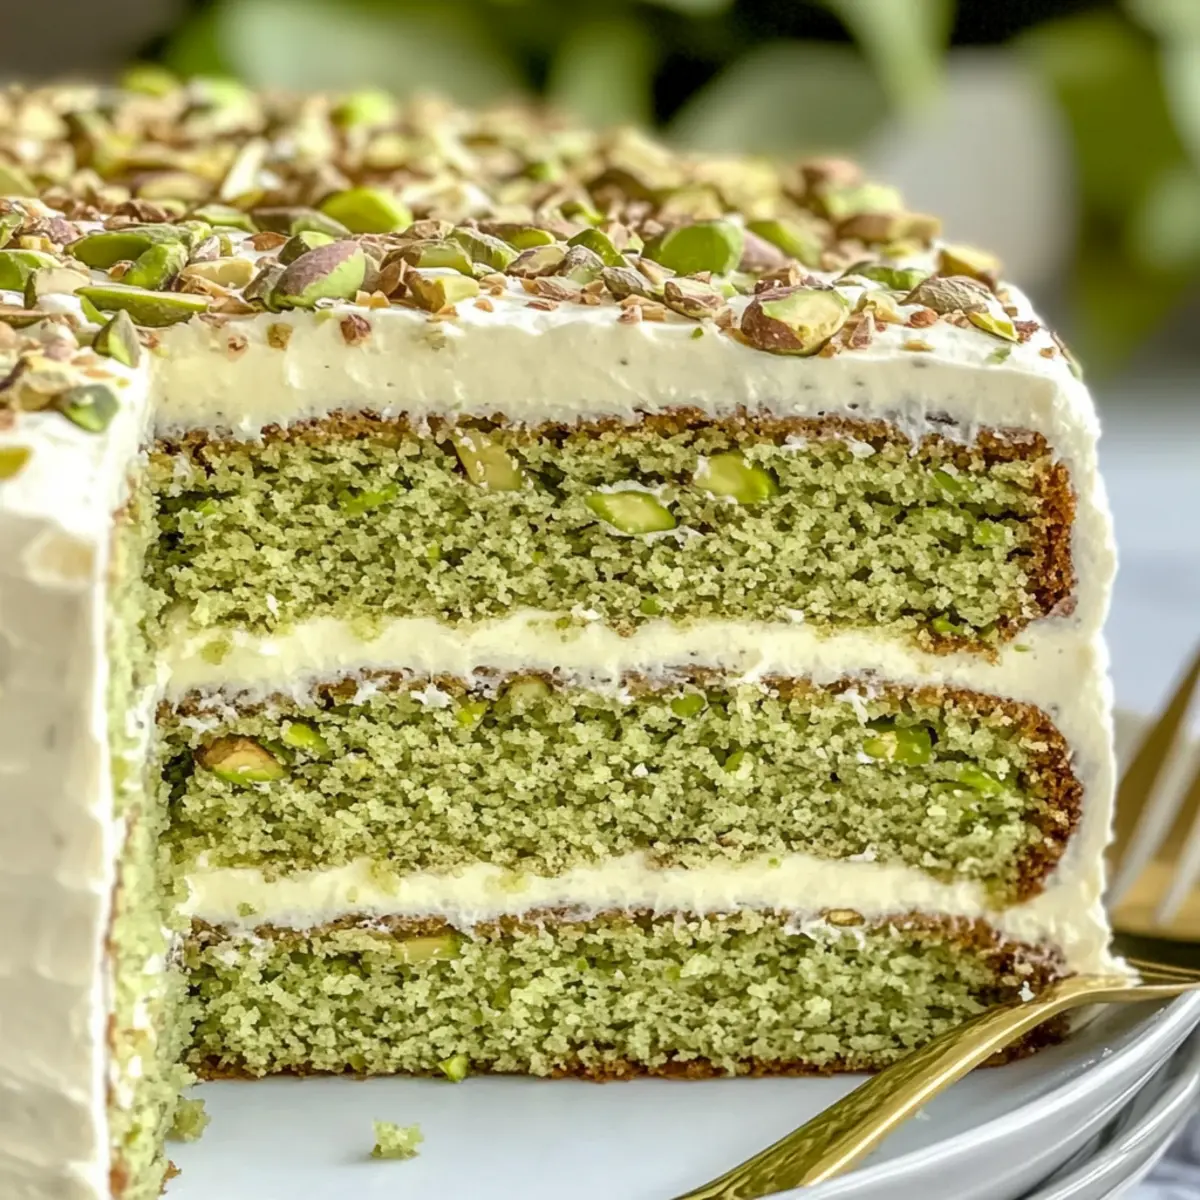
Step 8: Assembling the Cake
To assemble your Pistachio Mascarpone Layer Cake, place one cooled cake layer on a serving platter. Spread a generous layer of frosting on top, then carefully add the second cake layer and repeat the frosting process. Top with the final cake layer, then frost the top and sides generously.
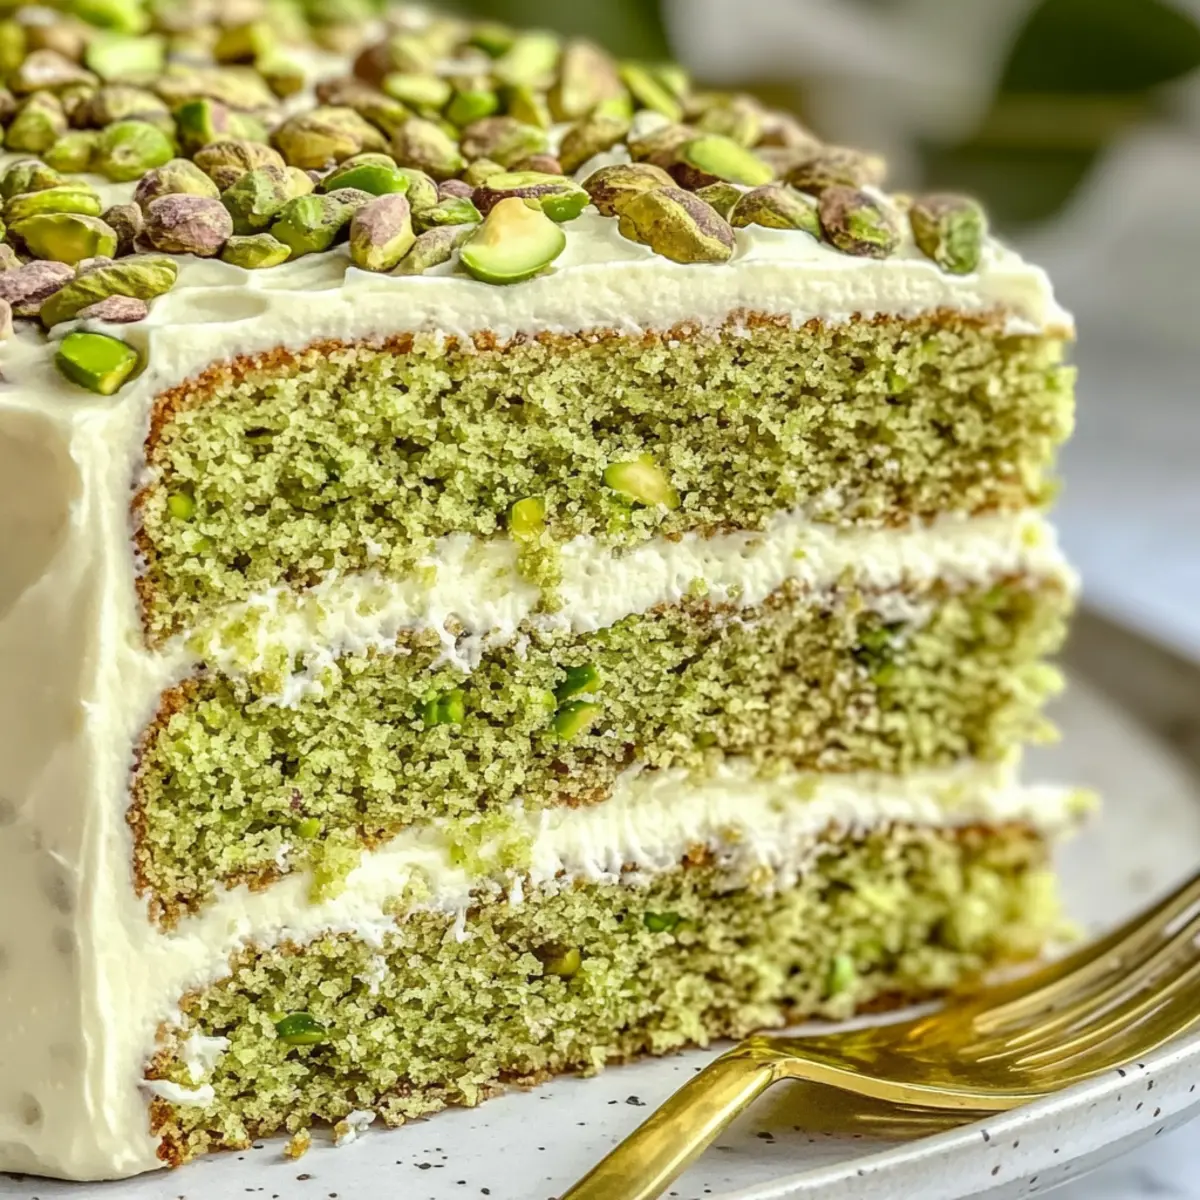
Step 9: Garnishing the Cake
For the finishing touch, sprinkle chopped pistachios over the top of the cake and around the base for a beautiful presentation. Add fresh mint leaves as a garnish to elevate both the visual appeal and flavor. Your Pistachio Mascarpone Layer Cake is now ready to shine at any gathering!
How to Store and Freeze Pistachio Mascarpone Layer Cake
Room Temperature: Keep the cake in an airtight container at room temperature for up to 2 days if you plan to serve it soon.
Fridge: Store the Pistachio Mascarpone Layer Cake in the refrigerator, covered, for up to 5 days. Allow it to come to room temperature before serving for optimal creaminess.
Freezer: For longer storage, freeze individual slices of the cake wrapped tightly in plastic wrap, then in foil, for up to 2 months. Thaw overnight in the refrigerator before enjoying.
Reheating: If desired, gently warm slices in the microwave for 10-15 seconds to soften the creamy frosting before serving.
Pistachio Mascarpone Layer Cake Variations
Let your culinary creativity shine with delightful twists on this stunning cake!
-
Gluten-Free: Swap all-purpose flour for a 1:1 gluten-free flour blend for a cake that is just as scrumptious. This subtle change ensures that everyone can indulge guilt-free.
-
Vegan Adaptation: Use flax eggs (1 tablespoon flaxseed meal + 2.5 tablespoons water) instead of large eggs and replace mascarpone with coconut cream for a wholly plant-based delight. You won’t miss the dairy one bit!
-
Almond Flavor Twist: Stir in 1 teaspoon of almond extract to the mascarpone frosting for a nutty aroma that beautifully complements the pistachios. The pairing creates a symphony of flavors that enhances every layer.
-
Citrus Zest Addition: Brighten the cake with the zest of one orange or lemon in the cake batter or frosting, adding a refreshing burst of flavor that dances on the palate. Citrus not only elevates taste but also adds a wonderful fragrance.
-
Chocolate Ganache Drizzle: Melt dark chocolate with a little heavy cream and drizzle it over the top to infuse rich, decadent notes into your cake. It’s like adding a luxurious chocolate cloak that enhances both flavor and presentation.
-
Nutty Crust: Create a crumb crust with ground pistachios mixed with melted butter as a base layer for the cake. This will lend a delightful crunch, making every slice a textural adventure.
-
Spiced Up: Introduce a pinch of cardamom or cinnamon to the cake batter for a warm, aromatic twist. These spices elevate the flavors to new heights, inviting your taste buds to explore.
-
Extra Crunch: Fold in some chopped pistachios into the batter for additional crunch that surprises with every bite. The extra texture enhances the overall experience and makes the most of your key ingredient.
Don’t forget to check out my scrumptious High Protein Pancake recipe for a wholesome breakfast option and consider adding a kick of flavor or adjusting textures for all of your favorite treats!
What to Serve with Pistachio Mascarpone Layer Cake
Delight in a truly memorable meal by pairing flavors that harmonize beautifully with each indulgent slice of cake.
-
Creamy Mashed Potatoes: The buttery richness can balance the cake’s sweetness, perfect for a hearty meal.
-
Roasted Vegetable Medley: A colorful mix of roasted carrots, zucchini, and bell peppers adds a refreshing crunch that beautifully contrasts with the cake’s creaminess.
-
Fresh Berries: A side of mixed berries brings a burst of acidity, enhancing the dessert experience while adding a pop of color to your plate.
-
Mint Tea: This fragrant, herbal drink complements the cake’s pistachio flavor while offering a soothing finish to your meal.
-
Almond Biscotti: Crunchy almond biscuits create a delightful bite. The nutty flavors echo the pistachios and provide a satisfying texture.
-
Chocolate Ganache: Drizzling a rich chocolate ganache on the plate before placing the cake can elevate the presentation and add an indulgent twist.
With these delightful accompaniments, your Pistachio Mascarpone Layer Cake will be the shining star of a beautifully crafted meal!
Make Ahead Options
The Pistachio Mascarpone Layer Cake is a wonderful choice for meal prep enthusiasts! You can bake the cake layers up to 3 days in advance; just let them cool completely, wrap each layer in plastic wrap, and refrigerate to maintain their moisture. For the frosting, prepare it up to 24 hours ahead and store it in an airtight container in the fridge. When you’re ready to assemble and serve, simply bring the cake layers to room temperature, layer them with the frosting, and garnish with pistachios and mint leaves. This way, you’ll enjoy a stunning, delicious dessert with minimal last-minute effort, impressing your guests with ease!
Helpful Tricks for Pistachio Mascarpone Layer Cake
-
Chill Layers: Chill each layer before adding frosting. This prevents sliding and helps achieve a neat finish as you layer the Pistachio Mascarpone Layer Cake.
-
Master the Levels: Use a serrated knife to carefully level the tops of the cakes, ensuring they stack evenly for a professional look.
-
Room Temp Ingredients: Allow eggs and butter to come to room temperature before mixing, which enhances texture and promotes even mixing in the Pistachio Mascarpone Layer Cake.
-
Keep a Close Eye: Begin checking your cake a few minutes before the suggested baking time. Ovens can vary, and you want to avoid overbaking for the best moisture.
-
Layering Frosting: For easier spreading, place frosting between layers while the cake is still cool but not chilled, allowing it to adhere better without slipping.
Pistachio Mascarpone Layer Cake Recipe FAQs
How do I choose ripe pistachios for the cake?
Absolutely! When selecting pistachios, look for ones that are plump and green with no dark spots or blemishes. Unsalted and roasted pistachios will provide the best flavor and texture for your cake.
What’s the best way to store leftovers?
For the best taste, keep the Pistachio Mascarpone Layer Cake in an airtight container at room temperature for up to 2 days. If you’d like to store it longer, refrigerate it in a covered container for up to 5 days. Be sure to let it come to room temperature before serving—this enhances the creaminess of the mascarpone frosting!
Can I freeze leftover cake?
Yes, you can! To freeze the Pistachio Mascarpone Layer Cake, slice it into individual portions and wrap each slice tightly in plastic wrap. Then, place the wrapped slices in a freezer bag or an airtight container, and you can enjoy them for up to 2 months. When you’re ready to eat, thaw overnight in the refrigerator or at room temperature.
What should I do if my cake layers are uneven?
Very! If your cake layers end up uneven, don’t worry! You can use a serrated knife to level the tops before frosting. Simply take your time and gently saw back and forth until the layers are flat, allowing for even stacking and a professional presentation.
Are there any dietary considerations with the ingredients?
Absolutely! For those with nut allergies, you can replace the pistachios with sunflower seeds or omit them altogether, while still achieving a lovely layer cake. If you’re adapting for vegans, don’t forget you can easily swap the eggs with flax eggs and use coconut cream in place of mascarpone, creating a delightful version for everyone to enjoy!
How do I avoid overwhipping the mascarpone?
It’s essential! When making the frosting, whip the heavy cream just until soft peaks form, then gently fold in the mascarpone and powdered sugar. Stop mixing as soon as it’s smooth and well-combined to maintain that desired creamy texture without turning it into butter.
Pistachio Mascarpone Layer Cake: A Luxurious Delight at Home
Ingredients
Equipment
Method
- Preheat your oven to 350°F (175°C). Grease and line three 9-inch round cake pans with parchment paper.
- In a large mixing bowl, cream together the softened unsalted butter and granulated sugar using an electric mixer on medium speed for about 3-4 minutes.
- Add the large eggs one at a time to the mixture, fully blending each egg before adding the next. Mix in the vanilla extract until thoroughly combined.
- In a separate bowl, whisk together the all-purpose flour, baking powder, baking soda, and salt. Gradually add this to the wet ingredients, folding gently to combine.
- Evenly divide the cake batter among the prepared pans and bake for 25-30 minutes, or until a toothpick inserted comes out clean.
- Remove the pans from the oven and let them cool for about 10 minutes before transferring the cakes to a wire rack to cool completely.
- While the cakes cool, prepare the frosting by beating heavy cream until soft peaks form and then folding in the mascarpone cheese, pistachio extract, and powdered sugar.
- To assemble the cake, place one cooled layer on a serving platter, spread frosting on top, add the second layer and repeat. Frost the final layer generously.
- Sprinkle chopped pistachios over the top and sides for presentation, and add fresh mint leaves to garnish.
Leave a Reply