
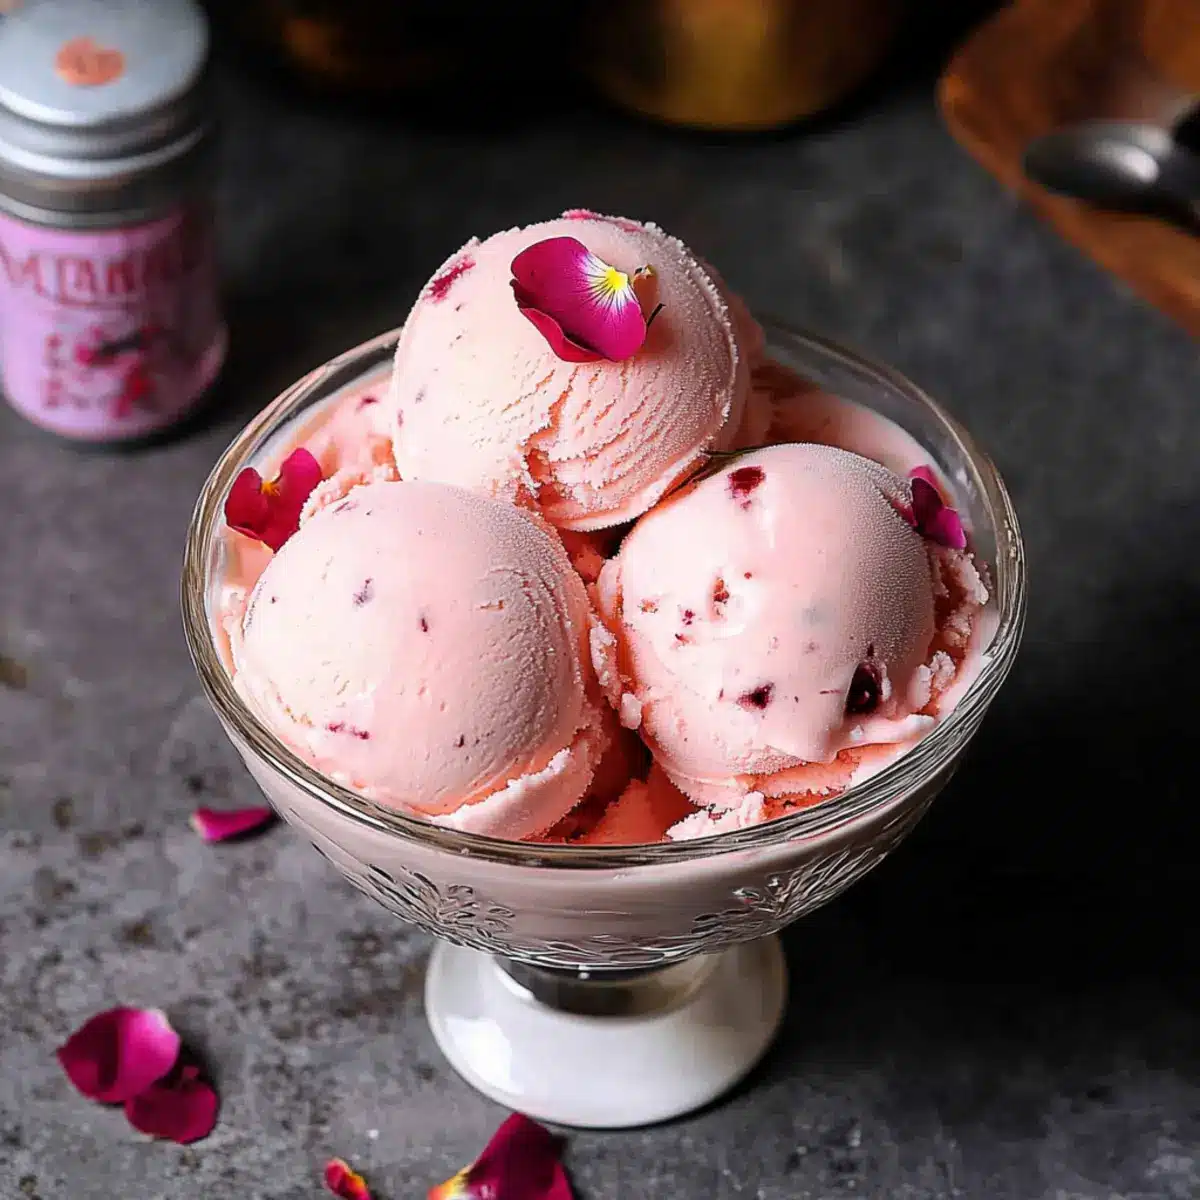
As I scooped the first creamy bite of Rose Ice Cream, a wave of nostalgia washed over me—each velvety spoonful reminded me of sunlit gardens bursting with floral splendor. This delightful dessert is not only gluten-free but also transforms ordinary moments into extraordinary ones. Infused with the delicate aroma of rose water, this elegant treat is surprisingly simple to make, allowing you to indulge without fuss. It adds a refreshing twist to classic summer desserts, perfect for warm evenings spent with loved ones or as a unique offering at your next gathering. How about taking a chance on this enchanting ice cream and discovering how it can elevate your dessert game?
Why is Rose Ice Cream so special?
Exotic Flavor: This ice cream is infused with high-quality rose water, delivering an elegant and distinctive taste that transports you to fragrant floral gardens.
Simple Yet Gourmet: With easy-to-follow steps, you can whip up this luxurious dessert at home without any culinary expertise required.
Perfect for Summer Gatherings: A delightful addition to any celebration, this creamy treat will have your guests raving about its unique flavors and vibrant color.
Customizable Variations: Want to add a twist? Try mixing in crushed pistachios or a drizzle of honey, making it a treat you can adapt to your liking.
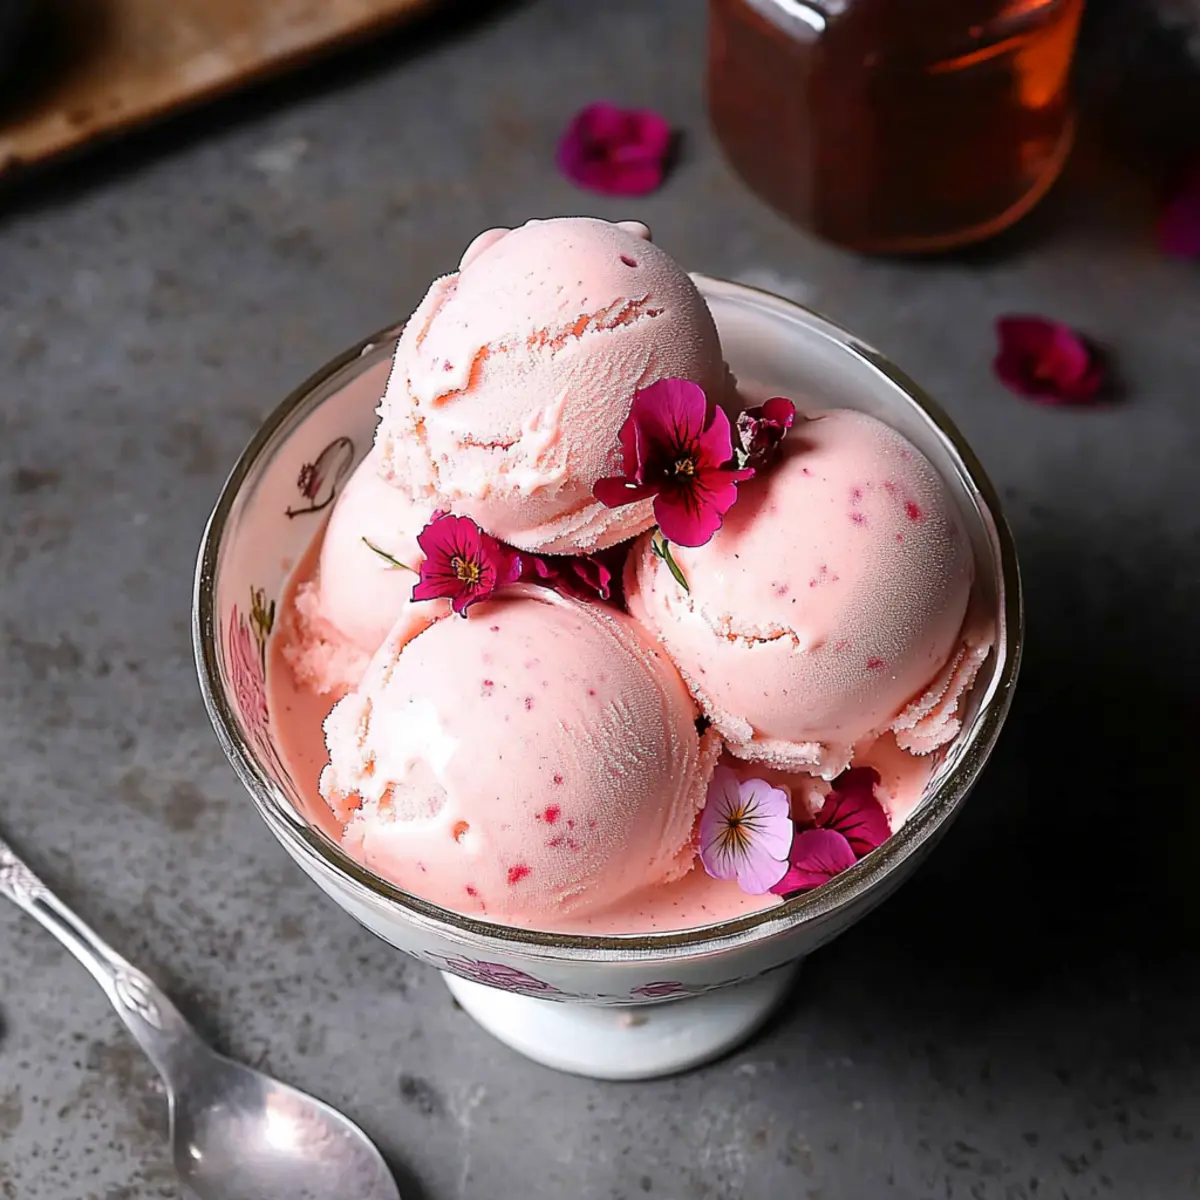
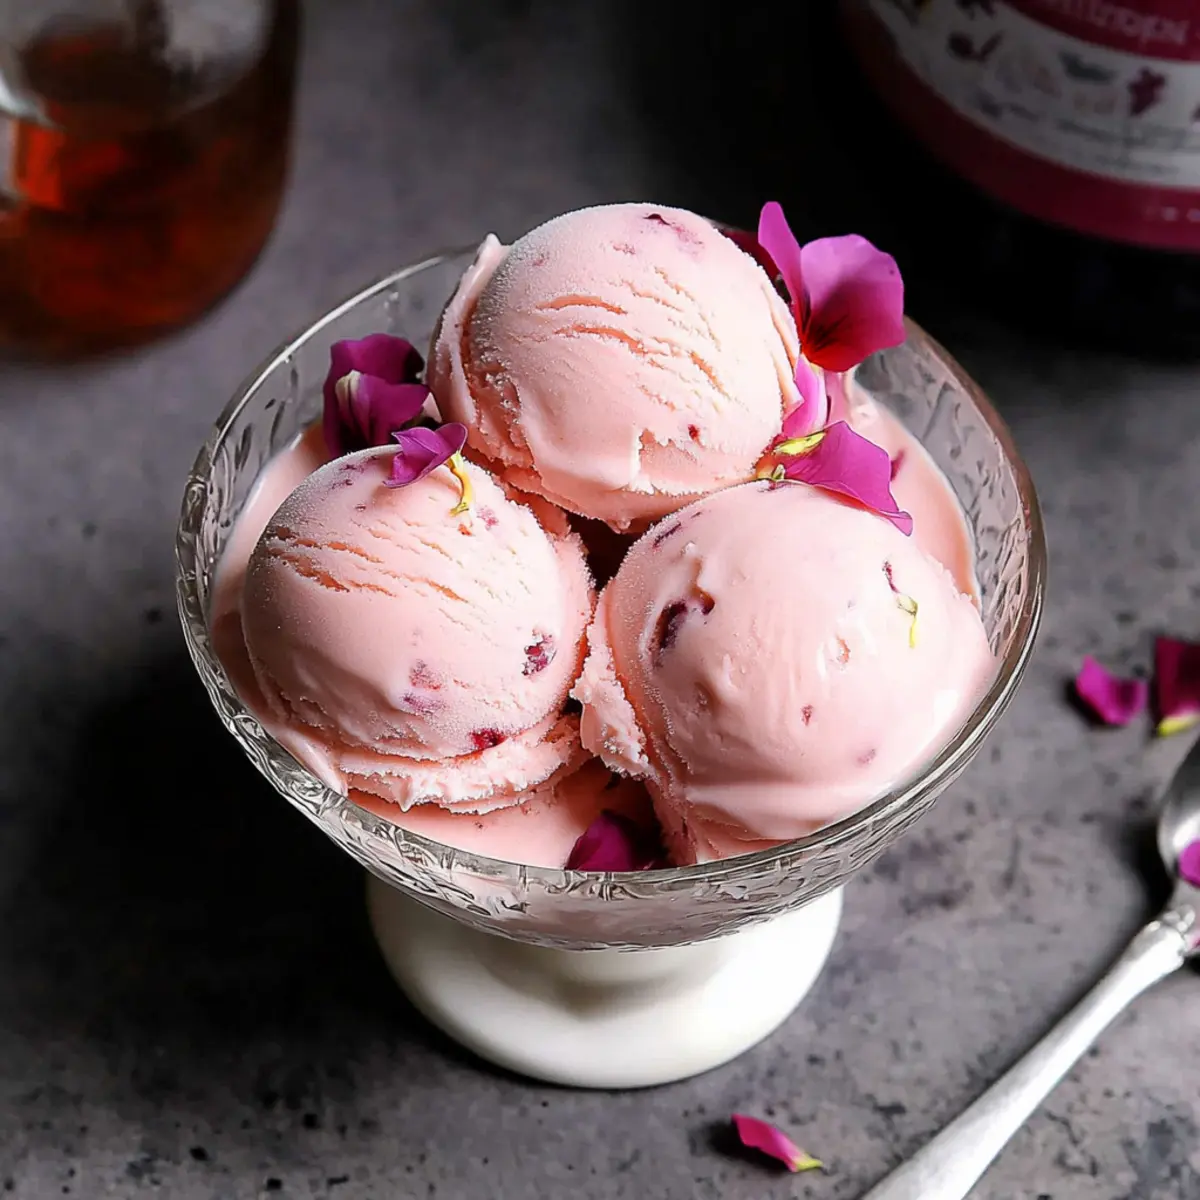
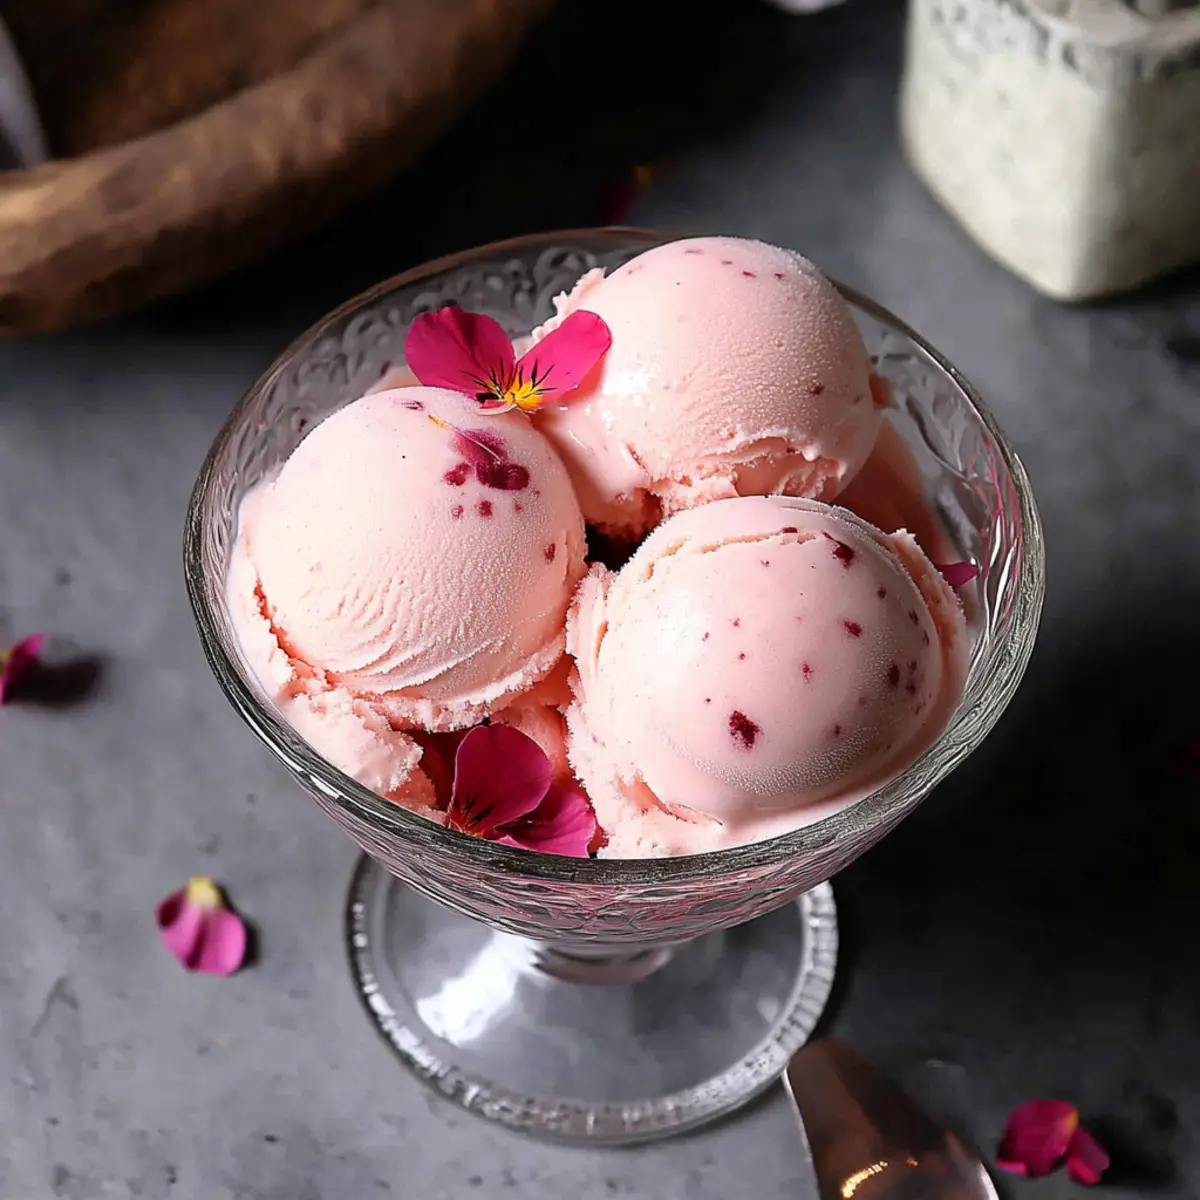
Visually Stunning: Its delicate pink hue and smooth texture will not only satisfy the taste buds but also be a feast for the eyes. Serve it up with edible flowers for an Instagram-worthy dessert!
Why not also check out our tasty Cream Cheese Hashbrown for more crowd-pleasing ideas?
Rose Ice Cream Ingredients
• For the Ice Cream Base
- Heavy Cream – Provides richness and a creamy texture; use whole milk for a lighter version.
- Milk – Complements the cream, creating a smooth base for your rose ice cream.
- Salt – Enhances flavor and balances the sweetness.
- Egg Yolks – Adds thickness and creaminess to the ice cream base, crucial for that decadent texture.
- Granulated Sugar – Sweetens the ice cream; adjust to taste, or use honey for a natural alternative.
- Xanthan Gum (optional) – Improves texture and stability; you can omit it if you don’t have it on hand.
• For the Flavoring
- Vanilla Extract – Adds depth of flavor; using pure vanilla enhances the overall taste.
- Rose Water – The primary flavoring ingredient, infusing the ice cream with distinct floral notes; opt for high-quality rose water for best results.
- Pink Food Coloring – For visual appeal; omit if you prefer a natural look.
Now that you have your essential ingredients, you’re all set to embark on the delightful journey of making your very own rose ice cream!
Step‑by‑Step Instructions for Rose Ice Cream
Step 1: Heat the Cream Mixture
In a medium saucepan, combine heavy cream, milk, and a pinch of salt over medium heat. Stir gently and watch for small bubbles forming at the edges, which should take about 5-7 minutes. Once the mixture begins to simmer, remove it from the heat to prevent boiling and set it aside while you prepare the egg yolks.
Step 2: Whisk the Egg Yolks and Sugar
In a separate mixing bowl, vigorously whisk together egg yolks, granulated sugar, and xanthan gum if using. Continue whisking until the mixture becomes smooth and pale yellow, which should take about 2-3 minutes. This step is crucial for achieving the creamy texture of your Rose Ice Cream, so make sure there are no lumps.
Step 3: Temper the Egg Mixture
Gradually pour about a third of the hot cream mixture into the egg yolk mixture while whisking constantly. This process, known as tempering, helps prevent the yolks from curdling. Take your time; it should take about 2 minutes to incorporate. Once combined, return this tempered mixture back to the saucepan with the remaining cream.
Step 4: Cook the Custard Base
Place the saucepan back on a low heat and stir continuously with a wooden spoon or a spatula. Cook the mixture gently until it thickens and coats the back of the spoon, which will take around 5-10 minutes. Be vigilant; avoid boiling as it can ruin the texture of your Rose Ice Cream.
Step 5: Strain and Cool the Custard
Remove the custard from the heat and strain it through a fine mesh strainer into a clean bowl or container. This will eliminate any curdled bits, ensuring a silky-smooth base for your ice cream. Allow the strained mixture to cool slightly, for about 5-10 minutes.
Step 6: Flavor the Ice Cream Base
Once the custard has cooled a bit, mix in the vanilla extract, rose water, and pink food coloring if desired. Stir thoroughly until evenly combined, allowing all those floral notes of the Rose Ice Cream to meld beautifully together. The mixture should have a lovely delicate hue, reminiscent of blooming roses.
Step 7: Chill the Mixture
Cover the bowl with cling film, ensuring the film touches the surface to prevent a skin from forming. Chill the mixture in the refrigerator for at least 4 hours or overnight for the best flavor development. This chilling step is essential for creating a creamy texture in your ice cream.
Step 8: Churn the Ice Cream
After chilling, pour the custard mixture into your ice cream maker. Follow the manufacturer’s instructions to churn for about 20-25 minutes or until it has thickened to a soft-serve consistency. Keep an eye on it; it should increase in volume and maintain a smooth texture throughout.
Step 9: Freeze the Ice Cream
Transfer the churned Rose Ice Cream into an airtight container and spread it evenly. Freeze for at least 4 hours to firm up the texture. When ready to serve, allow it to soften slightly at room temperature for a few minutes to scoop easily, revealing its luscious, creamy goodness.
Make Ahead Options
These creamy Rose Ice Cream treats are perfect for meal prep enthusiasts! You can prepare the ice cream base up to 24 hours in advance, allowing the flavors to meld beautifully overnight for that irresistible floral infusion. Simply follow the initial steps to heat the cream, whisk the egg yolks and sugar, and cook the custard. After straining, mix in the vanilla and rose water, then cover tightly with cling film (touching the surface to prevent a skin) and refrigerate. When you’re ready to enjoy, simply churn the base in your ice cream maker and freeze for at least 4 hours before serving, ensuring it remains just as delicious as when freshly made. This prep-ahead approach not only saves you time but makes your dessert truly special!
What to Serve with Creamy Rose Ice Cream
Elevate your dessert experience by pairing this enchanting treat with complementary delights that tickle your taste buds.
-
Fresh Berries:
Juicy strawberries or raspberries add a vibrant burst of flavor, complementing the floral notes perfectly while providing a refreshing contrast. -
Honey Drizzle:
A touch of honey enhances the sweetness of the Rose Ice Cream, offering an extra layer of richness that is simply divine. -
Crushed Pistachios:
These nutty bites introduce a delightful crunch, balancing the creamy texture and adding a contrasting flavor that enriches every scoop. -
Shortbread Cookies:
Buttery shortbread cookies provide a crisp, delicate crunch, making each bite a lovely harmony of flavors and textures. -
Edible Flowers:
For an elegant presentation, top each serving with edible flowers. They not only enhance the visual appeal but also echo the rose theme. -
Chilled Rosé Wine:
A glass of chilled rosé pairs beautifully, amplifying the floral essence and creating a sophisticated, dreamy dessert experience. -
Dark Chocolate Shavings:
Adding a sprinkle of dark chocolate shavings brings a hint of bitterness that contrasts beautifully with the sweetness of the ice cream. -
Coconut Sorbet:
For a tropical twist, serve alongside coconut sorbet; the creamy coconut flavor complements the rose beautifully, making for a refreshing combination. -
Citrus Salad:
A light citrus salad with oranges and grapefruits cuts through the creaminess, adding a bright, zesty flair that’s sure to please. -
French Macarons:
These delicate treats make a charming addition, providing a touch of elegance and an array of flavors that pair beautifully with the ice cream.
How to Store and Freeze Rose Ice Cream
Airtight Container: Transfer your Rose Ice Cream into an airtight container to prevent freezer burn and maintain its creamy texture.
Freezer: Store the ice cream in the freezer for up to 2 weeks. For optimal freshness, consume it within the first week!
Scoop and Serve: Before serving, let the ice cream soften at room temperature for about 5-10 minutes. This makes it easier to scoop out those smooth, velvety servings.
Reheating (if applicable): If you’re looking to revive it after freezing, simply let it sit out for a few minutes to regain its scoopable consistency; no reheating needed!
Rose Ice Cream Variations & Substitutions
Feel free to personalize your Rose Ice Cream with these delightful twists that will excite your palate!
-
Nutty Delight: Add crushed pistachios or chopped almonds for a delightful crunch that complements the floral notes beautifully. This simple addition is an easy way to elevate your treat.
-
Fruity Swirl: Incorporate a swirl of fresh strawberry or raspberry puree to bring a vibrant fruitiness to your ice cream. This adds a burst of color and a refreshing tang that balances the sweetness.
-
Floral Variations: Swap out rose water for other floral extracts like lavender or orange blossom to explore different flavor profiles. Each offers a unique aromatic experience that you’ll adore.
-
Creamy Coconut: Use coconut cream in place of heavy cream for a luscious vegan option that still provides richness without compromising taste. The coconut adds an exotic twist that pairs wonderfully with the floral notes.
-
Herbal Twist: Infuse your cream with fresh mint leaves during cooking for a refreshing herbal vibe. Mint and rose make a dreamy combination, perfect for summer enjoyment.
-
Sweetness Level: If you’re looking to reduce sugar, consider substituting half the granulated sugar with honey or maple syrup for a more natural sweetener. It adds depth while keeping it wholesome.
-
Choco-Rose: For chocolate lovers, fold in dark chocolate chips or a ripple of chocolate sauce to create a decadent contrast to the floral flavor. It’s a surprise that will certainly wow your guests!
-
Topped Temptation: Top your ice cream with edible flower petals or serve it alongside a drizzle of honey for an extra touch of elegance. Serving suggestions like these enhance the overall experience.
Remember, dessert should be a canvas for creativity. For more delicious treat ideas, be sure to check out our enticing Cream Cheese Hashbrown or indulge in the creamy delight of Protein Packed Pasta!
Expert Tips for Rose Ice Cream
-
Quality Ingredients Matter: Use high-quality rose water for an intense flavor that brings your Rose Ice Cream to life. It truly makes a difference!
-
Avoid Curdling: Be careful not to let the egg mixture boil while thickening. Stir constantly over low heat to ensure a smooth, creamy base.
-
Chill for Best Results: Allow your ice cream mixture to chill in the refrigerator for at least 4 hours, or overnight. This enhances the flavor and ensures creaminess.
-
Strain for Smoothness: Don’t skip straining the custard mixture; this will remove any curdled bits and ensure your Rose Ice Cream has an ultra-smooth texture.
-
Add Personal Touches: Experiment with delicious add-ins like crushed pistachios, or swirls of fruit puree to customize your Rose Ice Cream and make it uniquely yours!
Rose Ice Cream Recipe FAQs
How do I choose the best rose water for my ice cream?
Absolutely! Opt for high-quality rose water that is pure and free of additives. Look for brands that use distilled rose petals for a more authentic and intense flavor. When selecting, check for a pleasant, fragrant aroma, as this will greatly enhance the floral notes in your Rose Ice Cream.
How should I store my Rose Ice Cream?
To keep your Rose Ice Cream at its best, transfer it into an airtight container before placing it in the freezer. This helps prevent freezer burn and preserves its creamy texture. It will keep well for about up to 2 weeks, but I recommend enjoying it within the first week for the freshest taste!
Can I freeze this ice cream for a longer duration?
Yes, you can freeze your Rose Ice Cream for longer than 2 weeks, but for the best quality and flavor, consume it within a month. Just be sure to keep it tightly covered in an airtight container and check for any ice crystals forming, which could affect the texture upon serving.
What should I do if my ice cream turns out icy or hard?
Very! If your Rose Ice Cream becomes icy or hard, it might be due to improper mixing or storage. To remedy this, simply let it sit at room temperature for about 5-10 minutes before scooping. If you find it consistently icy, try churning for a little longer next time to incorporate more air or consider using an ice cream stabilizer for a creamier texture.
Is there a way to adjust the sweetness in my Rose Ice Cream?
Absolutely! You can adjust the sweetness by tasting the mixture before chilling it. If you find it too sweet, consider reducing the sugar. Alternatively, if it needs sweetness, feel free to add a bit more sugar or substitute honey for a natural option and stir until fully dissolved.
Can I use this recipe for a vegan version of Rose Ice Cream?
Very! To create a vegan version, substitute the heavy cream and milk with coconut milk or almond milk for a rich, creamy base. Instead of egg yolks, you can use a thickener like cornstarch or a combination of cashew cream and coconut cream. Follow the same steps and you’ll still have a delightful, floral-infused dessert to enjoy!
Creamy Rose Ice Cream for a Floral Dessert Delight
Ingredients
Equipment
Method
- In a medium saucepan, combine heavy cream, milk, and a pinch of salt over medium heat. Stir gently and watch for small bubbles forming at the edges, about 5-7 minutes.
- In a separate mixing bowl, vigorously whisk together egg yolks, granulated sugar, and xanthan gum if using until smooth and pale yellow, about 2-3 minutes.
- Gradually pour about a third of the hot cream mixture into the egg yolk mixture while whisking constantly to prevent curdling. Once combined, return to the saucepan with the remaining cream.
- Place the saucepan back on low heat and stir continuously until thickened, about 5-10 minutes.
- Remove from heat and strain the custard through a fine mesh strainer into a clean bowl. Allow to cool slightly, about 5-10 minutes.
- Mix in vanilla extract, rose water, and pink food coloring if desired, stirring thoroughly until combined.
- Cover the bowl with cling film and chill in the refrigerator for at least 4 hours or overnight.
- Pour the chilled custard mixture into an ice cream maker and churn according to manufacturer’s instructions, about 20-25 minutes.
- Transfer the churned ice cream into an airtight container and freeze for at least 4 hours before serving.
Leave a Reply