
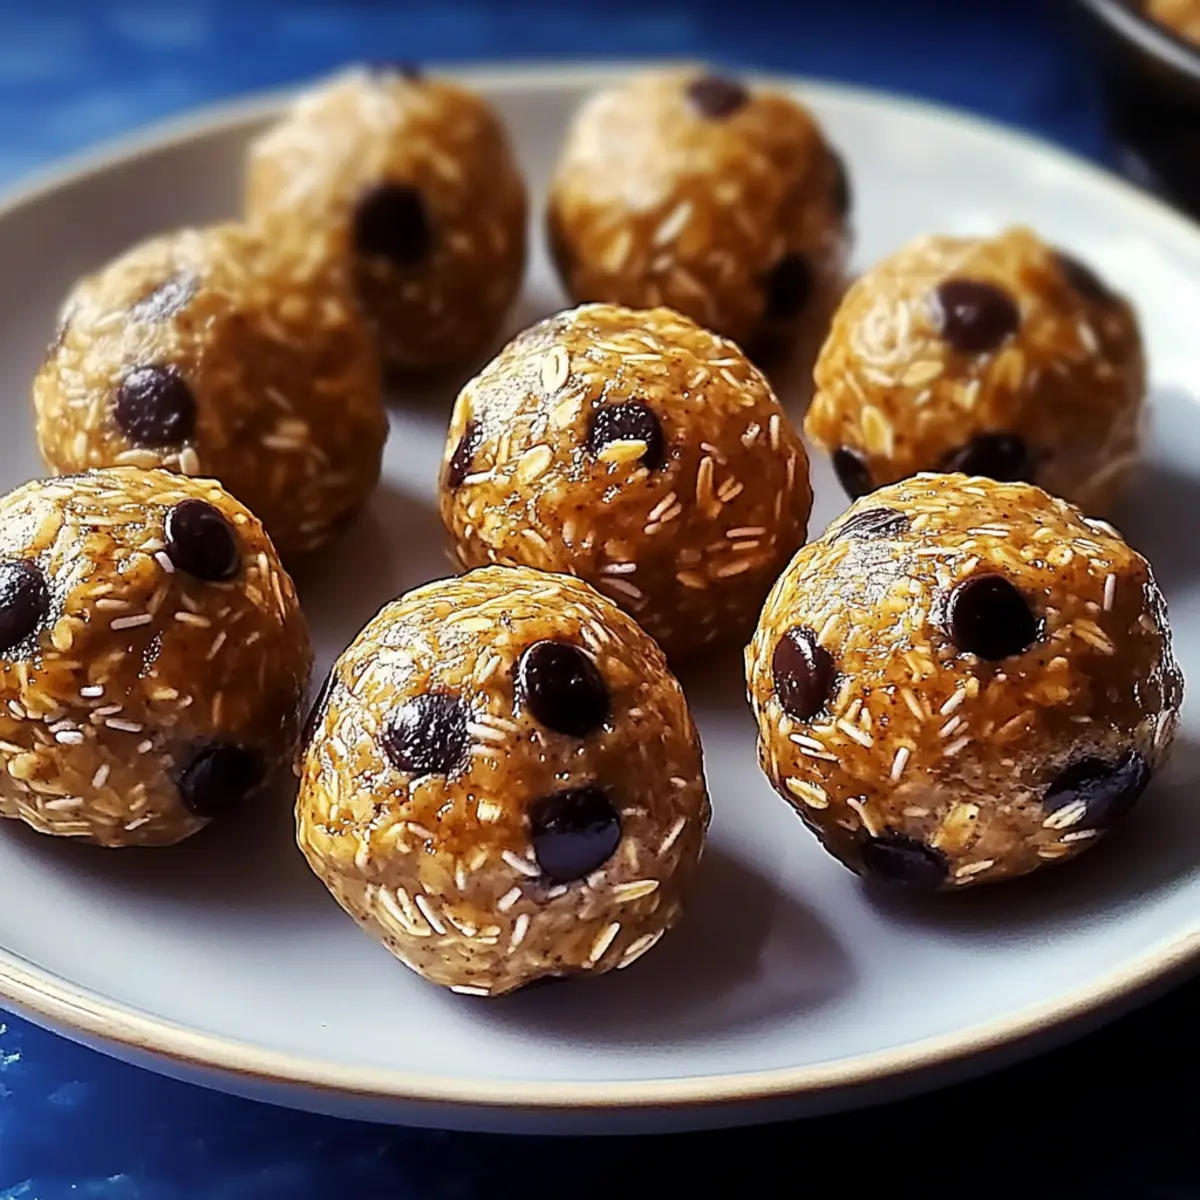
In the midst of a hectic day, I stumbled upon a delightful solution that turned my snack time around: No-Bake Protein Balls. These little gems are a game-changer, satisfying my sweet tooth without the guilt of reaching for fast food. With a combination of hearty oats, creamy peanut butter, and a hint of honey, these protein-packed bites only take moments to prepare. They’re not only healthy but completely customizable, allowing you to mix in your favorite ingredients for a fun twist. Whether you’re looking for a quick energy boost during busy mornings or a nutritious pick-me-up in the afternoon, these no-bake treats fit the bill perfectly. Curious to see how simple they are to whip up? Let’s dive in!
Why Are No-Bake Protein Balls a Must-Try?
Easy to Make: No-bake protein balls require minimal preparation and only simple ingredients, making them a breeze to whip up in your kitchen.
Customizable Delight: Tailor these snacks to your preferences with endless add-ins, from nuts to dried fruits. Experiment with flavors and allergens to create your perfect bite!
Healthy Snacking: A great alternative to fast food, these energizing bites are packed with wholesome ingredients and provide a boost of protein without excess sugar.
Perfect for On-the-Go: Whether it’s after workouts or during busy days, these protein balls are portable and can effortlessly fit into lunchboxes or gym bags.
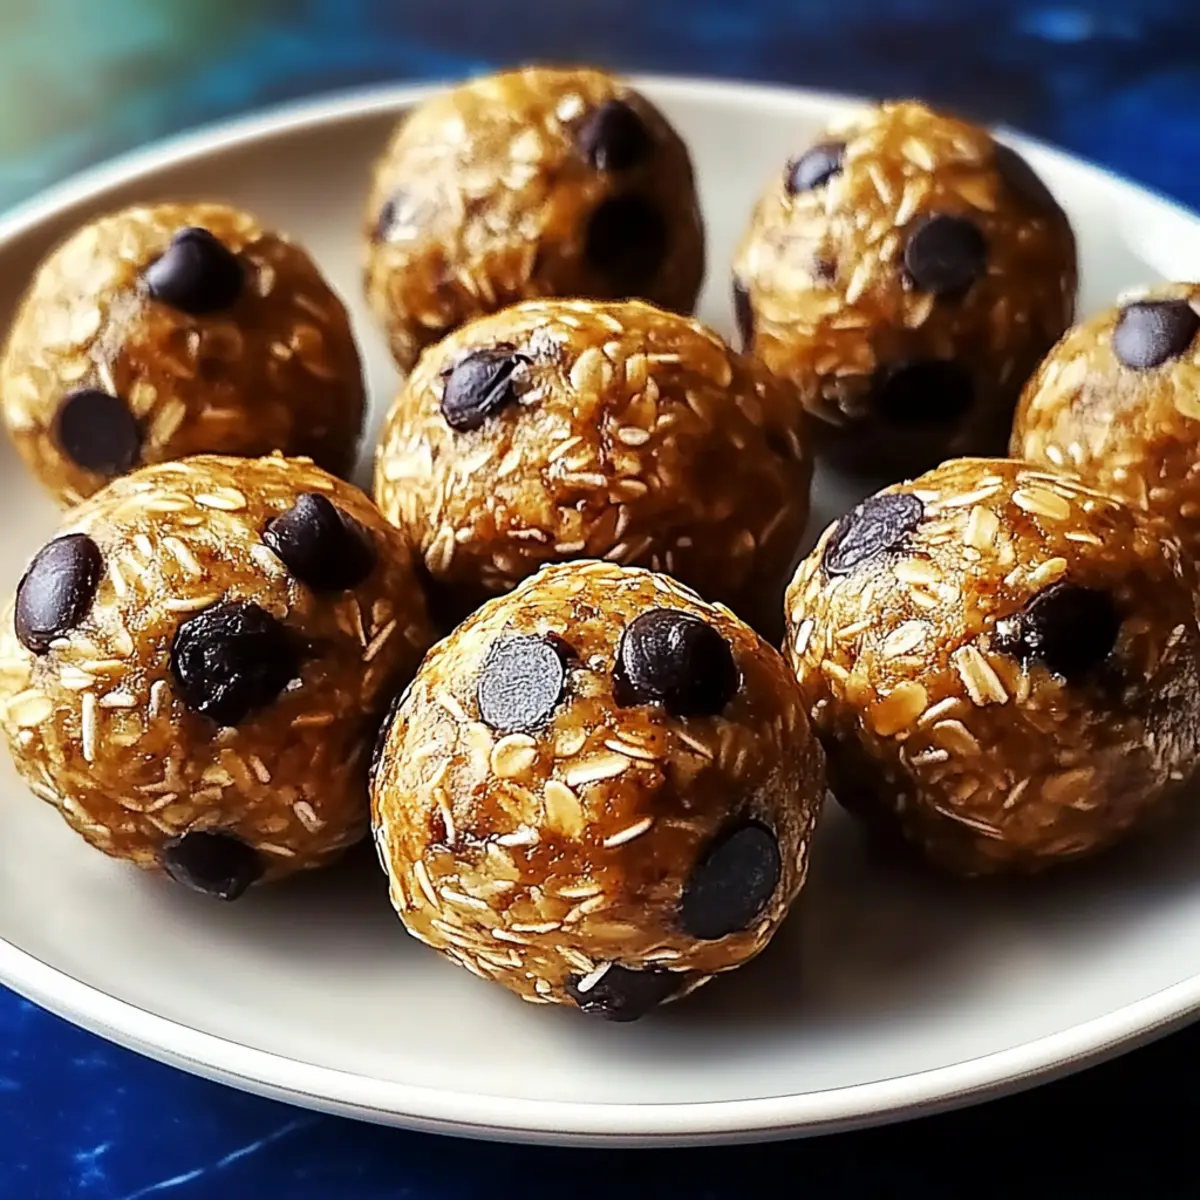
Satisfying Texture: Enjoy the delightful chewy texture that combines well with the flavors of oats, peanut butter, and honey, making for a truly satisfying snack!
For more healthy snacking ideas, check out my High Protein Pancake or Spinach Garlic Meatballs.
No-Bake Protein Balls Ingredients
For the Base
• Old-Fashioned Oats – Provides the main structure and chewy texture; use gluten-free oats if needed.
• Peanut Butter – Offers creaminess and healthy fats; try almond or sunflower butter for different flavors or allergies.
• Honey – Adds natural sweetness to the mix; substitute with maple syrup for a vegan option.
For the Extras
• Chocolate Chips – Enhances the flavor with sweetness; dark chocolate gives a richer taste.
• Chia Seeds – Contributes fiber and healthy omega-3 fatty acids; flax seeds can be used as a substitute.
• Vanilla Extract – Improves the taste and aroma; opt for pure vanilla for the best flavor.
Feel free to customize your No-Bake Protein Balls with various additions or substitutions to suit your taste and dietary needs!
Step‑by‑Step Instructions for No-Bake Protein Balls
Step 1: Combine the Base Ingredients
In a large mixing bowl, combine 2 cups of old-fashioned oats, 1 cup of peanut butter, ½ cup of honey, and 1 teaspoon of vanilla extract. Stir with a wooden spoon until all ingredients are well-coated and form a sticky mixture, which should take about 3 to 5 minutes. You want a uniform blend that holds together but isn’t overly gooey.
Step 2: Add Flavorful Extras
Gently fold in ½ cup of chocolate chips and 2 tablespoons of chia seeds into the oat mixture. Use a spatula to ensure the chocolate and seeds are evenly distributed throughout, enhancing the flavor and nutrition of your No-Bake Protein Balls. This should take another 2 minutes, ensuring that each bite is packed with delightful textures.
Step 3: Chill the Mixture
Cover the mixing bowl with plastic wrap or a lid and refrigerate the combined mixture for about 30 minutes. This time allows the ingredients to firm up, making it easier to roll into balls later. You’ll know it’s ready when the mixture feels firm and slightly set, rather than soft and sticky.
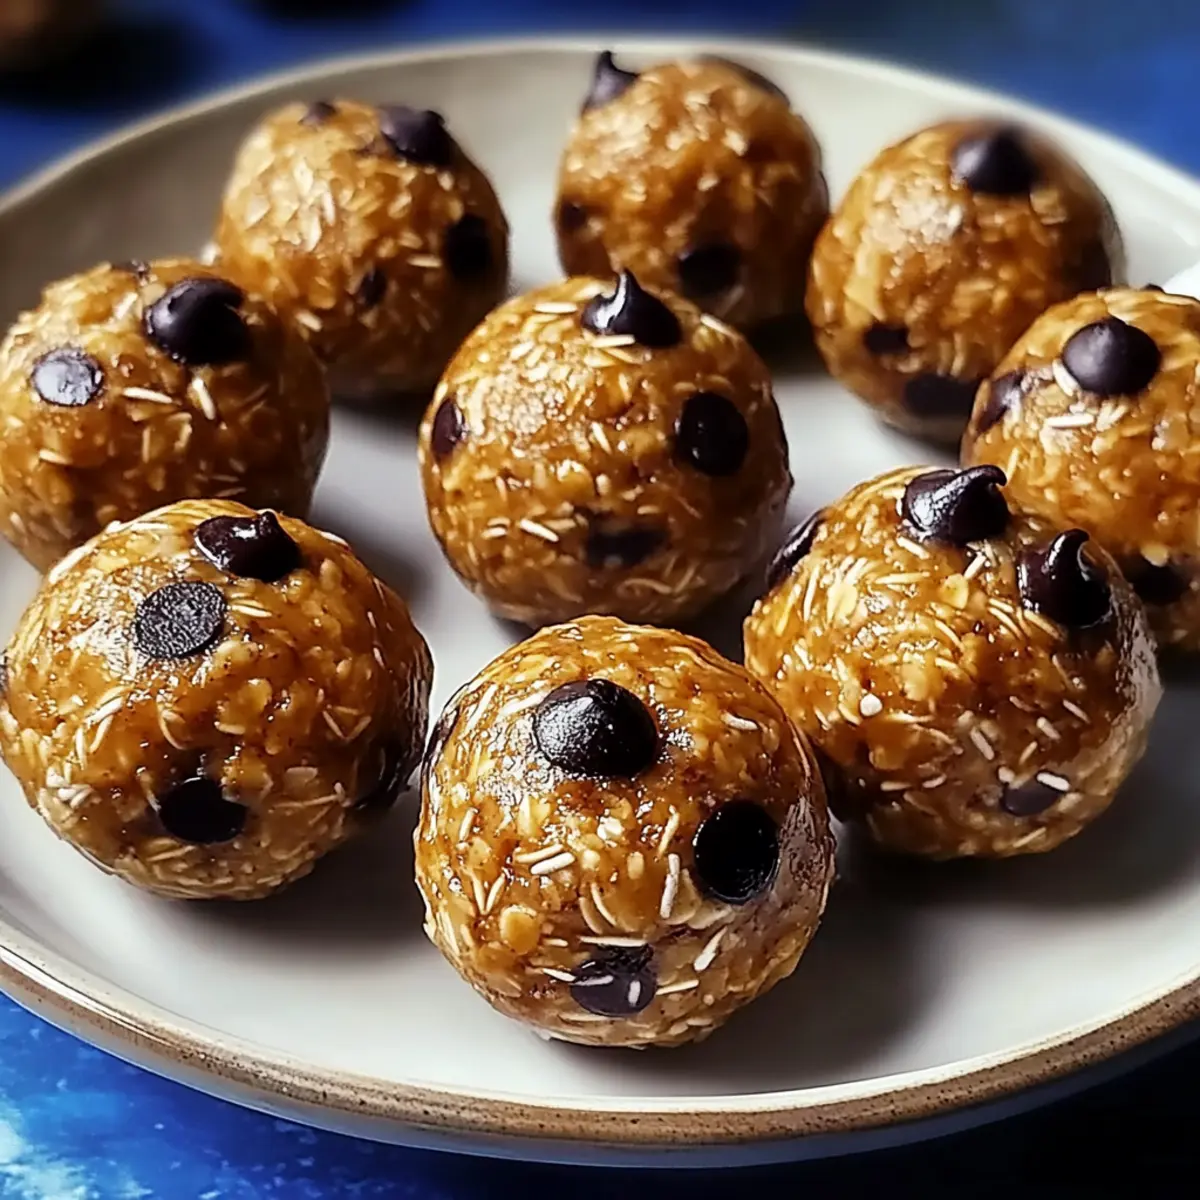
Step 4: Shape the Protein Balls
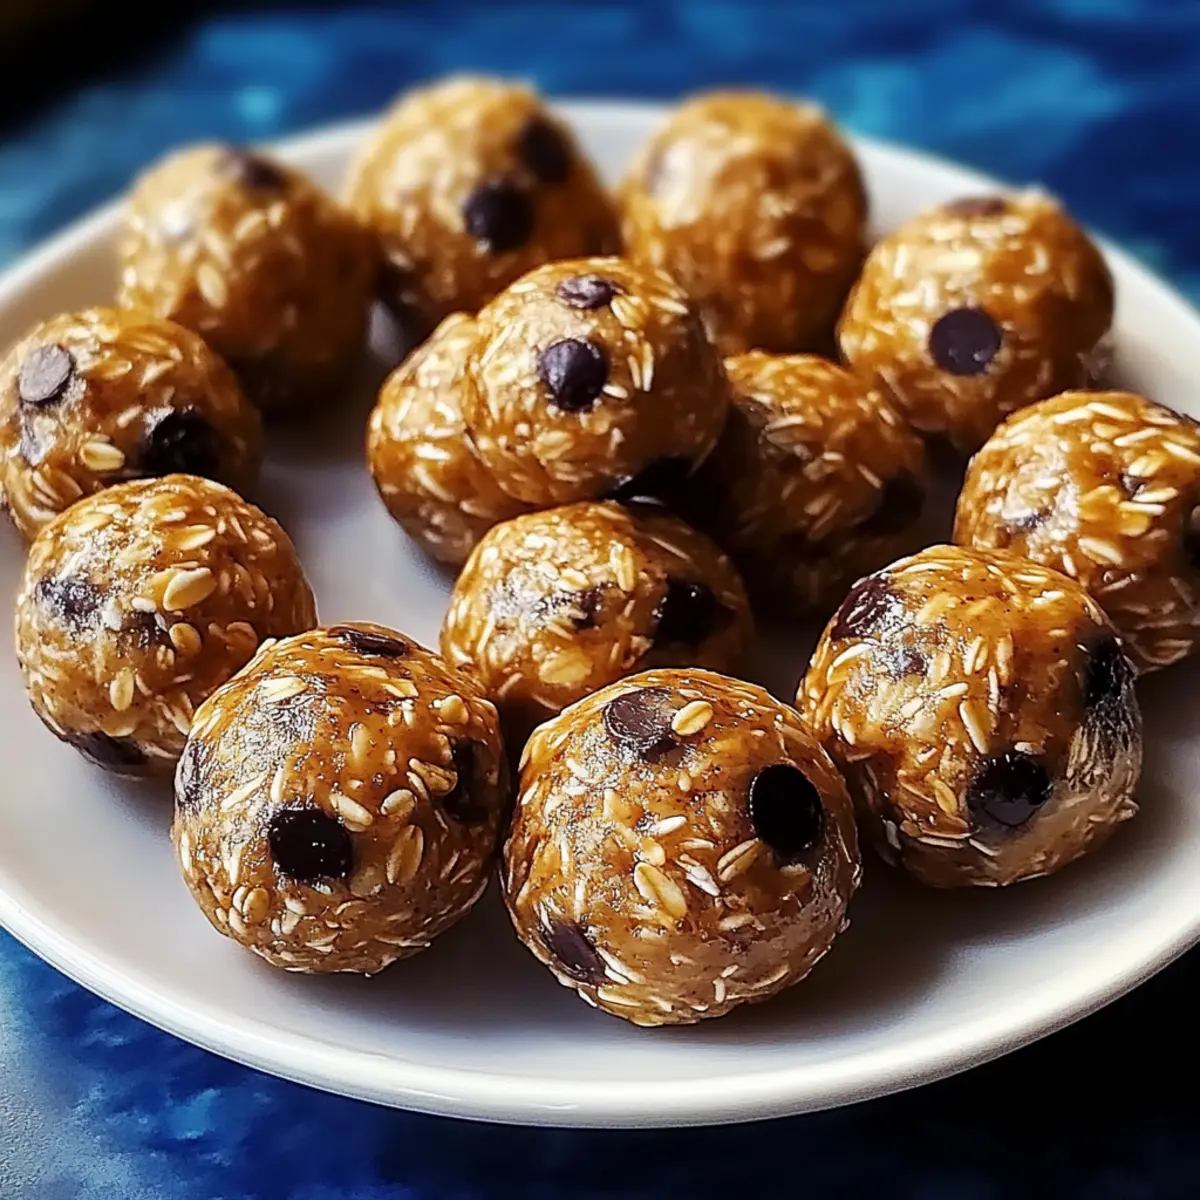
Once chilled, use your hands to scoop out the mixture and roll it into small balls, approximately 1 inch in diameter. Aim for about 12-15 balls, ensuring each has a nice, smooth surface for better presentation. If the mixture is too sticky, wet your hands slightly to help with shaping.
Step 5: Store for Freshness
Place the rolled No-Bake Protein Balls in an airtight container, separating layers with parchment paper if stacking. Store them in the refrigerator for up to a week or freeze for longer storage, where they’ll last about three months. Take a moment to admire your healthful creations before sealing them away for later enjoyment!
No-Bake Protein Balls Variations
Feel free to get creative with these protein balls and customize them to your heart’s content for even more delightful bites!
-
Nut-Free: Swap peanut butter for sunbutter or a nut-free seed butter to accommodate allergies.
-
Vegan Delight: Replace honey with agave or maple syrup, and use almond or sunflower butter for a plant-based treat.
-
Flavor Boost: Add a tablespoon of cocoa powder or a dash of cinnamon for a delightful twist of flavor that surprises your taste buds.
-
Extra Crunch: Mix in a handful of crispy rice cereal or chopped nuts for added texture that creates an enjoyable crunch in every bite.
-
Fruity Fusion: Toss in some dried fruits, like cranberries or apricots, for a chewy, sweet surprise that pairs beautifully with the nuttiness.
-
Protein Punch: Enhance the protein content by stirring in your favorite protein powder; it’s a great way to tailor them to your dietary goals.
-
Dessert Twist: Add a drizzle of melted dark chocolate on top to elevate your protein balls to a delightful dessert!
For more nutritious inspiration, don’t miss my delicious High Protein Pancake or the savory goodness of Spinach Garlic Meatballs.
Make Ahead Options
These No-Bake Protein Balls are perfect for busy home cooks looking to save time during hectic days! You can prepare the mixture up to 24 hours ahead by following the initial steps—simply combine the oats, peanut butter, honey, and vanilla extract, then chill it for 30 minutes. Once set, roll the mixture into balls and store them in an airtight container in the fridge, where they’ll stay fresh for up to a week. For longer storage, freeze the protein balls for up to three months; just thaw them overnight in the fridge before serving. This ensures they remain deliciously chewy and satisfying whenever you need a quick, healthy snack!
What to Serve with Healthy No-Bake Protein Balls?
Add a burst of flavor and nutrition to your snack time with these delightful pairings!
-
Fresh Fruit Salad: A vibrant mix of seasonal fruits adds refreshing sweetness and complements the nutty flavors beautifully.
-
Greek Yogurt: Creamy and protein-rich, it creates a perfect balance with the chewy protein balls, making for a satisfying treat.
-
Nut Butter Dip: Pair your protein balls with a drizzle of almond or cashew butter for an irresistible, rich dip.
Make a delightful afternoon snack by spreading some on a plate, grabbing a protein ball, and savoring the contrast of textures. -
Dark Chocolate Squares: The bittersweet richness from dark chocolate enhances the sweetness of the protein balls, making every bite enjoyable.
-
Chia Seed Pudding: A creamy, nutrient-dense option that pairs well with the energy-boosting protein balls, creating a wholesome snack duo.
-
Smoothie: Blend up your favorite fruits and leafy greens for a refreshing drink that complements the chewy delights of your protein treats.
Enjoy sips between bites to cool down while fueling your body! -
Trail Mix: A crunchy blend of nuts, seeds, and dried fruits creates a delightful contrast to the soft texture of the protein balls.
-
Herbal Tea: A calming cup of chamomile or peppermint tea can enhance your snacking experience, offering a soothing finish.
-
Rice Cakes: For a light and crunchy accompaniment, rice cakes add texture that pairs well with the filling protein balls.
How to Store and Freeze No-Bake Protein Balls
-
Fridge: Store your No-Bake Protein Balls in an airtight container in the fridge for up to a week. This keeps them fresh and ready for a quick snack whenever you need one.
-
Freezer: For longer storage, freeze the protein balls in an airtight container for up to three months. Allow them to thaw at room temperature before enjoying.
-
Layering: If stacking the protein balls in a container, place parchment paper between layers to prevent sticking. This makes it easier to grab your favorite snack without a mess!
-
Reheating: No need to reheat these snacks; simply pop one in your mouth for an instant energy boost any time of day!
Expert Tips for No-Bake Protein Balls
-
Use Old-Fashioned Oats: Ensure to choose old-fashioned oats for the best chewy texture; quick oats can become overly mushy.
-
Vegan Option: To make No-Bake Protein Balls vegan, replace honey with maple syrup and opt for almond or sunflower butter as a base.
-
Chill for Better Shape: Always refrigerate the mixture for at least 30 minutes before rolling; this helps the protein balls hold their shape.
-
Storage Matters: Store your protein balls in an airtight container to maintain freshness; they can last up to a week in the fridge or three months in the freezer.
-
Get Creative: Don’t hesitate to customize your protein balls! Add-ins like dried fruits or chopped nuts can elevate their flavor and texture.
No-Bake Protein Balls Recipe FAQs
How should I select my ingredients for No-Bake Protein Balls?
Absolutely! When choosing old-fashioned oats, look for those that are whole and free from impurities. For peanut butter, opt for natural options with minimal added ingredients to keep it pure and healthy. If you’re substituting for allergies, almond butter or sunflower butter work wonderfully, but make sure they’re unsweetened. Also, check for honey’s quality; raw honey is an excellent choice if available!
What is the best way to store No-Bake Protein Balls?
Very! Place your No-Bake Protein Balls in an airtight container, and they’ll stay fresh in the fridge for up to a week. If you’re planning to keep them longer, freeze them for up to three months. Just be sure to separate layers with parchment paper to prevent sticking!
Can I freeze No-Bake Protein Balls, and how?
Absolutely! To freeze your protein balls, place them in a single layer on a baking sheet and freeze them until solid—this usually takes about an hour. Once frozen, transfer to an airtight container or a zip-top bag, and they’ll last for up to three months. Thaw them by letting them sit at room temperature for about 15-20 minutes before enjoying!
What if my No-Bake Protein Balls are too sticky?
If your mixture feels overly sticky, don’t worry! First, make sure your ingredients are well-combined; if they still stick too much, refrigerate the mixture for an additional 10-15 minutes to firm it up. Alternatively, wet your hands slightly while shaping the balls to prevent sticking, making it easier to roll them into smooth shapes.
Are No-Bake Protein Balls suitable for pets or those with allergies?
Absolutely! While the protein balls are great for human snacking, be cautious with sharing them with pets, especially due to the chocolate chips, which are toxic to dogs. For allergies, always check ingredient labels, and ensure that any nut butters or sweeteners are safe for your dietary needs. You can create a nut-free version by replacing the nut butter with sun butter and using maple syrup instead of honey to cater to various sensitivities.
Can I customize my No-Bake Protein Balls further?
Very! The fun part about No-Bake Protein Balls is their flexibility. You can mix in chopped nuts, seeds, or dried fruits like cranberries or raisins for added texture and flavor. Feel free to experiment with different spices like cinnamon or nutmeg, or even add a scoop of your favorite protein powder to boost the protein content further!
No-Bake Protein Balls That Fuel Your Busy Day Delightfully
Ingredients
Equipment
Method
- In a large mixing bowl, combine 2 cups of old-fashioned oats, 1 cup of peanut butter, ½ cup of honey, and 1 teaspoon of vanilla extract. Stir with a wooden spoon until well-coated and form a sticky mixture, taking about 3 to 5 minutes.
- Gently fold in ½ cup of chocolate chips and 2 tablespoons of chia seeds into the oat mixture for added flavor and nutrition, which should take another 2 minutes.
- Cover the mixing bowl and refrigerate for about 30 minutes until firm.
- Roll the mixture into small balls, approximately 1 inch in diameter, aiming for about 12-15 balls.
- Store the rolled balls in an airtight container, separating layers with parchment paper if stacking.
Leave a Reply