
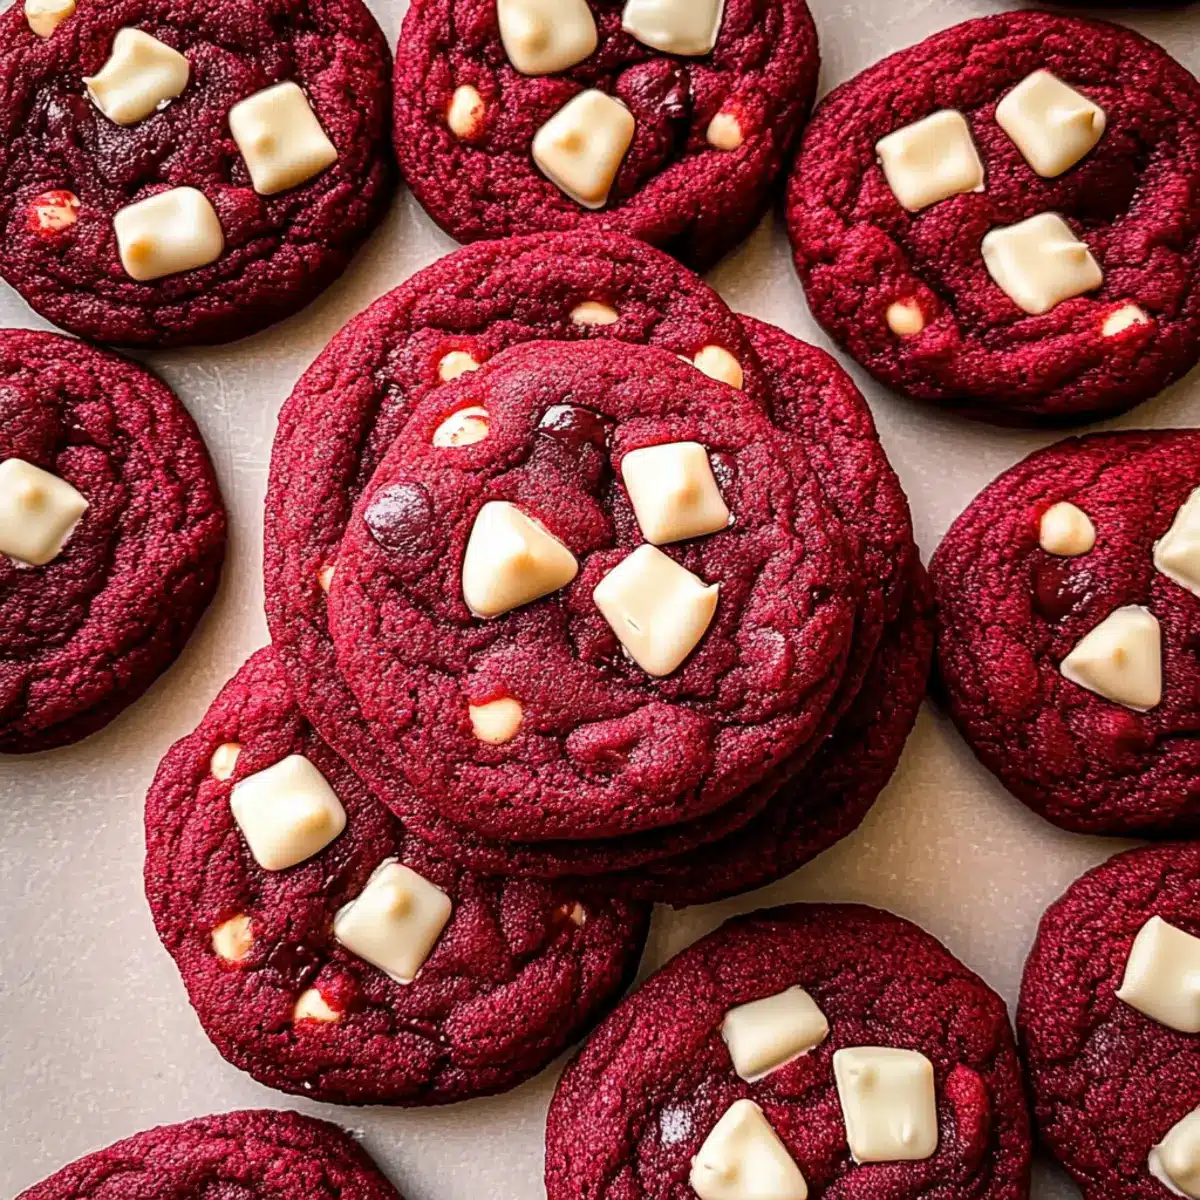
As I stood in my kitchen, the delightful aroma of melted chocolate mingled with the enticing scent of baking cookies drew me in like a warm hug. Today, I’m excited to share my recipe for Red Velvet Cookies, a sweet treat that effortlessly captures the charm of a classic dessert. These irresistibly chewy cookies not only boast a subtle cocoa flavor but are also packed with creamy white chocolate chunks that elevate them to the next level. What’s more, they’re incredibly easy to make with no chill time required, allowing you to whip up a batch in under 30 minutes. Whether you’re celebrating love on Valentine’s Day or simply indulging in a sweet craving, these cookies are sure to impress! Are you ready to step into your kitchen and bake a batch of joy?
Why Are These Cookies a Must-Try?
Irresistibly Chewy: These Red Velvet Cookies are delightfully chewy, bringing the perfect texture that you crave in a dessert.
Rapid Preparation: With no chill time required, you can have these cookies warm and ready in just 30 minutes, perfect for spontaneous cravings!
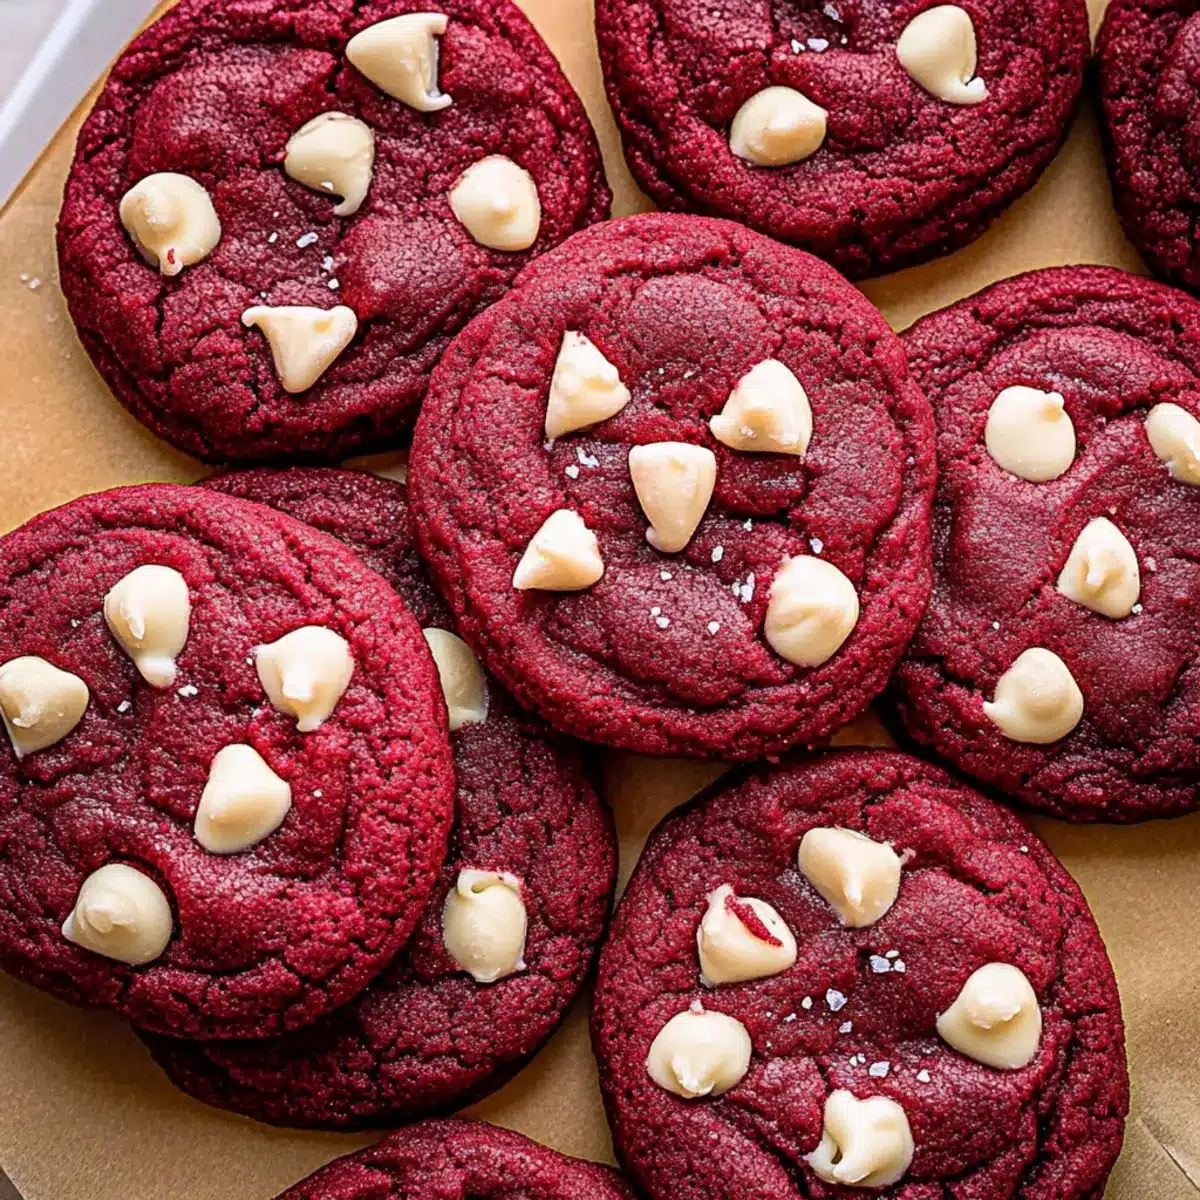
Elegant and Festive: Their stunning red hue makes them not only delicious but also a visually delightful treat for special occasions like Valentine’s Day.
Mouthwatering Flavor: The combination of rich cocoa and creamy white chocolate creates a symphony of flavors that will satisfy every sweet tooth.
Versatile Treat: Enjoy these cookies alone, or pair them with a glass of milk or coffee for a cozy afternoon snack. You can also experiment by substituting some ingredients; check out my Crunchy Gluten Cookies for a fun twist!
Easy to Share: These cookies are perfect for sharing—whether with friends, family, or coworkers, everyone will love this unique take on a classic favorite!
Red Velvet Cookies Ingredients
For the Cookie Base
- All-Purpose Flour – Provides structure to the cookies; make sure to use the spoon-and-level method for accurate measurement.
- Dutch Process Cocoa Powder – Adds a subtle chocolate flavor and rich color; if unavailable, regular cocoa works well too.
- Baking Soda – Helps the cookies rise slightly for that perfect texture.
- Baking Powder – Works in tandem with baking soda to create a light cookie.
- Salt – Balances sweetness and enhances all the flavors.
For the Batter
- Salted Butter – Adds richness; ensure it’s softened for easy creaming and a fluffy texture.
- Light Brown Sugar – Provides moisture and a slight caramel flavor; feel free to use dark brown for a deeper taste.
- Granulated Sugar – Increases the sweetness and helps establish the cookie’s structure.
- Egg Yolks – Introduces richness and contributes to the chewy texture of the cookies.
- Vanilla Extract – Imparts a warm, fragrant aroma that elevates the overall flavor.
- Red Gel Food Coloring – Essential for that classic red velvet appearance; adjust the amount based on your desired intensity.
For the Mix-ins
- Chopped White Chocolate – Offers creamy sweetness that pairs beautifully with the cookie; white chocolate chips are a fantastic alternative too!
Step‑by‑Step Instructions for Red Velvet Cookies
Step 1: Preheat the Oven
Preheat your oven to 350°F (175°C) and line two baking sheets with parchment paper. This preparation ensures an even bake and prevents cookies from sticking, setting the stage for your delicious red velvet cookies. A properly preheated oven helps achieve that perfect chewy texture.
Step 2: Mix the Dry Ingredients
In a small mixing bowl, whisk together 1 cup of all-purpose flour, 2 tablespoons of Dutch process cocoa powder, 1 teaspoon of baking soda, 1 teaspoon of baking powder, and a pinch of salt. This step combines the leavening agents and flavors, ensuring your red velvet cookies rise beautifully and provide a subtle chocolate flavor.
Step 3: Cream Butter and Sugars
In a large bowl, use an electric mixer to cream together ½ cup of softened salted butter, ¾ cup of light brown sugar, and ¼ cup of granulated sugar for about 2 minutes. The mixture should become light and fluffy, showcasing the moisture and richness of the butter, which will contribute to the chewy texture of your cookies.
Step 4: Incorporate Wet Ingredients
Add 2 egg yolks, 1 teaspoon of vanilla extract, and several drops of red gel food coloring to the creamed mixture. Mix on medium speed for another 2 minutes until everything is beautifully combined and fluffy, ensuring the colors and flavors meld perfectly for those delightful red velvet cookies.
Step 5: Combine Mixtures
Gradually add the dry ingredient mixture to the wet mixture, mixing just until incorporated. Be careful not to overmix, as this can affect the texture. The dough should come together smoothly, ready to create those vibrant and chewy red velvet cookies that you’re excited to bake.
Step 6: Add White Chocolate
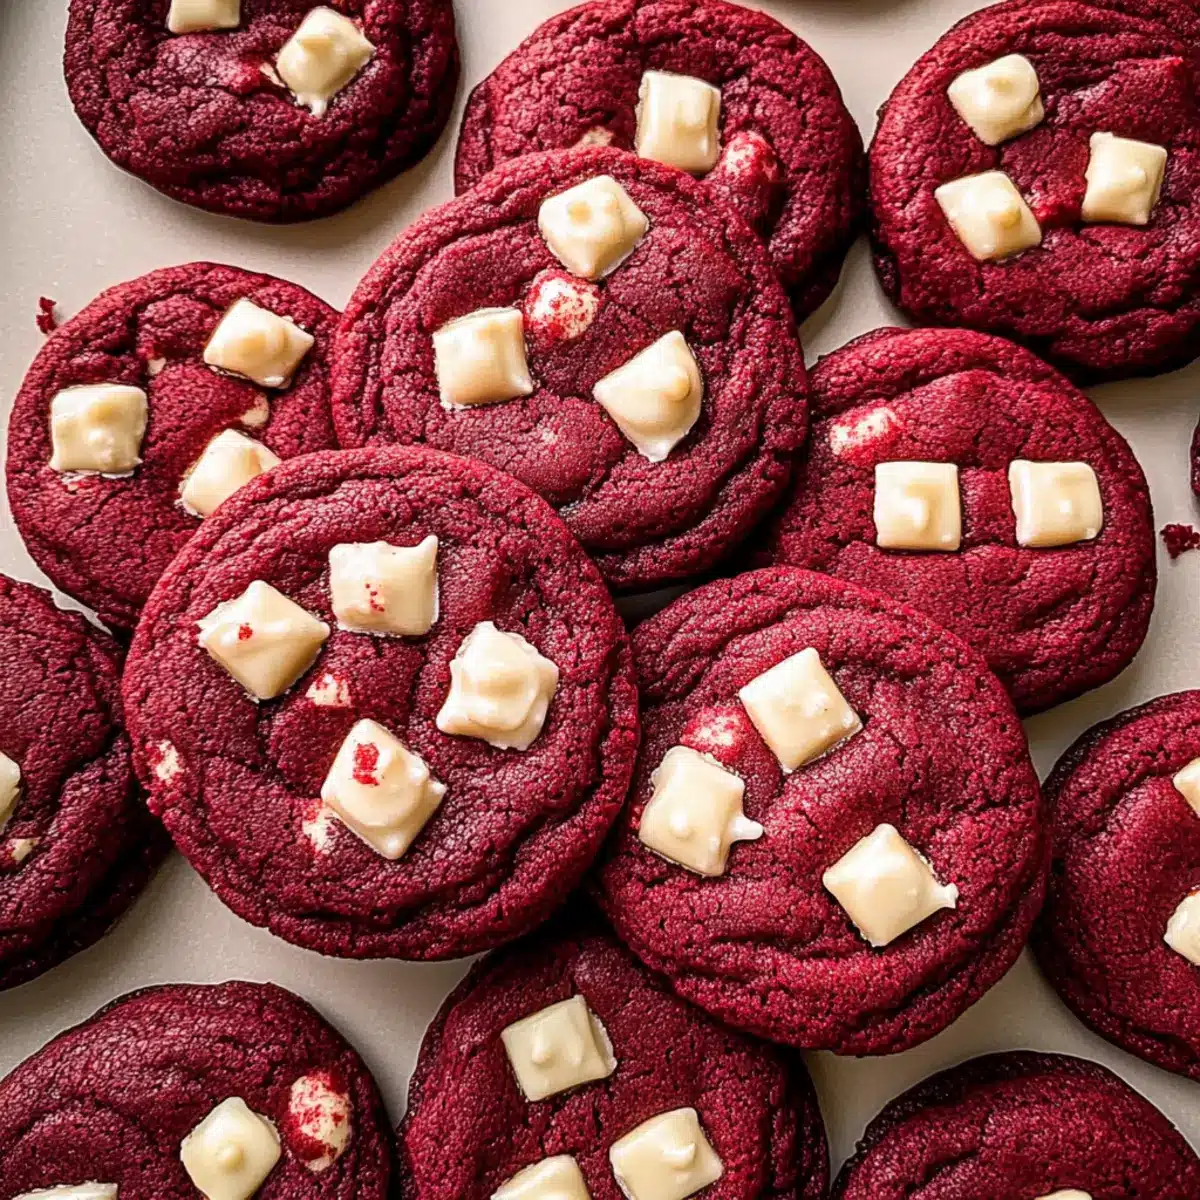
Gently fold in 1 cup of chopped white chocolate, ensuring it’s evenly distributed throughout the dough. This addition not only contributes sweetness but also adds layers of flavor, creating a delightful contrast against the rich red velvet background of your cookies.
Step 7: Scoop Cookies
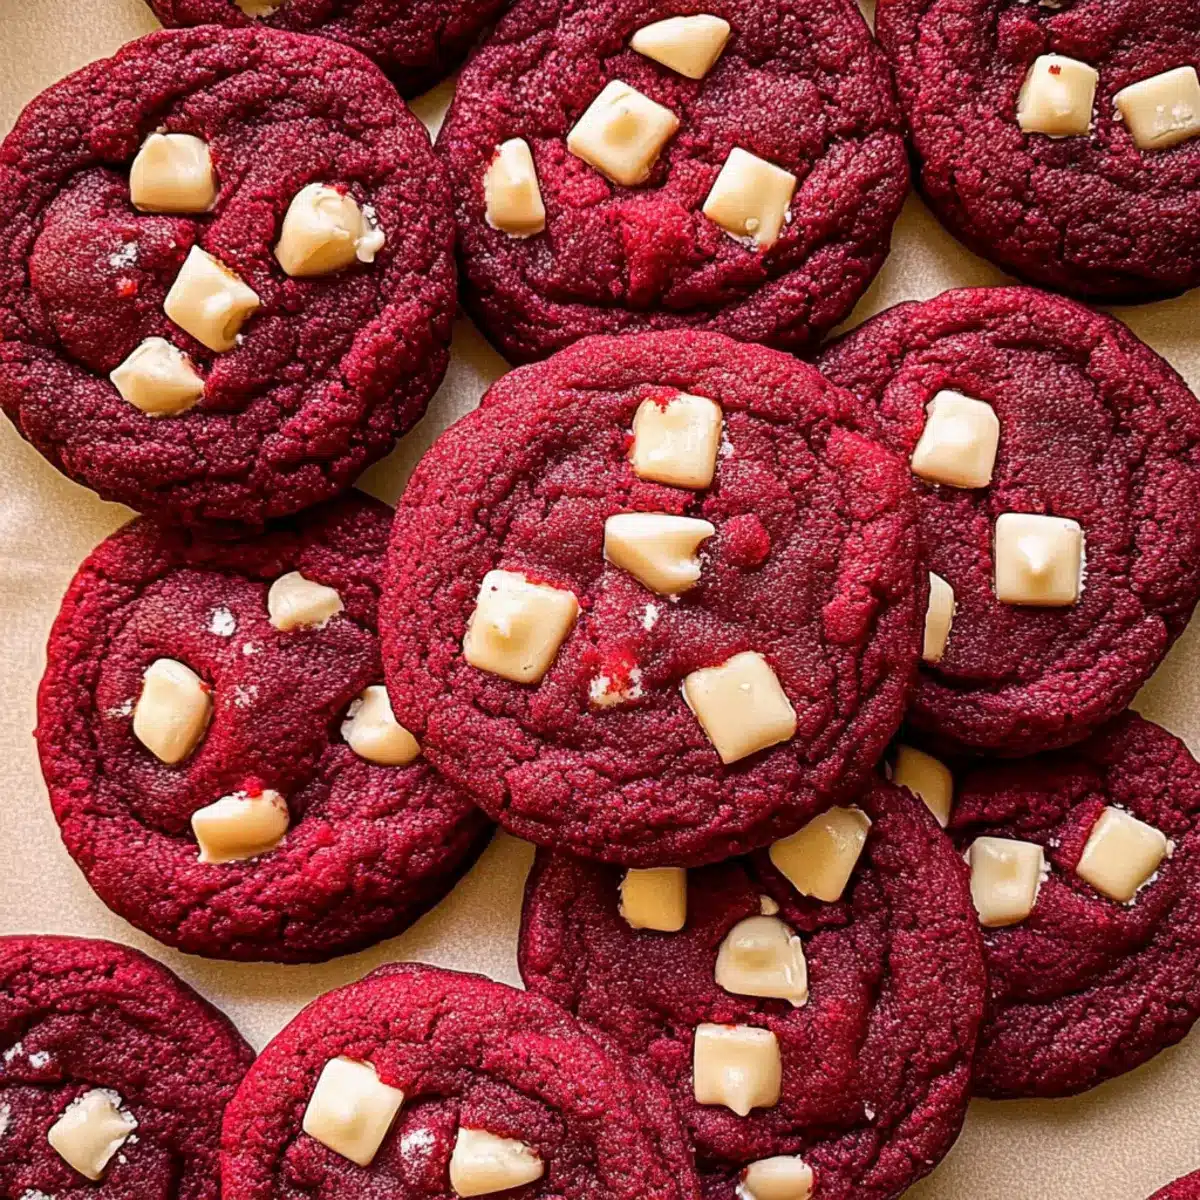
Using a cookie scoop or your hands, form the dough into approximately 18 equal balls, placing them about two inches apart on the prepared baking sheets. The spacing allows for proper spreading, resulting in beautifully shaped red velvet cookies with crispy edges and a soft center.
Step 8: Bake
Bake the cookies in the preheated oven for 10–12 minutes. Keep an eye on them—bake them for the shorter time if you prefer soft centers. The cookies should look slightly puffed and set around the edges, while the centers remain soft and chewy, taking your red velvet cookie experience to the next level.
Step 9: Cooling
After baking, let the cookies cool on the baking sheet for about 5 minutes. This helps them firm up slightly before transferring to a cooling rack, where they can cool completely for another 5 minutes. The cooling process solidifies their chewy texture and ensures every bite is delightful!
How to Store and Freeze Red Velvet Cookies
Airtight Container: Store your red velvet cookies in an airtight container at room temperature for up to 3 days to keep them fresh and chewy.
Fridge: If you’d like them to last a bit longer, you can refrigerate them in an airtight container for up to 1 week, but they might lose some of their soft texture.
Freezer: For longer storage, freeze the cookies in a single layer on a baking sheet for 1-2 hours before transferring them to a freezer-safe bag or container. They can be frozen for up to 2 weeks.
Reheating: To enjoy them warm again, simply pop the frozen red velvet cookies in a 350°F (175°C) oven for about 5-7 minutes, or until heated through.
What to Serve with Irresistibly Chewy Red Velvet Cookies?
Warm, delightful, and bursting with flavor, these cookies deserve the perfect companions to create an unforgettable dessert experience.
-
A Glass of Milk: The classic pairing that balances the richness of the cookies and enhances their sweetness, making each bite even more enjoyable.
-
Coffee Float: A creamy blend of cold brew coffee topped with vanilla ice cream, offering a smooth contrast that complements the chewy texture of the cookies.
-
Vanilla Ice Cream Sundae: Elevate your red velvet experience by stacking a warm cookie with a scoop of vanilla ice cream and drizzling chocolate sauce on top.
-
Chocolate Dipped Strawberries: Fresh strawberries dipped in rich chocolate provide a burst of freshness that contrasts beautifully with the indulgent cookies.
-
Sparkling Berry Lemonade: A vibrant drink that refreshes the palate and adds a zestful twist to the sweet experience, perfect for celebrations or casual gatherings.
-
Cream Cheese Frosting: A light dollop on top enhances the red velvet flavor; this pairing mirrors the classic red velvet cake, providing a nostalgic taste that resonates with dessert lovers.
Red Velvet Cookies Variations
Feel free to get creative and customize these delightful cookies to suit your taste!
-
Chocolate Chip Twist: Substitute half of the white chocolate with semi-sweet chocolate chips for a deeper, richer flavor.
-
Spice Infusion: Add a teaspoon of cinnamon or nutmeg for warm, aromatic notes that beautifully complement the cocoa.
-
Creamy Nutty Delight: Mix in ½ cup of chopped pecans or walnuts for a delightful crunch and extra flavor.
-
Zesty Citrus: Incorporate a teaspoon of orange or lemon zest to brighten the cookies with a refreshing twist.
-
Dairy-Free Option: Swap butter for coconut oil and use dairy-free chocolate for a delicious dairy-free treat.
-
Flavorful Heat: Add a pinch of cayenne pepper for a surprising kick that balances the sweetness beautifully.
-
Fruity Addition: Gently fold in ½ cup of dried cherries or cranberries for a fruity, chewy element that pairs perfectly with red velvet.
-
Fun Color Change: Experiment with different food coloring like blue or green to create uniquely colored cookies for any occasion. You could also try a fun marbled effect!
Ready to enjoy these variations? You might also love my Red Velvet Cinnamon rolls, or perhaps some savory Pepper Chicken Alfredo for a delightful dinner after all that baking!
Expert Tips for Perfect Red Velvet Cookies
-
Measuring Flour: Always spoon flour into your measuring cup instead of scooping to avoid using too much, which can lead to dry cookies.
-
Mixing Technique: Cream butter and sugars until light and fluffy, as this incorporates air, resulting in a lighter texture for your red velvet cookies.
-
Mix-Ins: If using white chocolate chips, consider adding fewer to prevent overwhelming the cookie base; a balanced sweetness is key to perfection.
-
Baking Time: Keep a close watch while baking; pulling cookies out when they still look slightly underbaked ensures deliciously chewy centers.
-
Storage Advice: Store any leftover cookies in an airtight container to maintain their freshness and chewiness for up to three days.
-
Experiment Freely: Don’t hesitate to play around with flavors; adding spices like cinnamon can enhance the flavor profile of your red velvet cookies!
Make Ahead Options
These Red Velvet Cookies are perfect for meal prep enthusiasts! You can prepare the cookie dough and refrigerate it for up to 3 days before baking. Simply scoop the dough into balls and place them on a parchment-lined baking sheet. Wrap the sheet tightly in plastic wrap and refrigerate. When you’re ready to bake, preheat your oven and let the dough sit at room temperature for about 15-20 minutes to soften slightly. Then, bake as directed for that fresh-out-of-the-oven taste. This method not only saves you time but ensures you can enjoy delicious, warm Red Velvet Cookies whenever the craving strikes!
Red Velvet Cookies Recipe FAQs
What should I look for when selecting ingredients?
Absolutely! When choosing your ingredients, make sure the butter is softened for easy blending and a light texture in your cookies. For flour, use the spoon-and-level method to measure accurately—it makes all the difference! You want your cocoa powder to be Dutch process for the best flavor, but if you can only find regular cocoa, that will work in a pinch. When it comes to your food coloring, opt for gel-based red food coloring to achieve that vibrant hue without adding too much liquid to your dough.
How should I store leftover red velvet cookies?
Very simply! Store your red velvet cookies in an airtight container at room temperature for up to 3 days. This will keep them fresh and chewy. If you want to maintain their yummy texture, consider refrigerating them in an airtight container for up to a week, although they might lose some softness. A tip from my kitchen: place a slice of bread in the container to help keep them moist!
Can I freeze these cookies for later?
Absolutely, these red velvet cookies freeze beautifully! After they cool completely, arrange them in a single layer on a baking sheet and place them in the freezer for about 1-2 hours until they’re firm. Then, transfer them to a freezer-safe bag or an airtight container. You can freeze them for up to two weeks. When you’re ready to enjoy, just pop them in a preheated oven at 350°F (175°C) for about 5-7 minutes to get them warm and delicious once again!
What can I do if my cookies turn out too dry?
If you find that your red velvet cookies are too dry, it could be due to over-measuring the flour. Make sure to use the spoon-and-level method to prevent this. If it happens, consider adding a bit of melted butter or even a touch of milk to the dough while mixing. Alternatively, you can bake for a shorter time to retain more moisture in the centers—aim for that soft, chewy feel!
Are there any dietary considerations I should keep in mind?
Yes! If you’re baking for someone with allergies, note that these cookies contain gluten (from the all-purpose flour), dairy (from the butter and white chocolate), and eggs (from the yolks). For a dairy-free option, substitute with vegan butter and dairy-free chocolate chips. Be sure to check for gluten-free flours if your guests avoid gluten, though you’ll need to adjust the baking powder to ensure they rise properly.
Can I substitute any ingredients in this recipe?
Definitely! You can swap half of the white chocolate for semi-sweet chocolate chips if you’re looking for a richer flavor. If you want extra chewiness, add a teaspoon of cream of tartar to the dry ingredients. For a little fun, try using blue or green food coloring instead of red for a unique spin! The more the merrier, so feel free to experiment with your favorite mixes!
Chewy Red Velvet Cookies Ready in 30 Minutes Flat
Ingredients
Equipment
Method
- Preheat your oven to 350°F (175°C) and line two baking sheets with parchment paper.
- In a small mixing bowl, whisk together the dry ingredients: flour, cocoa powder, baking soda, baking powder, and salt.
- In a large bowl, cream together the softened butter, light brown sugar, and granulated sugar until light and fluffy.
- Add the egg yolks, vanilla extract, and red gel food coloring to the creamed mixture and mix until combined.
- Gradually add the dry ingredient mixture to the wet mixture, mixing just until incorporated.
- Gently fold in the chopped white chocolate until evenly distributed throughout the dough.
- Using a cookie scoop or your hands, form the dough into approximately 18 equal balls, placing them about two inches apart on the prepared baking sheets.
- Bake the cookies in the preheated oven for 10–12 minutes. Look for slightly puffed edges with soft centers.
- Let the cookies cool on the baking sheet for about 5 minutes before transferring them to a cooling rack.
Leave a Reply