
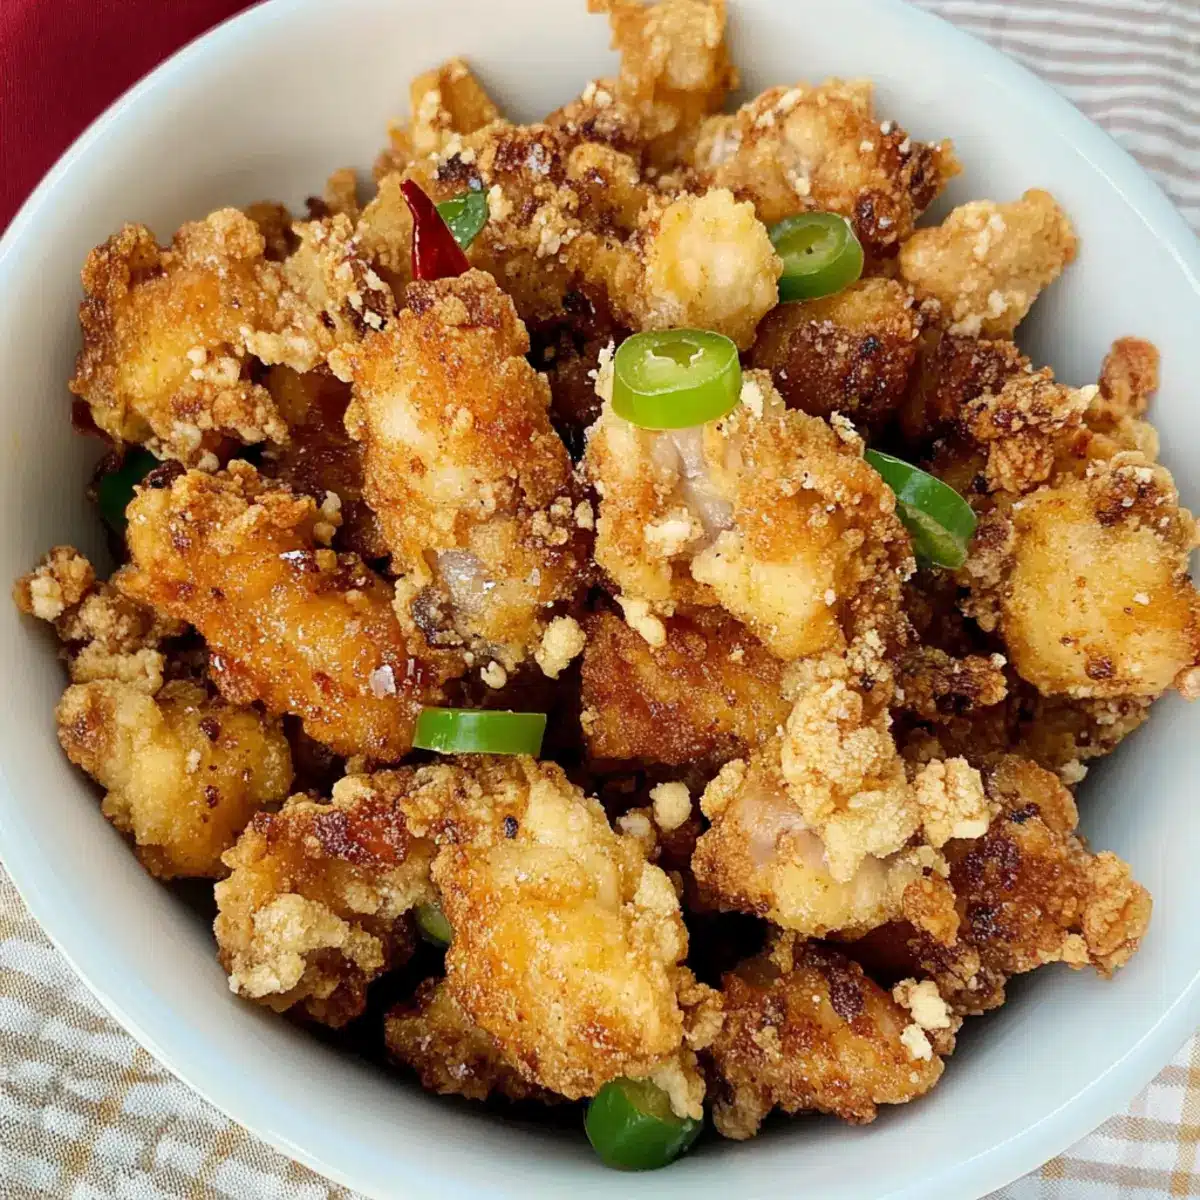
“Crispy on the outside, tender on the inside” doesn’t just sound like a cooking mantra; it’s the culinary essence of my beloved Salt and Pepper Chicken. As I took the first bite of this homemade version, the crunch echoed like sweet music, transporting me to my favorite Chinese takeout spot. This irresistible recipe achieves that perfect texture using just cornstarch, making it not only a delightful treat for your taste buds but also a healthier alternative to fast food. Whether you’re gearing up for a busy weeknight dinner or looking to impress friends, this dish is quick to prepare and irresistibly satisfying. Are you ready to turn your kitchen into a sizzling hotspot?
Why Is This Chicken Recipe Irresistible?
Crispy Texture: Every bite offers a delightful crunch that’s hard to resist, mimicking the best takeout experience right at home.
Flavorful Seasoning: The blend of soy sauce, garlic, and a hint of brown sugar elevates the taste profile, ensuring each mouthful is packed with flavor.
Quick and Easy: With minimal prep time, this dish is perfect for busy weeknights—ideal for anyone tired of fast food.
Versatile Dish: Pair with white rice or create a wonderful stir-fry for a complete meal that caters to all tastes. For more inspiration, try serving it alongside a refreshing Garlic Parmesan Chicken.
Healthier Choice: Using cornstarch for frying creates that signature crunch without the guilt, making it a satisfying yet moderate indulgence.
Salt and Pepper Chicken Ingredients
• Explore the essential ingredients that bring this dish to life!
For the Chicken
- Boneless, skinless chicken thigh or breast – Chicken thighs are juicier and more flavorful than breasts.
- Soy sauce – Adds depth of umami flavor; use tamari for a gluten-free option.
- Rice wine or dry sherry – Enhances overall flavor; apple cider vinegar can work as a substitute.
- Salt – Essential for boosting the overall flavor of the chicken.
For the Seasoning
- White pepper – Offers a unique warmth that complements the dish; substitute with black pepper if desired.
- Brown sugar – Balances the salty flavors beautifully; white sugar is fine in a pinch.
- Garlic, minced – Adds aromatic richness; feel free to use powdered garlic if fresh isn’t on hand.
For the Coating
- Cornstarch – The magic ingredient that creates a shatteringly crispy coating; don’t substitute with flour for this recipe.
- Extra white pepper (for tossing) – Adds a nice flavor boost after frying; optional for those who love a kick.
For Serving
- Chilies, sliced – Optional for those who enjoy a bit of heat; adjust quantity based on your spice preference.
- Oil for frying – Choose high smoke point oils like vegetable or peanut oil to achieve the perfect crispiness.
Now that you have all the ingredients laid out, you’re just a few steps away from creating your very own delightful Salt and Pepper Chicken at home!
Step‑by‑Step Instructions for Salt and Pepper Chicken
Step 1: Marinate Chicken
In a mixing bowl, combine your boneless, skinless chicken thighs or breasts with soy sauce, rice wine, brown sugar, salt, white pepper, and minced garlic. Ensure every piece is coated well. Let the chicken marinate for 10-15 minutes at room temperature to enhance the flavors and tenderness.
Step 2: Prep Coating
While the chicken marinates, spread cornstarch in a shallow dish or plate. Take each marinated chicken piece and dredge it in the cornstarch, ensuring an even coating forms. Shake off any excess cornstarch; this will create the perfect crispy exterior when fried.
Step 3: Heat Oil
In a deep pan or wok, pour in oil, ensuring you have at least 2 inches deep for frying. Preheat the oil to 350-360°F (175-180°C). Use a thermometer to check the temperature; the oil should shimmer but not smoke, as this indicates it’s ready for frying your Salt and Pepper Chicken.
Step 4: Fry Chicken
Carefully add the coated chicken pieces into the hot oil in batches, avoiding overcrowding. Fry for about 3-4 minutes per side or until the chicken turns a beautiful golden brown and is crispy to the touch. Ensure it reaches an internal temperature of 165°F (75°C) for safe and delicious results.
Step 5: Drain & Toss
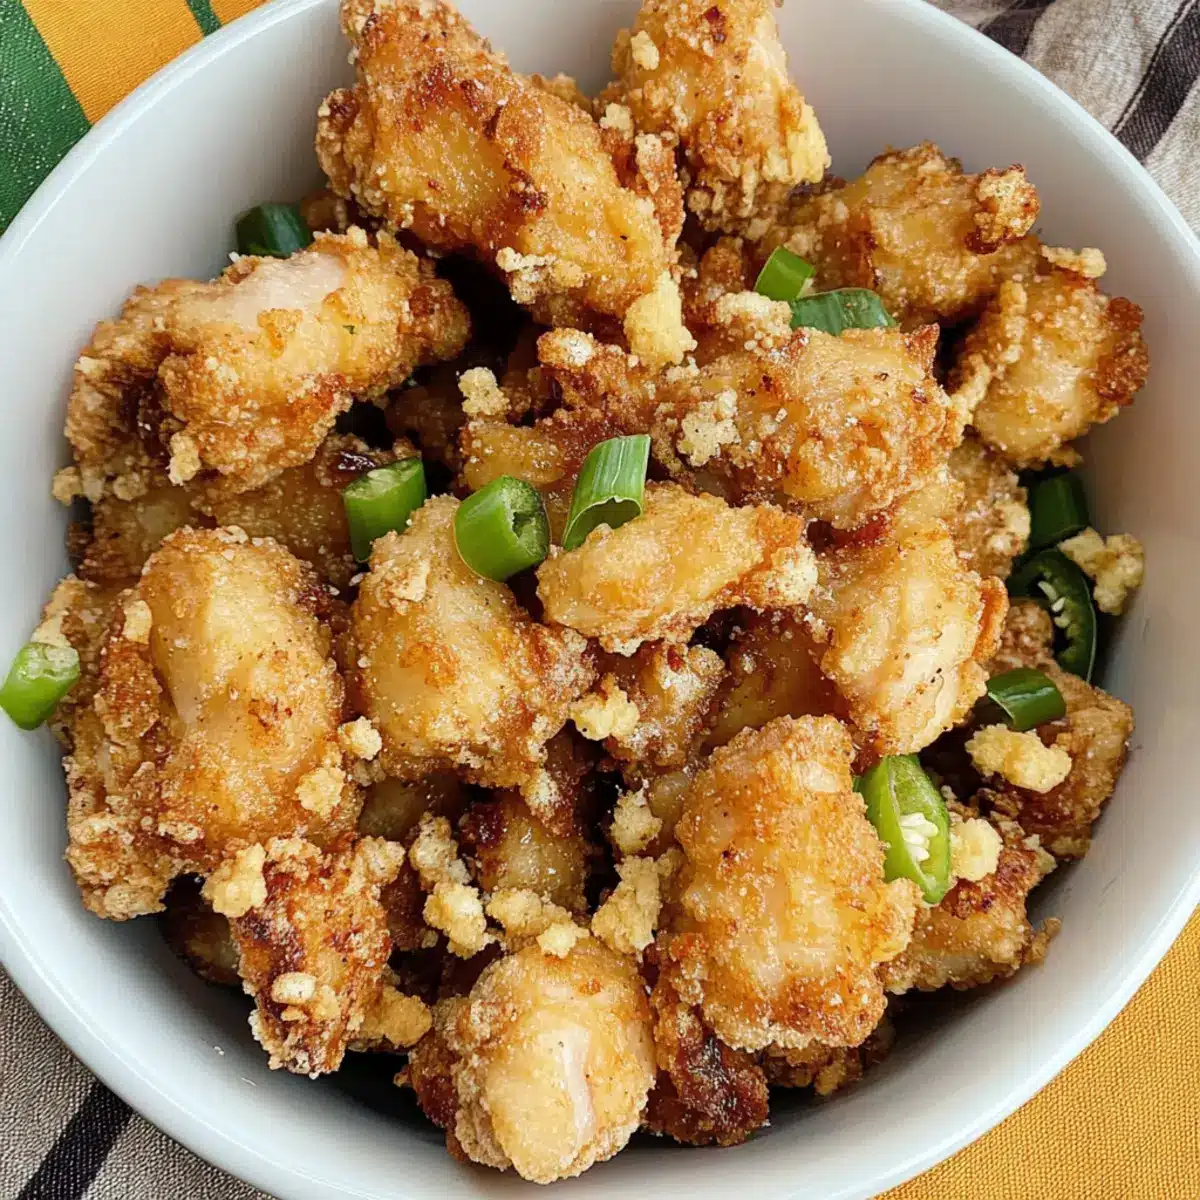
Once golden and crisp, use a slotted spoon to transfer the chicken onto a wire rack or paper towel-lined tray to drain excess oil. While still hot, toss the chicken lightly with extra white pepper and sliced chilies if desired for an extra kick, enhancing the flavor profile of your Salt and Pepper Chicken.
Step 6: Rest
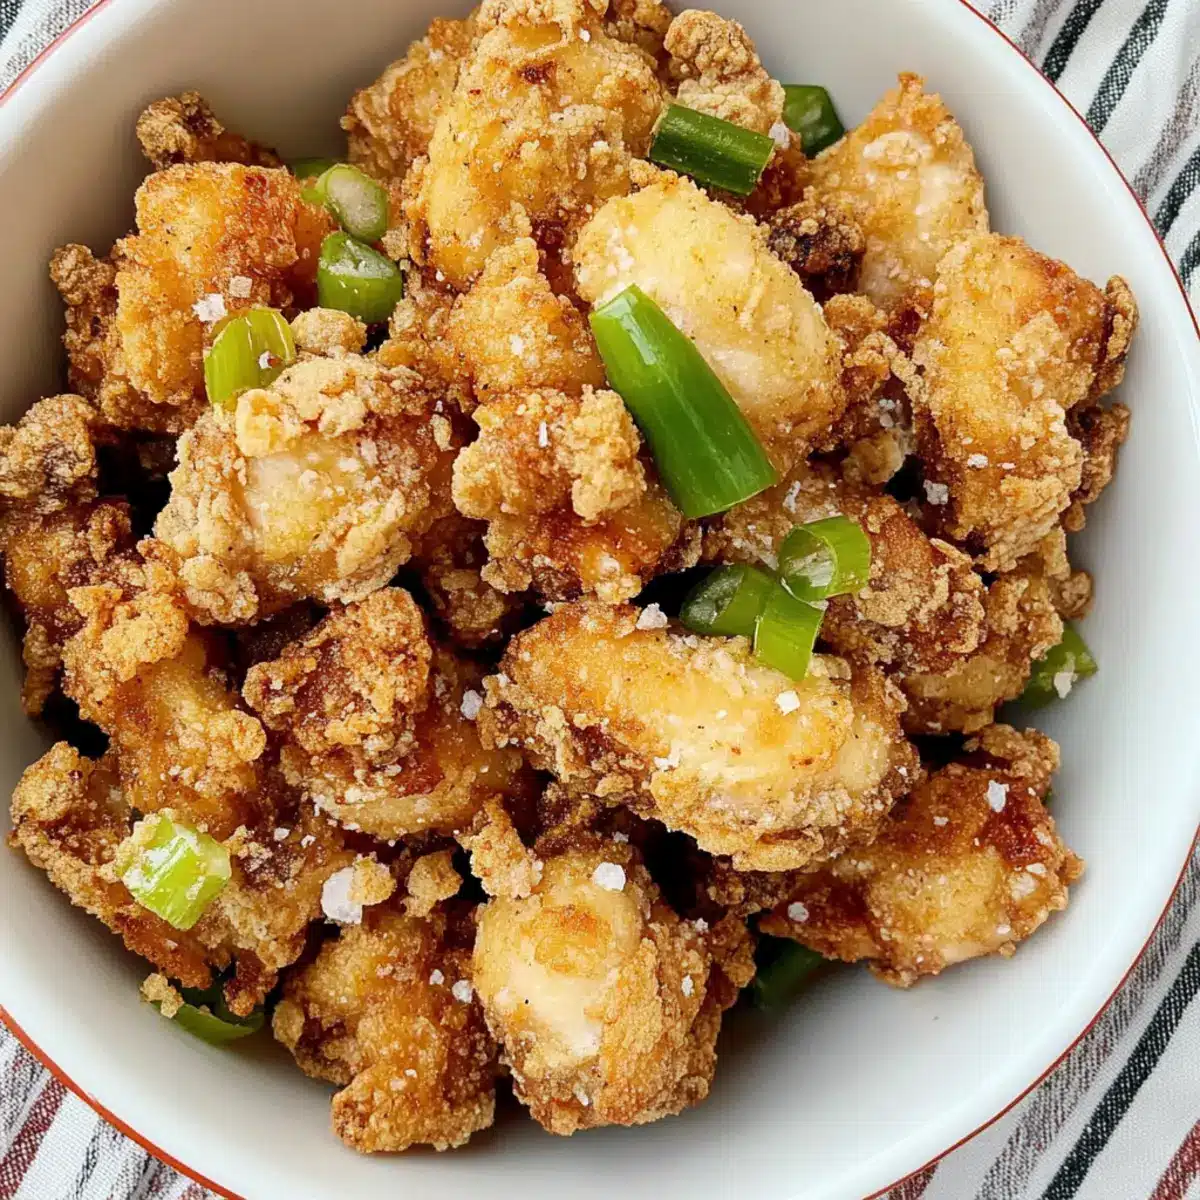
Allow your chicken to rest for about 5 minutes before serving. This brief pause not only helps maintain that shattering crispiness but also allows the flavors to settle, creating a mouthwatering experience when you dive into your homemade Salt and Pepper Chicken.
What to Serve with Crispy Salt and Pepper Chicken?
Indulging in a plate of crispy salt and pepper chicken elevates your meal to a new level of delight, and pairing it perfectly can make it even more memorable.
-
Steamed White Rice: This classic companion absorbs the savory juices, balancing the chicken’s crunch with a gentle softness that comforts the soul.
-
Garlic Bok Choy: This sautéed green vegetable adds a delightful crunch and a pop of color to your meal, bringing freshness that complements the salty chicken beautifully.
-
Chilled Cucumber Salad: A cool, tangy cucumber salad with sesame dressing cleanses the palate excellently, introducing invigorating freshness alongside your crispy dish.
-
Vegetable Stir-Fry: Pair with a variety of vibrant veggies tossed in soy sauce for a hearty addition, enhancing both flavor and nutrition, rounding out the meal perfectly.
-
Hot and Sour Soup: This bold, tangy soup provides a wonderful contrast to the crunchy chicken, with acidity cutting through the richness, adding an exciting twist.
-
Cold Beer or Iced Green Tea: Sip on a refreshing beverage like a light beer or iced green tea to cleanse your palate and enhance the meal’s enjoyment, making every bite even more gratifying.
Each of these options not only adds delightful contrasting textures and flavors but also cultivates a rounded dining experience that’ll have everyone reaching for seconds!
How to Store and Freeze Salt and Pepper Chicken
Fridge: Store leftover Salt and Pepper Chicken in an airtight container for up to 3-4 days to maintain freshness and flavor.
Freezer: For longer storage, freeze coated and uncooked chicken pieces. Place them in a single layer on a baking sheet, freeze until solid, then transfer to a freezer bag for up to 3 months.
Reheating: To restore that signature crispiness, reheat fried chicken in a preheated oven at 350°F (175°C) for about 10-15 minutes until heated through.
Avoid Soggy Coating: When reheating, avoid the microwave as it can result in a soggy texture; the oven is your best friend here for perfectly crispy results!
Salt and Pepper Chicken Variations
Feel free to let your culinary creativity shine with these delightful twists on the classic Salt and Pepper Chicken!
-
Air Fryer Option: Use an air fryer by lightly spraying chicken pieces with oil and cooking at 380°F until crispy. It’s a healthier choice that still delivers crunch.
-
Oven Baked Version: Arrange the cornstarch-coated chicken on a baking sheet, then bake at a high temperature until golden brown. Enjoy that crisp without the hassle of frying!
-
Gluten-Free Option: Swap soy sauce for gluten-free tamari to keep the flavor profile while making it accessible to those with dietary restrictions.
-
Extra Spicy: Crank up the heat by adding more sliced chilies or a pinch of cayenne pepper to the seasoning before marinating. It’ll have your taste buds dancing!
-
Boneless Wings Style: Cut the chicken into smaller, bite-sized pieces for a fun “wings” style dish, and serve with your favorite dipping sauces. Perfect for parties or game nights!
-
Crispy Veggie Medley: Add sliced bell peppers and onions to the frying process, coating them in cornstarch for a crispy vegetable addition that pairs perfectly with the chicken.
-
Citrusy Zest: Before serving, toss the fried chicken with fresh lime or lemon zest for a bright and zesty kick that cuts through the richness of the dish.
-
Herb-Infused: Mix dried herbs like thyme or parsley into the cornstarch coating for a fragrant and flavorful twist that’ll elevate this Chow Mein staple even more.
For some other delicious meal options to serve alongside, consider pairing with a hearty Garlic Parmesan Chicken or trying a vibrant Greek Chicken Lemon for contrast and balance!
Make Ahead Options
These Salt and Pepper Chicken pieces are a lifesaver for busy home cooks! You can marinate the chicken up to 24 hours in advance, allowing the flavors to deeply penetrate for more delicious results. Just blend the chicken with soy sauce, rice wine, brown sugar, salt, white pepper, and minced garlic, then refrigerate it in an airtight container. Additionally, you can coat the marinated chicken in cornstarch and keep it in the fridge for a few hours before frying. When you’re ready to serve, simply heat your oil and fry the chicken as directed. This way, you’ll achieve that satisfying crunch with minimal effort, making dinner a breeze.
Expert Tips for Salt and Pepper Chicken
-
Oil Temperature Matters: Ensure your oil is at the right temperature, around 350-360°F, for perfectly crispy chicken. Too cool makes it greasy, while too hot can burn.
-
Dry Chicken Thoroughly: Pat down the chicken pieces with a paper towel before coating. This helps the cornstarch stick better, ensuring that shatteringly crispy finish.
-
Fry in Batches: Avoid overcrowding the pan while frying. Too many pieces at once will lower the oil temperature, affecting the crispiness of your Salt and Pepper Chicken.
-
Rest for Extra Crispiness: Let the fried chicken rest for 5 minutes before serving. This allows the moisture to escape, preserving that delightful crunch.
-
Spice It Up: For an extra kick, consider tossing the chicken with additional white pepper and sliced chilies right after frying—it’s a fantastic way to elevate flavor!
Salt and Pepper Chicken Recipe FAQs
What type of chicken is best for this recipe?
Boneless, skinless chicken thighs are recommended for their juiciness and flavor. However, you can also use chicken breasts if you prefer a leaner option, just be mindful that they may be a bit less moist.
How do I store leftover Salt and Pepper Chicken?
Store leftovers in an airtight container in the fridge for up to 3-4 days. This way, you can enjoy your delicious meal for lunch or dinner again without losing too much flavor!
Can I freeze Salt and Pepper Chicken?
Absolutely! To freeze, place the coated and uncooked chicken pieces in a single layer on a baking sheet and freeze until solid. Once frozen, transfer them to a freezer bag. They can be stored in the freezer for up to 3 months. When you’re ready to cook, simply fry them directly from the freezer, adding a couple of extra minutes to the cooking time.
How can I prevent the coating from getting soggy when reheating?
To maintain that mouthwatering crispiness, reheat the fried chicken in a preheated oven at 350°F (175°C) for about 10-15 minutes. Avoid using the microwave, as it tends to make the coating soggy and less enjoyable.
Are there any dietary considerations for this recipe?
If you’re following a gluten-free diet, simply substitute the regular soy sauce with gluten-free tamari. It’s also important to check for any allergies to garlic or soy if cooking for guests or family members.
What should I do if my chicken isn’t crispy?
If your chicken doesn’t come out crispy, it may be due to two main factors: the oil temperature may have been too low, or the chicken may not have been dried thoroughly before coating. Ensure the oil is preheated to 350-360°F (175-180°C) and pat the chicken dry to help the cornstarch adhere better for that perfect crunch.
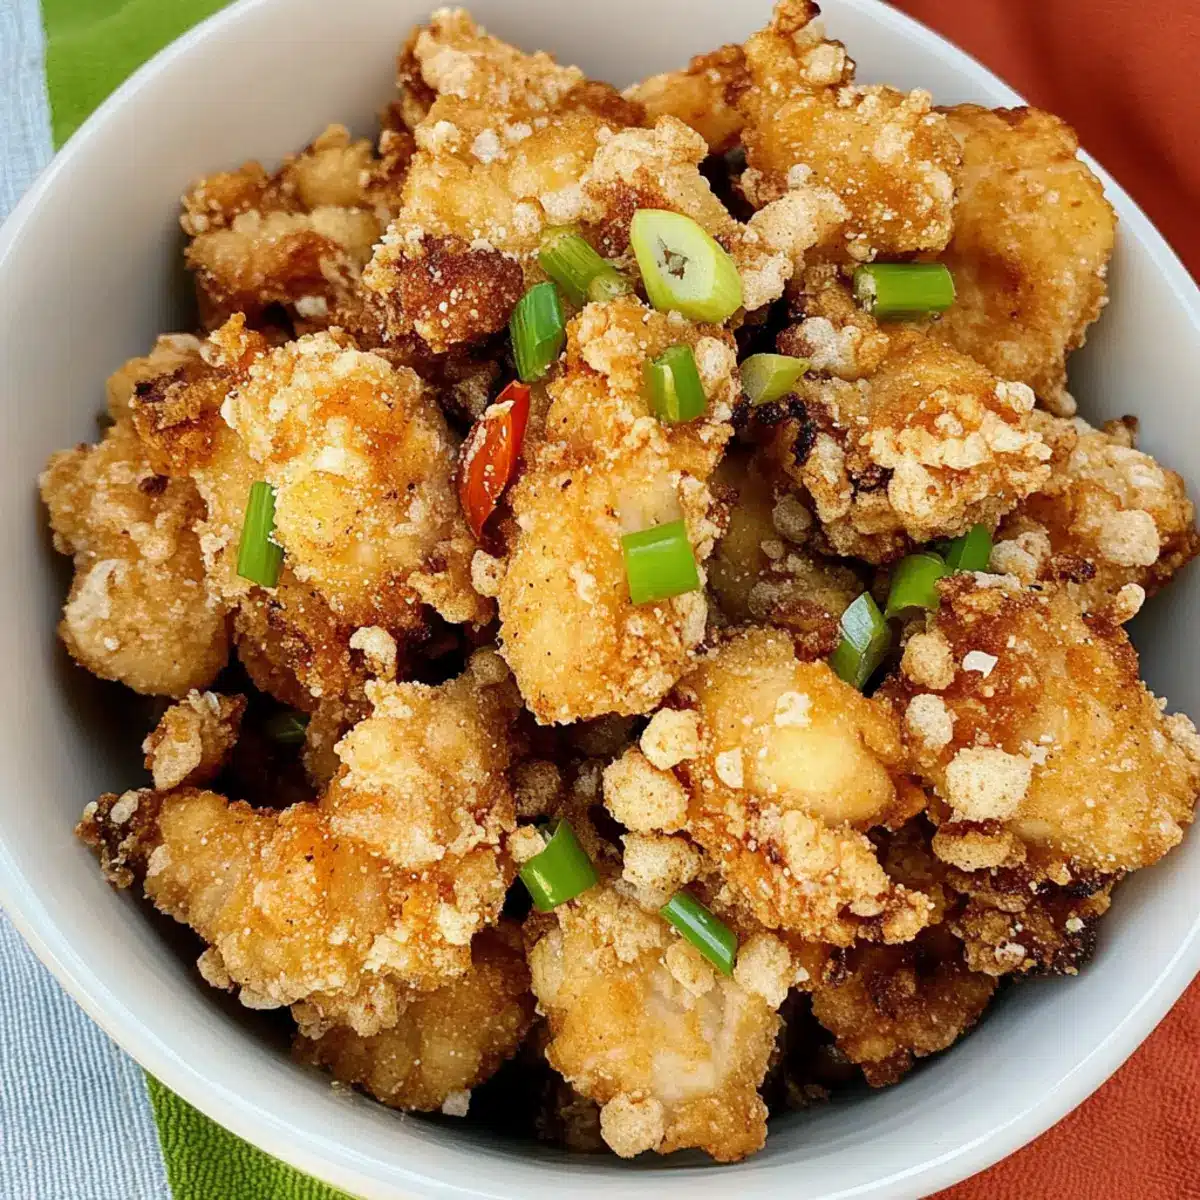
Crispy Salt and Pepper Chicken: Takeout Taste at Home
Ingredients
Equipment
Method
- In a mixing bowl, combine your boneless, skinless chicken thighs or breasts with soy sauce, rice wine, brown sugar, salt, white pepper, and minced garlic. Marinate for 10-15 minutes.
- Spread cornstarch in a shallow dish. Dredge each marinated chicken piece in the cornstarch, ensuring an even coating, and shake off excess.
- In a deep pan, heat oil to 350-360°F (175-180°C). Use a thermometer to check the temperature.
- Carefully add the coated chicken into the hot oil in batches, frying for about 3-4 minutes per side until golden brown.
- Transfer the chicken onto a wire rack or paper towel-lined tray to drain excess oil. Toss with extra white pepper and chilies if desired.
- Allow the chicken to rest for 5 minutes before serving to maintain crispiness.
Leave a Reply