
The satisfying crunch of a tasty snack can instantly turn any gathering into a delightful occasion. I found myself craving a healthier alternative to store-bought snacks, and that’s when I decided to whip up a batch of Healthier Homemade Corn Nuts. Made with dried hominy and baked to perfection, these crispy morsels are not only gluten-free and vegan but also incredibly easy to prepare! Whether you’re watching the big game or hosting a chic cheese platter, these baked delights are a standout choice that offers guilt-free indulgence. Plus, with endless seasoning options, they’re a fun way to satisfy your cravings while customizing your flavor experience. Ready to dive into this deliciously crunchy treat?
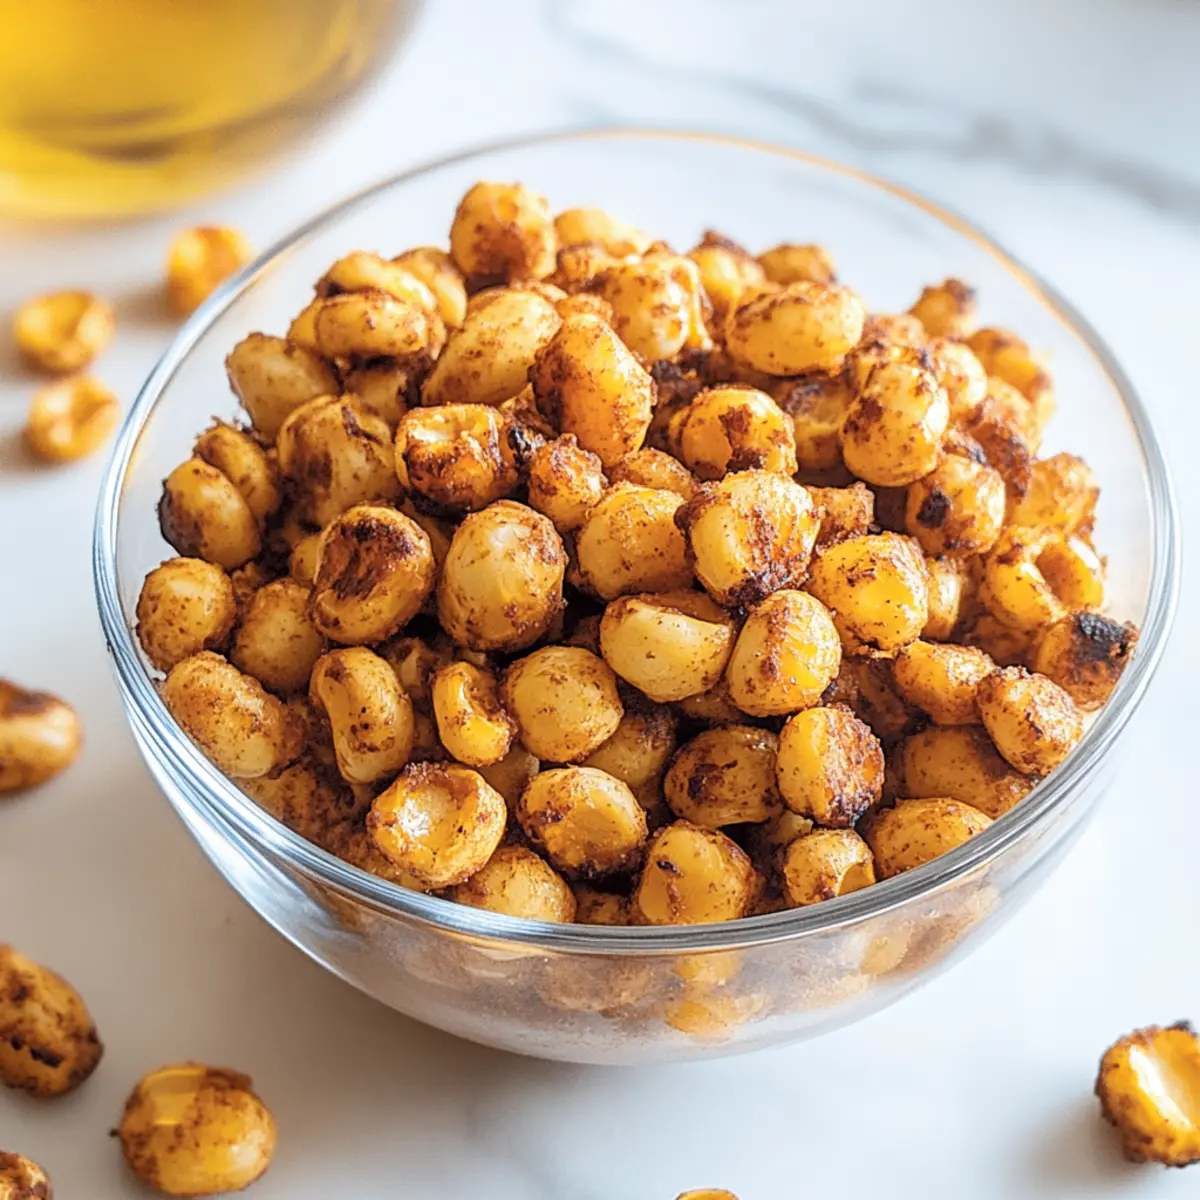
Why are Homemade Corn Nuts the Best?
Healthier alternative to traditional snacks: These baked corn nuts let you indulge without guilt while providing a satisfying crunch!
Versatile seasoning options: Customize the flavors from spicy chili to zesty ranch—there’s a mix for everyone!
Easy preparation: With just a few simple steps, you can create a delicious snack that’s perfect for any occasion.
Perfect for sharing: Serve them alongside your favorite party platters or at casual get-togethers, and watch them disappear! Enjoy these with a refreshing beverage or alongside a cheese board like my Street Corn Salad for the ultimate snack fest.
Homemade Corn Nuts Ingredients
• Enjoy these simple ingredients that yield a delightful crunchy snack!
For the Corn Nuts
- Dried Hominy – Use only dried hominy for the perfect crunch; canned won’t provide the desired texture.
- Peanut Oil – This oil helps achieve that wonderfully crispy finish; feel free to substitute with vegetable or avocado oil if needed.
- Fine Ground Salt – Essential for flavor; always choose fine salt for even distribution.
- Garlic Powder – Adds a savory punch; adjust according to your taste preferences.
- Paprika – This gives a lovely smokiness and vibrant color; experiment with other spices if desired.
- Onion Powder – Enhances the depth of flavor; can be swapped for other dried herbs as you prefer.
For Added Flavor (Optional)
- Nutritional Yeast – For a cheesy twist, sprinkle it on before baking!
- Chili Powder – Add for a kick of heat if you’re feeling adventurous!
- Lemon Pepper – A zesty option for a refreshing flavor experience.
Transform your snacking game with these healthier homemade corn nuts today!
Step‑by‑Step Instructions for Healthier Homemade Corn Nuts
Step 1: Soak the Hominy
Start by taking 15 ounces of dried hominy and placing it in a large bowl. Cover the hominy completely with water and let it soak for 6 to 12 hours. This process rehydrates the hominy and is crucial for achieving that wonderfully crunchy texture in your homemade corn nuts.
Step 2: Drain and Dry
Once the hominy has soaked, drain off the excess water using a colander. Spread the rehydrated hominy evenly on a paper towel-lined baking sheet and pat them dry with additional paper towels. Allow the hominy to air dry for about 1 hour to ensure maximum crunchiness when baked.
Step 3: Preheat the Oven
While the hominy is drying, preheat your oven to 375°F if using convection, or 400°F for regular baking. This step is essential to create the perfect environment for your healthier homemade corn nuts to crisp up beautifully.
Step 4: Mix the Seasoning
In a small jar, combine fine ground salt with your desired spices such as garlic powder, paprika, and onion powder. Secure the lid tightly and shake until the mixture is well blended. This simple seasoning mix will add an irresistible flavor to your baked corn nuts.
Step 5: Coat the Hominy
Transfer the dried hominy to a large mixing bowl. Drizzle a generous amount of peanut oil over the hominy, ensuring they are well-coated. Gradually add the seasoning mix, tossing the hominy as you go, until each piece is evenly coated with oil and seasoning for optimal flavor in your homemade corn nuts.
Step 6: Bake the Corn Nuts
Spread the seasoned hominy evenly across a baking sheet in a single layer. Place it in the preheated oven and bake for 20 minutes. After 20 minutes, gently stir the hominy to promote even baking, then return them to the oven for an additional 20 to 25 minutes. Keep a close eye on them during the last few minutes to prevent burning.
Step 7: Cool Before Serving
Once the corn nuts are golden brown and crispy, remove the baking sheet from the oven. Allow them to cool for at least 15 minutes, as they will continue to crisp up while cooling. This final step enhances the delightful crunchiness of your healthier homemade corn nuts, making them an irresistible snack.
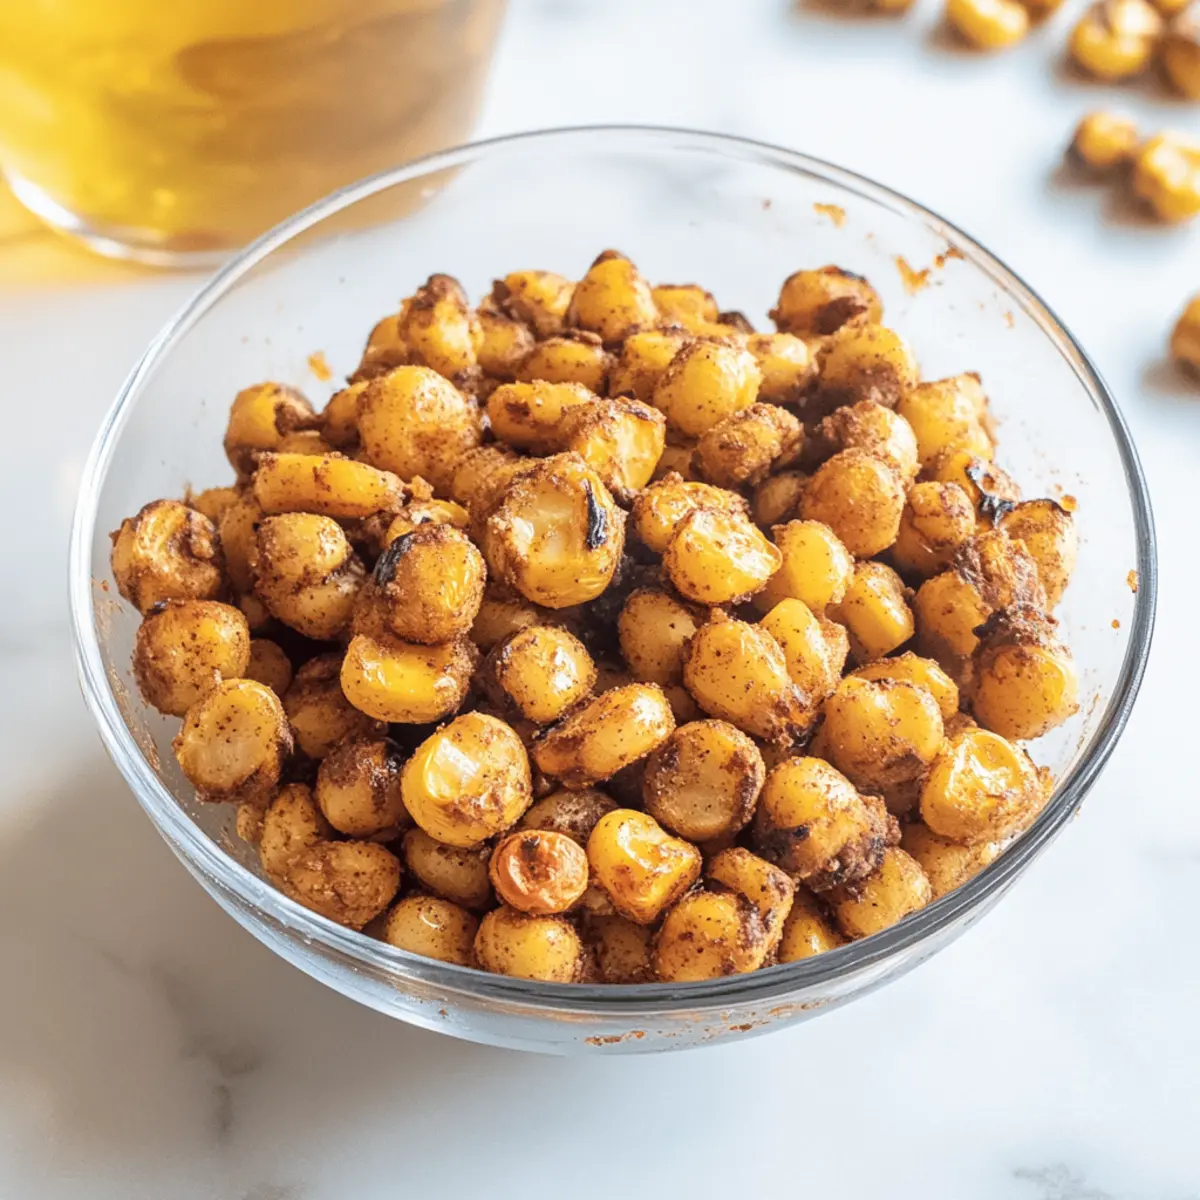
Homemade Corn Nuts Variations
Feel free to get creative with your homemade corn nuts for a personalized touch that’ll make your snack time even more delightful!
-
Spicy Kick: Add cayenne pepper or crushed red pepper flakes to the seasoning mix for a fiery flavor that’ll awaken your taste buds! Perfect for those who love a little heat.
-
Zesty Lemon Pepper: Swap in lemon pepper seasoning instead of regular salt and spices for a refreshing, citrus twist that complements the crunch beautifully!
-
Nutritional Yeast: Sprinkle nutritional yeast over the coated hominy for a cheesy, umami flavor that’s entirely vegan—perfect for cheese lovers seeking a healthy alternative!
-
Herb Infusion: Incorporate dried herbs like oregano or thyme into your seasoning mix for an aromatic herbal flavor that adds depth to the overall taste.
-
Smokey BBQ: Use BBQ seasoning for a touch of sweetness and smokiness that transforms your corn nuts into a barbecue lover’s dream snack! It pairs wonderfully with a cold drink.
-
Classic Ranch: Toss in some ranch dressing mix for a creamy flavor that will take your corn nuts to new flavor heights. It’s like a party in your mouth!
-
Sesame Twist: Switch out peanut oil for sesame oil for a nutty aroma and taste that’s fantastic with Asian-inspired dishes or as a fun snack on its own.
-
Sweet Treat: Drizzle a bit of honey over the baked corn nuts while they’re warm for a sweet addition. Combine with cinnamon for a unique snack experience that’s hard to resist!
Explore these variations and make your homemade corn nuts a delightful treat suitable for every occasion. Pair them with a refreshing beverage or serve them alongside my delicious Street Corn Chicken for an amazing flavor combo!
How to Store and Freeze Homemade Corn Nuts
Airtight Container: Store your homemade corn nuts in an airtight container at room temperature for up to 2-3 weeks to keep them crispy and fresh.
Freezer: If you want to extend their shelf life, freeze them in an airtight bag for up to 3 months. Thaw at room temperature before enjoying.
Reheating: If they lose their crunch, reheat in a preheated oven at 350°F for about 5-10 minutes to restore their delightful texture.
Avoid Moisture: Keep your homemade corn nuts away from moisture to ensure they maintain their perfect crunch.
Expert Tips for Homemade Corn Nuts
-
Drying is Key: Ensure your hominy is thoroughly dried after soaking. This crucial step keeps your homemade corn nuts nice and crunchy during baking.
-
Watch the Bake Time: Keep a close eye on your corn nuts, especially in the last 5 minutes. Ovens can vary, and you want to avoid burning!
-
Season Variably: Don’t be afraid to experiment with different spices. From chili powder to garlic, the flavor variations for your homemade corn nuts are endless.
-
Even Coating: When adding oil and seasoning, mix progressively. This ensures that each piece of hominy is coated evenly for maximum flavor.
-
Cool for Crunch: Let your corn nuts cool on the baking sheet for at least 15 minutes. This final cooling period helps them firm up into the perfect crunchy snack.
-
Store Properly: To maintain freshness, store your homemade corn nuts in an airtight container. Enjoy them for 2-3 weeks!
Make Ahead Options
These Healthier Homemade Corn Nuts are perfect for meal prep, saving you time on busy weeknights! You can soak the 15 oz of dried hominy up to 24 hours in advance, significantly reducing active cooking time. After soaking, remember to dry the hominy thoroughly to maintain their crunch when baked. You can also mix your seasoning blend and store it in a jar for up to 3 days before you’re ready to bake. When you’re set to serve, simply coat the soaked and dried hominy with peanut oil and your prepped seasoning, then bake as directed. With these steps, you’ll have a deliciously crunchy snack ready with minimal effort!
What to Serve with Healthier Homemade Corn Nuts
Elevate your snacking experience by pairing these crunchy morsels with delightful accompaniments that tantalize your taste buds.
- Craft Beer: A cold, craft beer complements the saltiness of the corn nuts, making for the ultimate snack pairing during game nights.
- Cheese Platter: Serve alongside a well-curated cheese board for a perfect blend of textures; their crunch will contrast beautifully with creamy cheeses.
- Guacamole: The richness of guacamole provides a luscious dip for your corn nuts, enhancing the savory flavor with a refreshing twist.
- Salsa: Bright and tangy salsa adds zing, making your snacking experience lively; it’s a fun contrast to the crunchy texture of corn nuts.
- Spicy Hummus: This creamy dip has a rich flavor that balances the crunch, creating an irresistible combination that will impress your guests.
When creating your perfect snacking spread, consider refreshing beverages to wash it all down. Pairing your healthier homemade corn nuts with a zesty lemonade or iced tea can brighten up the moment, making it even more enjoyable!

Healthier Homemade Corn Nuts Recipe FAQs
What type of hominy should I use?
Absolutely! Make sure to use only dried hominy for this recipe. Canned hominy is too soft and will not yield the crunchy texture that we love in our homemade corn nuts. Look for packages of dried hominy in the rice or bean aisle of your grocery store.
How should I store my homemade corn nuts?
Store your homemade corn nuts in an airtight container at room temperature for 2-3 weeks. Keeping them in a cool, dry place will help maintain their delightful crunch. If you live in a more humid area, consider placing a few silica gel packets in the container to absorb moisture.
Can I freeze baked corn nuts?
Yes, indeed! To freeze your homemade corn nuts, place them in an airtight freezer bag. They can be frozen for up to 3 months. When you’re ready to enjoy them, simply thaw at room temperature. If they’ve softened, reheat them in a preheated oven at 350°F for about 5-10 minutes to restore their crunch.
What if my corn nuts turn out soft?
Very good question! If your corn nuts don’t achieve the desired crunch, it may be because they weren’t adequately dried before baking or were overcooked. Always ensure the hominy dries thoroughly after soaking, and keep a close eye on them as they bake. Stirring them after the first 20 minutes can also help promote even baking.
Are there any dietary considerations I should be aware of?
Absolutely! This recipe is gluten-free and vegan, making it a fantastic snack option for various dietary preferences. If you have nut allergies, feel free to substitute the peanut oil with canola or avocado oil. Always double-check ingredient labels for potential allergens in seasonings as well.
Can I customize the seasonings for added flavor?
The more the merrier! You can absolutely customize the seasonings to suit your taste. Try adding chili powder for a spicy kick, or nutritional yeast for a cheesy flavor without the dairy. Don’t hesitate to experiment and create your own signature blend for your Healthier Homemade Corn Nuts!

Crispy Homemade Corn Nuts: A Healthy Snack You'll Love
Ingredients
Equipment
Method
- Soak the Hominy: Place 15 ounces of dried hominy in a large bowl, cover with water, and let it soak for 6 to 12 hours.
- Drain and Dry: Drain excess water, spread hominy on a paper towel-lined baking sheet, and pat dry. Allow to air dry for about 1 hour.
- Preheat the Oven: Preheat oven to 375°F for convection or 400°F for regular baking.
- Mix the Seasoning: Combine fine ground salt with spices like garlic powder, paprika, and onion powder in a small jar and shake well.
- Coat the Hominy: Drizzle peanut oil over dried hominy, add seasoning mix, and toss until evenly coated.
- Bake the Corn Nuts: Spread hominy on a baking sheet and bake for 20 minutes, stir, then bake for an additional 20 to 25 minutes.
- Cool Before Serving: Let corn nuts cool for at least 15 minutes before serving.
Leave a Reply