
“Did you hear the crunch?” I exclaimed as I took a bite of these vibrant Korean Garlic Chive Pickles with Chili Flakes, a burst of flavor dancing on my palate. This pickling recipe is my go-to for adding a zesty twist to any meal, transforming simple dishes into dazzling culinary experiences. Not only are these pickles quick to make, but they also store beautifully in the fridge, ready to elevate your lunches and dinners without fuss. With the perfect balance of heat from the chili flakes and a fresh, aromatic touch from the garlic chives, your taste buds are in for a treat! Plus, you’ll feel good knowing they’re gluten-free and can easily be made vegan. Ready to infuse some excitement into your meals with these crunchy flavor bombs?
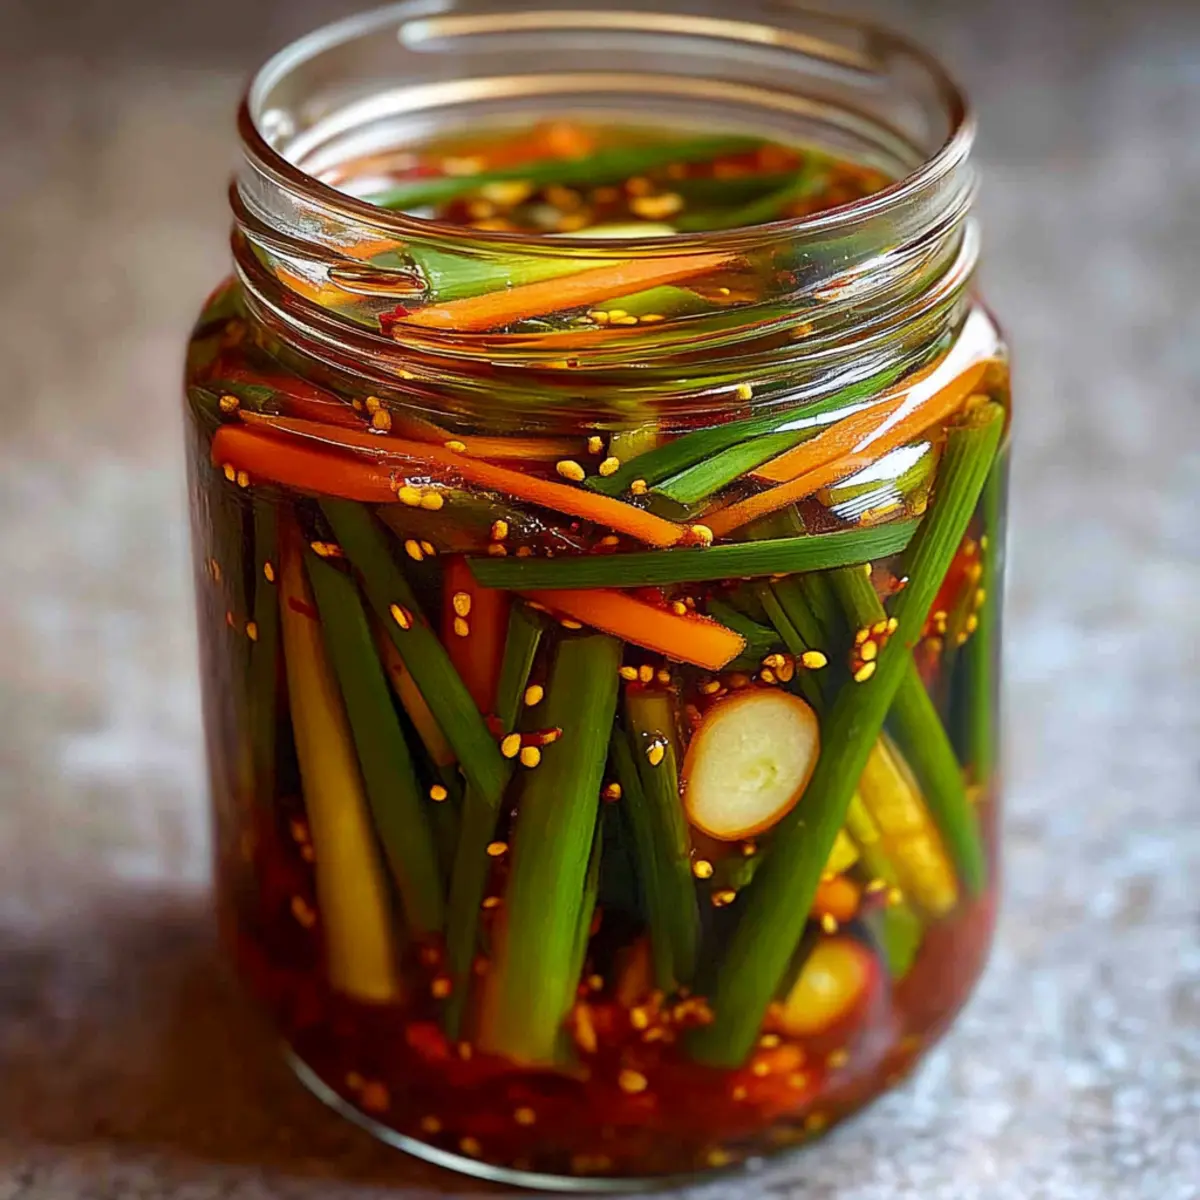
Why are Korean Garlic Chive Pickles amazing?
Bold, Crunchy Flavor: Each bite delivers a satisfying crunch, enhanced by the zesty kick of chili flakes and the fresh aroma of garlic chives.
Quick Preparation: In just a few simple steps, you’ll have a delicious side option that requires minimal effort, perfect for busy weeknights.
Versatile Usage: These pickles complement a variety of dishes, from traditional Korean meals to fusion-inspired creations like loaded nachos or grain bowls.
Healthy and Guilt-Free: Enjoy them knowing they’re a nutritious addition to your meals, tailored to fit gluten-free and vegan lifestyles effortlessly.
Store and Enjoy: With just a bit of patience, you’ll have flavorful pickles ready to elevate your lunchtime sandwiches or brighten up any dinner plate! For more inspiration, check out my Spicy Chili Garlic or Garlic Chicken Fried recipes that pack a flavorful punch.
Korean Garlic Chive Pickles Ingredients
Discover the essentials for making these delightful, crunchy pickles!
For the Vegetables
- Garlic Chives – Essential for flavor and aromatic richness; can replace with scallions or green onions if necessary.
- Korean Radish (or Daikon) – Provides crunch and earthiness; substitute with turnip or watermelon radish.
- Carrot – Adds color and crunch; can be omitted if desired.
- Garlic – Enhances the umami flavor profile; use fresh and thinly sliced for the best results.
For the Brine
- Korean Chili Flakes (Gochugaru) – Key ingredient for heat and color; smoked paprika with a pinch of cayenne may work in a pinch.
- Rice Vinegar – Creates the base of the pickling solution; no substitutes recommended for the best results.
- Water – Used for diluting the brine.
- Sugar – Balances the vinegar’s acidity; can use brown sugar for a deeper flavor.
- Salt – Necessary for brining; ensure to use fine salt for even distribution.
- Fish Sauce (or Soy Sauce) – Adds depth; use soy sauce for a vegan option.
Enjoy crafting your Korean Garlic Chive Pickles with Chili Flakes!
Step‑by‑Step Instructions for Korean Garlic Chive Pickles with Chili Flakes
Step 1: Prepare Vegetables
Start by rinsing the garlic chives under cold water. Cut them into 2-inch lengths, and place them in a large mixing bowl. Next, peel and julienne the Korean radish and carrot. For the garlic, thinly slice it; all these vibrant ingredients will contribute to your Korean Garlic Chive Pickles with Chili Flakes.
Step 2: Add Chili Flakes
Sprinkle the Korean chili flakes (gochugaru) over the chopped vegetables in the mixing bowl. Using your hands or a spatula, gently toss everything together to ensure the chili flakes coat the veggies evenly, releasing their colorful, spicy essence. This will add the essential kick to your pickles!
Step 3: Make Pickling Brine
In a medium saucepan, combine the rice vinegar, water, sugar, salt, and fish sauce (or soy sauce for a vegan option). Heat the mixture over medium heat, stirring until the sugar and salt are completely dissolved; this should take about 3-5 minutes. Remove from heat and allow it to cool to room temperature, ensuring the brine won’t wilt your ingredients.
Step 4: Jar the Vegetables
Once the vegetables are well-coated and brine has cooled, it’s time to pack them into a clean glass jar. Layer the mixed vegetables tightly, pressing them down to eliminate any air pockets. This step is crucial for flavor and ensures your Korean Garlic Chive Pickles with Chili Flakes are perfectly crunchy.
Step 5: Pour Brine
Once your brine has cooled to room temperature, carefully pour it over the packed vegetables in the jar. Ensure all vegetables are fully submerged in the brine—this keeps them flavorful and crisp. If any air bubbles form, gently tap the jar or use a spoon to release them before sealing.
Step 6: Seal and Chill
Seal the jar tightly with a lid, then place it in the refrigerator. For the best flavor, let the pickles sit for 2-3 days before serving. During this time, the ingredients will marinate, developing their delicious tang. Enjoy your Korean Garlic Chive Pickles with Chili Flakes alongside your favorite meals!
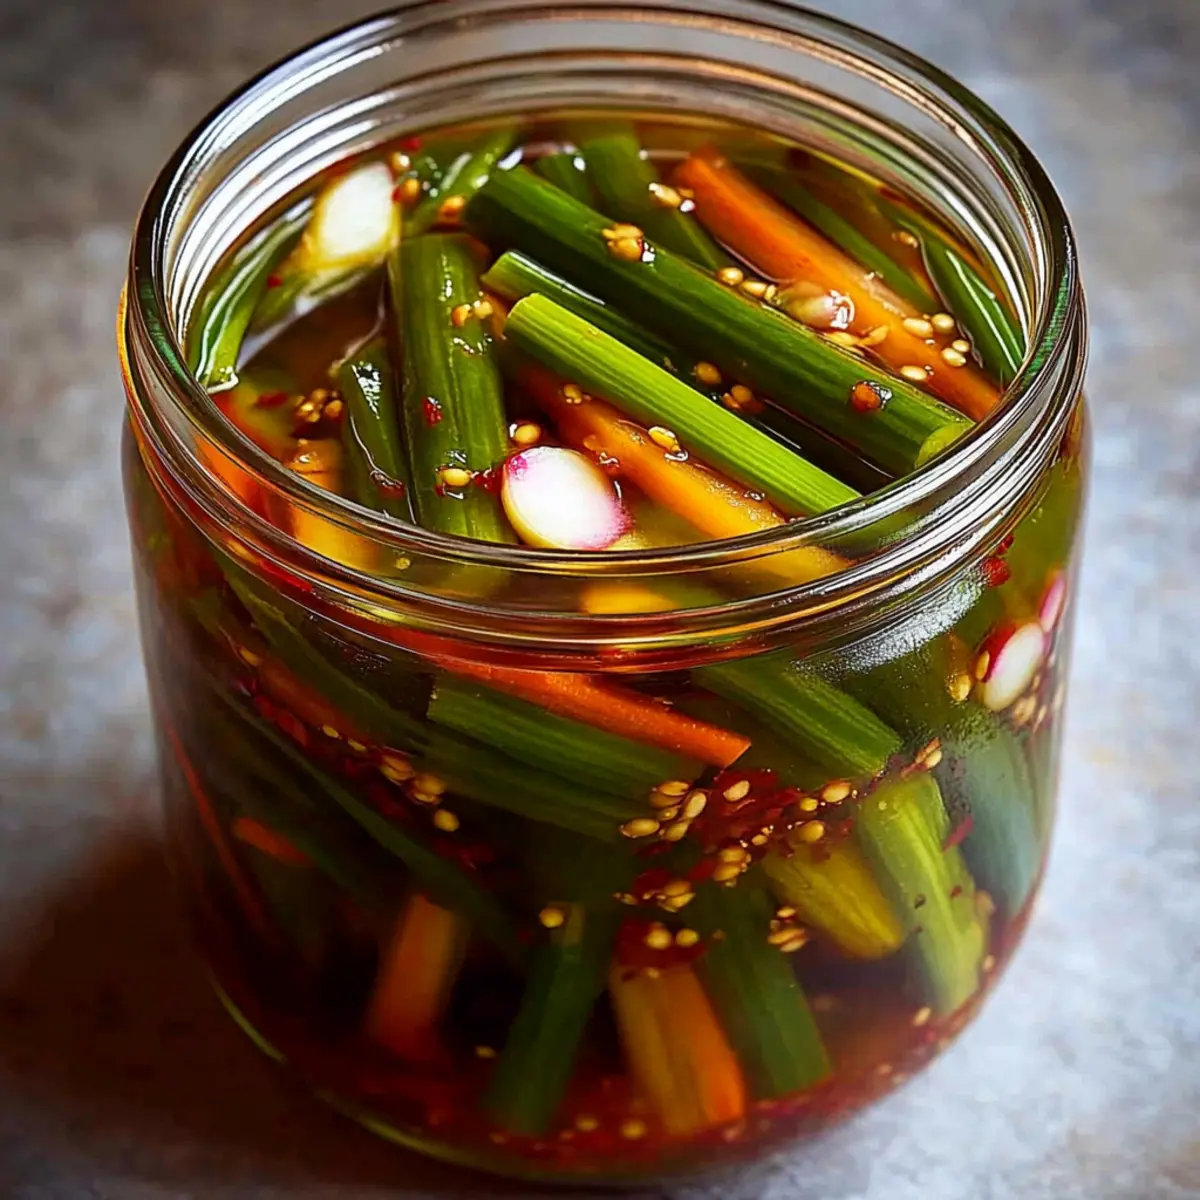
What to Serve with Korean Garlic Chive Pickles with Chili Flakes
Enjoying these pickles is just the beginning of a delicious meal experience!
-
Steamed White Rice: The neutral flavor and fluffy texture of rice provide a perfect backdrop for the bold pickles, soaking up their vibrant juices.
-
Spicy Korean Fried Chicken: This mouthwatering combination marries the crispy fried chicken with the zesty crunch of the pickles, creating a flavor explosion. A great match for spice lovers!
-
Sesame Noodles: Chilled, tangy sesame noodles drizzled with a spicy sauce offer a delightful contrast to the crunchy pickles, enhancing the dish with layers of texture and flavor.
-
Kimchi Fried Rice: Stir in a spoonful or two of these pickles to your kimchi fried rice for an extra zing; it’s an easy way to give this beloved dish an exciting twist.
-
Korean BBQ: These pickles hold their own amidst grilled meats and vibrant, smoky flavors of Korean barbecue, providing a refreshing and tangy counterpoint.
-
Cold Beer or Soju: A crisp, cold drink pairs splendidly with the spicy, zesty notes of the pickles, enhancing your overall dining experience. Cheers!
How to Store and Freeze Korean Garlic Chive Pickles
Fridge: Store your Korean Garlic Chive Pickles in a clean, airtight jar in the refrigerator. They’ll stay fresh and flavorful for up to 2-3 weeks, with flavors deepening over time.
Freezer: While freezing is not recommended for these pickles, if you must freeze them, use a zip-top freezer bag, ensuring to remove as much air as possible. They can be frozen for up to 2 months, but texture may suffer.
Airtight Seal: Always ensure the jar is sealed tightly to prevent air exposure, which can affect flavor retention. If you encounter any unusual smells or colors, it’s best to discard them.
Reheating: These pickles are ideal for serving cold or at room temperature, as reheating can diminish their delightful crunch and texture.
Expert Tips for Korean Garlic Chive Pickles
-
Choose Fresh Ingredients: Use fresh garlic chives and vegetables; quality produce significantly enhances the flavor and crunch of your Korean Garlic Chive Pickles with Chili Flakes.
-
Brine Temperature Matters: Always allow the brine to cool before pouring over the vegetables. Hot brine can wilt the chives, compromising texture.
-
Glass Jars Are Best: Opt for a clean, wide-mouth glass jar; it allows easy packing and monitoring of the pickles as they develop flavor over time.
-
Adjustment Flexibility: Don’t hesitate to adjust sugar and salt levels to suit your taste. Start with the basic recipe and customize as you go!
-
Fermentation Option: For a unique spin, skip the vinegar and let your pickles ferment at room temperature for a few days before refrigerating; this adds depth and probiotic benefits.
Korean Garlic Chive Pickles Variations
Get ready to make these delightful pickles your own with some easy tweaks and swaps!
- Milder Flavor: Substitute scallions for garlic chives to create a gentler taste profile.
- Extra Crunch: Add cucumbers for additional crunch, lending a classic pickle vibe to the dish.
- Sweet and Tangy: Swap regular sugar for brown sugar for a rich, caramelized sweetness that pairs well with the vinegar.
- Heat Kick: Boost the spice level by mixing in a few dashes of sriracha or a sprinkle of red pepper flakes.
- Garlic Lovers: Increase the amount of garlic or even add roasted garlic to amplify that beloved umami flavor.
- Fermented Delight: Skip the vinegar and ferment at room temperature for a few days to enhance flavors and add probiotic benefits.
- Gluten-Free Twist: Use tamari instead of regular soy sauce for a gluten-free option without sacrificing flavor.
- Pickled Vegetables Medley: Mix in other veggies like carrots or radishes for a vibrant pickled medley that adds color and nutrition.
Try out these variations to create your perfect version of Korean Garlic Chive Pickles, and be sure to serve them alongside a hearty dish like Garlic Butter Beef or a zingy bowl of Dill Pickle Garlic. Enjoy the process and let your creativity shine!
Make Ahead Options
These Korean Garlic Chive Pickles with Chili Flakes are perfect for meal prep enthusiasts looking to save time during busy weeknights! You can prepare the vegetables—garlic chives, radish, and carrot—up to 24 hours in advance by washing, cutting, and storing them in an airtight container in the fridge. Additionally, you can make the pickling brine and refrigerate it separately for up to 3 days. To maintain quality, ensure the brine is completely cooled before mixing it with the veggies to prevent wilting. When you’re ready to serve, simply jar the vegetables, cover them with the brine, seal, and let them marinate in the fridge for 2-3 days before enjoying your flavorful Korean Garlic Chive Pickles with Chili Flakes!
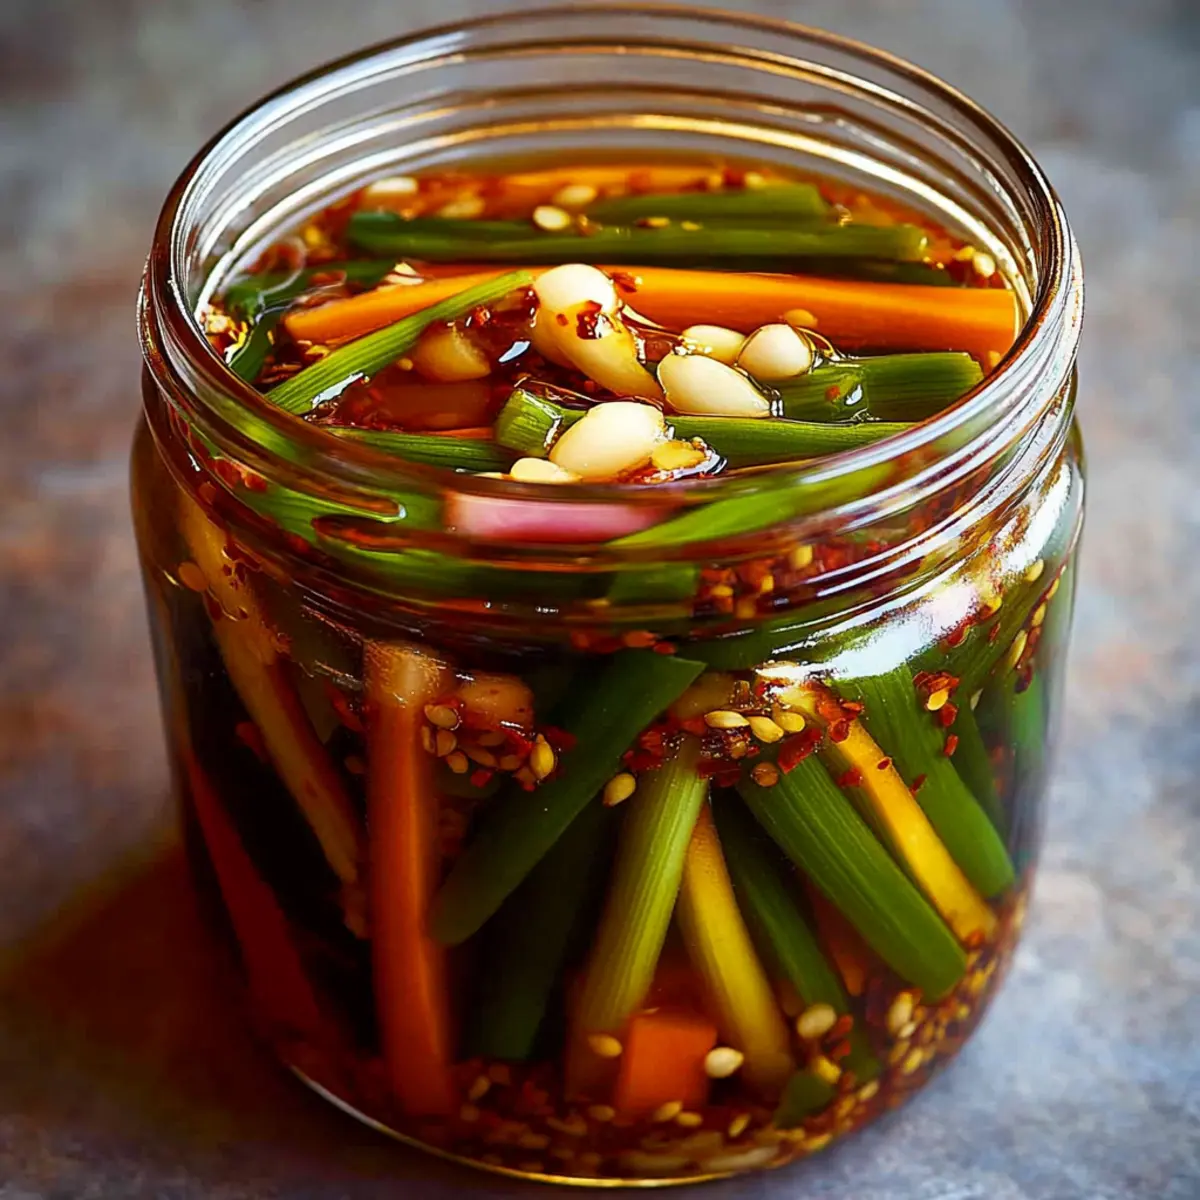
Korean Garlic Chive Pickles with Chili Flakes Recipe FAQs
How do I know if my garlic chives are fresh?
Look for garlic chives that are vibrant green and firm, without any yellowing or wilting. Fresh garlic chives should have a pleasant aroma and no dark spots. If they feel slimy or have a strong, unpleasant odor, they are best avoided.
How should I store the pickles after making them?
Store your Korean Garlic Chive Pickles in a clean, airtight jar in the refrigerator. If kept properly, they will stay fresh and flavorful for about 2-3 weeks, with flavors deepening every day thanks to the pickling process.
Can I freeze Korean Garlic Chive Pickles?
While freezing isn’t ideal for pickles due to potential texture loss, if necessary, you can freeze them in a zip-top freezer bag. Make sure to remove as much air as possible; they should not be frozen for more than 2 months.
What should I do if my pickles are too salty?
If your pickles turn out saltier than expected, you can dilute the brine by adding a bit of water to it and pouring it back over the pickles. Alternatively, rinsing the pickled vegetables briefly under cold water can also help reduce the excessive saltiness.
Are these pickles safe for pets or people with allergies?
These Korean Garlic Chive Pickles are generally safe for humans, but be cautious if you have a soy or fish allergy. For a vegan option, substitute fish sauce with soy sauce. Always check with your vet before sharing any human food with pets.
Can I adjust the spice level in my pickles?
Absolutely! If you prefer less heat, you can reduce the amount of Korean chili flakes (gochugaru) to suit your taste. Alternatively, you might try adding additional garlic or carrots to balance the spice while keeping that delightful crunch in your Korean Garlic Chive Pickles with Chili Flakes!
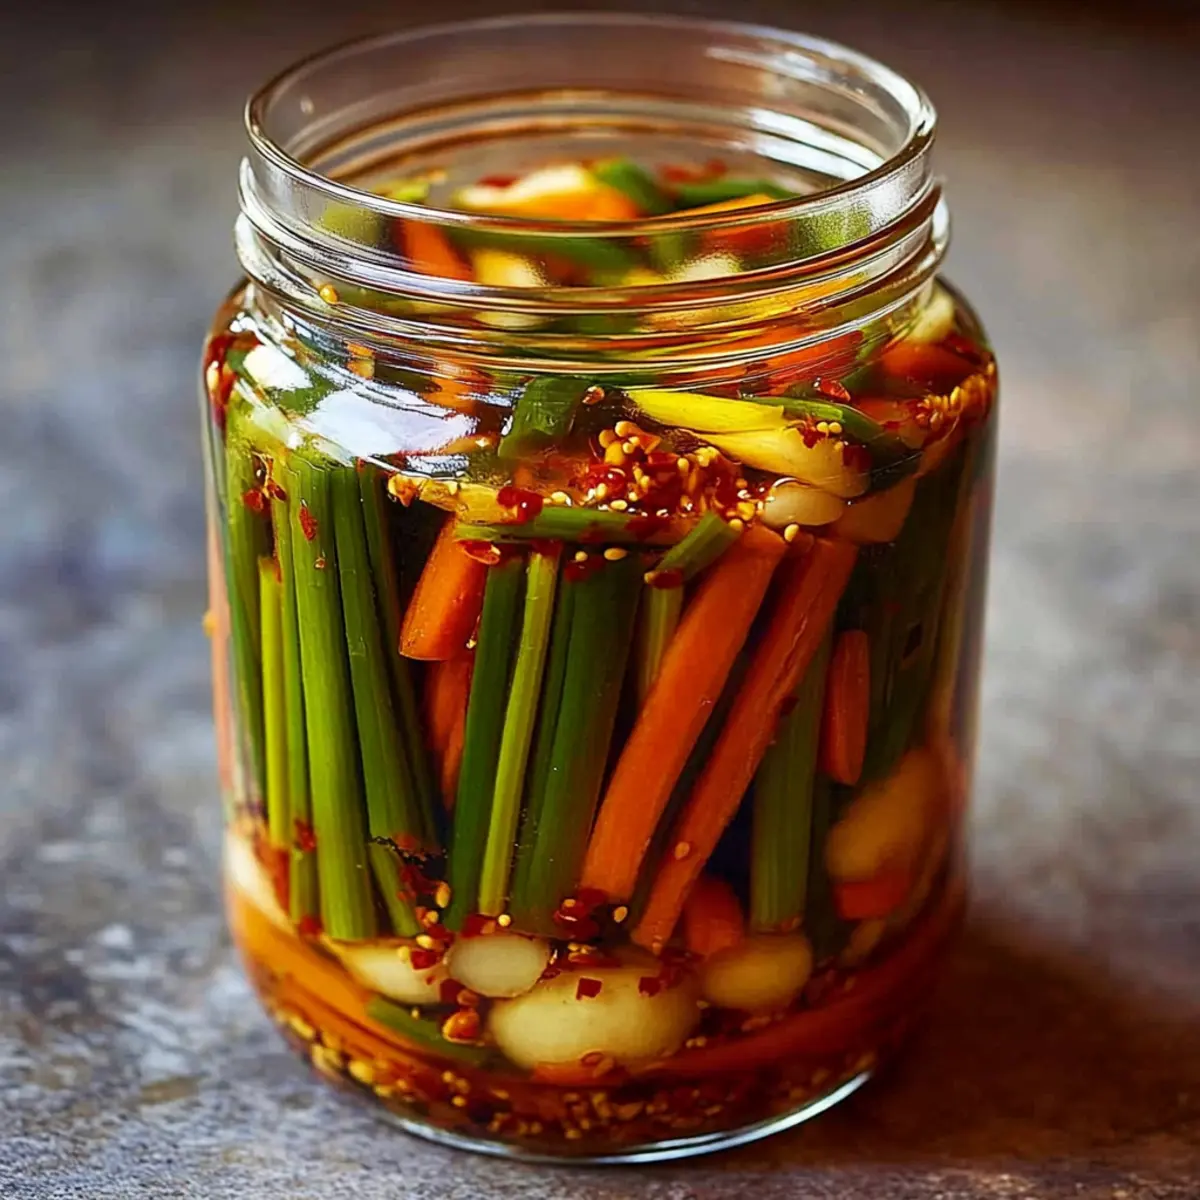
Korean Garlic Chive Pickles with Chili Flakes: Crunchy Bliss
Ingredients
Equipment
Method
- Start by rinsing the garlic chives under cold water. Cut them into 2-inch lengths and place them in a large mixing bowl. Peel and julienne the Korean radish and carrot. Thinly slice the garlic.
- Sprinkle the Korean chili flakes over the chopped vegetables in the mixing bowl. Toss to evenly coat the veggies.
- In a medium saucepan, combine the rice vinegar, water, sugar, salt, and fish sauce. Heat until dissolved, about 3-5 minutes. Cool to room temperature.
- Pack the vegetables tightly into a clean glass jar, pressing down to eliminate air pockets.
- Pour the cooled brine over packed vegetables. Ensure all vegetables are submerged in the brine.
- Seal the jar tightly and refrigerate. Let the pickles marinate for 2-3 days for best flavor.
Leave a Reply