
The aroma of warm, cheesy bites wafting through the kitchen takes me back to my childhood, where every meal was an adventure of flavors and textures. That’s the magic behind these Leftover Mashed Potato Cheese Puffs—an adorable, crispy snack that turns yesterday’s uneaten mashed potatoes into a crowd-pleaser! Not only are they a quick and easy appetizer, but they also adapt effortlessly to your dietary needs, with a tasty vegan option available. Perfect for those evenings when the last thing you want is another takeout, these little puffs can be whipped up in no time, making them a go-to choice for satisfying those snack cravings. What fun flavor twists will you experiment with in your batch?
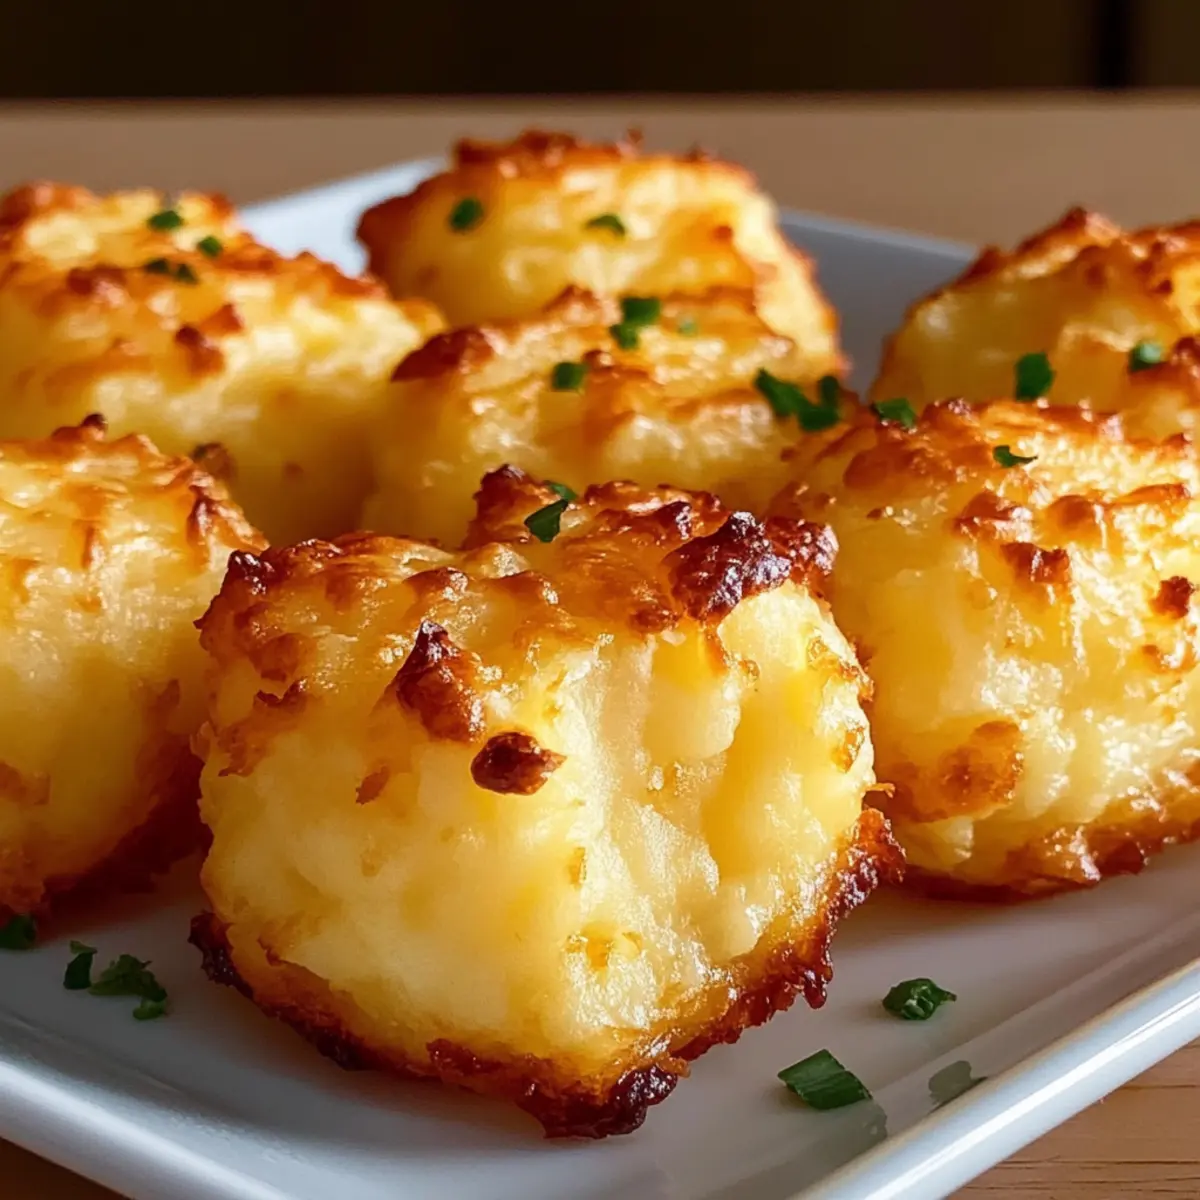
Why Choose These Cheese Puffs?
Uniquely Delicious: These Crispy Mashed Potato Cheese Puffs have a delightful balance of flavors and textures that will impress anyone lucky enough to taste them.
Versatile Adaptation: Whether you prefer a classic recipe or need a vegan option, this dish easily caters to all dietary preferences, just like our Cottage Cheese Veggie recipe.
Quick & Easy: Ideal for busy weeknights, these puffs come together in just a few simple steps—perfect for those moments when you want a homemade snack without the fuss.
Waste Not, Want Not: Transform those leftover mashed potatoes into a culinary treat, minimizing food waste while creating a delicious appetizer!
Crowd-Pleasing Appeal: Whether it’s a family gathering or a casual get-together, these irresistible bites will leave your guests raving and asking for more. Pair them with homemade spicy aioli for an added punch!
Mashed Potato Cheese Puffs Ingredients
• Here’s what you need!
For the Puffs
- Leftover Mashed Potatoes – The star ingredient that creates a fluffy base; feel free to use store-bought for convenience!
- Shredded Cheese – Adds a rich, cheesy flavor; swap with dairy-free cheese for a vegan version of these mashed potato cheese puffs.
- Flour – Provides structure and binds everything together; gluten-free flour works great for a gluten-free option.
- Egg – Helps hold the mixture together; a flaxseed egg makes this dish vegan-friendly.
- Seasonings (e.g., salt, pepper, garlic powder) – Elevates the flavor; adjust according to your taste preferences.
Optional Add-Ons
- Fresh Herbs (e.g., parsley, chives) – For extra freshness and a colorful presentation; they add both flavor and visual appeal!
- Cooked Vegetables (e.g., spinach, corn) – Boosts the nutritional value and flavor; feel free to get creative with what you have on hand.
- Spices (e.g., paprika, cayenne pepper) – For those who love a little heat; add a pinch for an extra kick.
Step‑by‑Step Instructions for Leftover Mashed Potato Cheese Puffs
Step 1: Preheat the Oven
Start by preheating your oven to 400°F (200°C). This temperature is perfect for achieving that golden, crispy exterior on your cheese puffs. As the oven warms up, gather your ingredients, including leftover mashed potatoes, shredded cheese, flour, and seasonings, so they’re ready to go.
Step 2: Mix the Ingredients
In a large mixing bowl, combine your leftover mashed potatoes, shredded cheese, flour, egg, and seasonings like salt, pepper, and garlic powder. Use a sturdy fork or spatula to blend everything together until all ingredients are well incorporated, and the mixture is smooth and sticky, resembling a thick dough—about 3 to 5 minutes.
Step 3: Shape the Puffs
Once your mixture is ready, it’s time to shape it into puffs! With clean hands, scoop out small portions and form them into balls about the size of golf balls or flatten them into patties. This step is key for the texture, so aim for a uniform size to ensure even cooking.
Step 4: Prepare the Baking Sheet
Line a baking sheet with parchment paper to prevent sticking and make cleanup a breeze. Arrange your shaped cheese puffs on the sheet, making sure to leave space between each one to allow air to circulate during baking. This spacing helps achieve a crispy outer layer as they cook.
Step 5: Bake the Puffs
Carefully place the baking sheet in the preheated oven and bake for 20 to 25 minutes. Keep an eye on them, and look for a lovely golden brown color on the outside; this signals that your mashed potato cheese puffs are perfectly cooked and ready to enjoy!
Step 6: Cool and Serve
Once baked, remove the cheese puffs from the oven and let them cool for a few minutes on the baking sheet. This brief cooling period helps them firm up a bit more. Serve warm, perhaps alongside a dipping sauce, and revel in the delightful cheesy goodness of your homemade potato puffs!

Expert Tips for Perfect Cheese Puffs
Crispy Result: Ensure proper spacing: Place your puffs on the baking sheet with ample space between them to allow hot air to circulate, ensuring a crispy texture.
Herb Infusion: Fresh flavors: Enhance taste by adding fresh herbs like parsley or chives to the mixture for a vibrant and aromatic finish.
Make Ahead: Freezing option: Shape the puffs and freeze them before baking. This allows for quick, fresh snacks anytime you crave those cheesy mashed potato cheese puffs!
Cooking Consistency: Uniform sizes: Keep your puffs roughly the same size to ensure even cooking, preventing some from being overcooked while others remain underdone.
Flavor Boost: Mix and match: Feel free to experiment with different types of cheese or spices to create unique flavors in your mashed potato cheese puffs, satisfying everyone’s tastes!
What to Serve with Leftover Mashed Potato Cheese Puffs
Elevate your snacking experience by pairing these delicious bites with delightful sides and refreshing drinks.
- Creamy Ranch Dip: The coolness of ranch dressing perfectly contrasts the warm, crispy puffs, enhancing every bite. A classic choice!
- Spicy Aioli: This zesty sauce adds a delightful kick, making each dip a flavorful explosion alongside the cheesy goodness of the puffs.
- Fresh Garden Salad: A crisp salad filled with mixed greens and vibrant veggies adds freshness, balancing the richness of the puffs beautifully.
- Roasted Vegetables: Offering a warm, caramelized contrast, roasted veggies add texture and healthiness to your snacking plate.
- Savory Spinach Dip: The creamy texture of spinach dip, paired with the crunchy puffs, creates a satisfying experience for your palate.
- Chilled Beet Salad: A colorful, tangy beet salad brings an unexpected sweetness that will complement the savory flavors of your cheese puffs.
- Herbal Lemonade: A refreshing drink, this herbal lemonade cuts through the richness on the palate, invigorating your taste buds as you snack.
- Mini Quiches: Bite-sized quiches add protein and a variety of flavors, creating a lovely brunch or snack spread that pairs perfectly with the puffs.
- Chocolate Fondue: For a surprising twist, serve with a small chocolate fondue for a sweet ending, offering an adventurous dessert alongside savory bites.
Mashed Potato Cheese Puffs Variations
Feel free to get creative and customize your Mashed Potato Cheese Puffs to make them truly your own!
- Dairy-Free: Substitute the shredded cheese with your favorite dairy-free cheese to keep these puffs vegan-friendly. You’ll still enjoy that melty goodness!
- Gluten-Free: Use gluten-free flour instead of regular flour for a delightful and safe treat for those with gluten sensitivities. Everyone can join in on the fun!
- Veggie Boost: Fold in cooked vegetables like corn or spinach to the mixture for added flavor and nutrition. This adds a beautiful vibrancy and increases the nutritious value.
- Spice It Up: Add a pinch of cayenne pepper or smoked paprika for a flavorful kick; this spices up the puffs and makes them extra exciting!
- Herb Happiness: Incorporate fresh herbs like chives or dill for a burst of freshness. The flavors will brighten up each bite and turn your puffs into a gourmet experience.
- Cheesy Delight: Experiment with different types of cheese, such as cheddar, gouda, or feta, for varied flavor profiles that can take your cheese puffs to a whole new level.
- Mini Puffs: For bite-sized snacks, shape smaller balls and adjust the baking time to about 15-20 minutes. Perfect for kids’ parties or elegant gatherings!
- Crispy Coating: For an extra crunch, dip the formed puffs into beaten egg and roll them in breadcrumbs before baking. This gives a delightful crispy outer layer that everyone will love!
As you explore these variations, don’t forget to check out our other recipes like the delicious Cottage Cheese Veggie or the tasty Cream Cheese Hashbrown for more dining inspiration!
How to Store and Freeze Mashed Potato Cheese Puffs
Fridge: Store leftover cheese puffs in an airtight container for up to 3 days. Reheat in the oven at 350°F (175°C) for about 10 minutes to regain their crispiness.
Freezer: To freeze, place uncooked shaped puffs on a baking sheet and freeze until firm, then transfer to a freezer-safe bag for up to 3 months.
Reheating: For best results, reheat the frozen puffs directly from the freezer in a preheated oven at 400°F (200°C) for 20-25 minutes until they’re golden and crispy again.
Serve Fresh: Enjoy these delightful mashed potato cheese puffs warm for that perfect snacking experience!
Make Ahead Options
These Leftover Mashed Potato Cheese Puffs are perfect for meal prep aficionados looking to save time! You can shape the puffs and refrigerate them for up to 24 hours before baking, ensuring they maintain their delightful texture. Alternatively, freeze them uncooked for up to 3 months. When ready to enjoy, simply bake from frozen, adding an extra few minutes to the baking time (around 25-30 minutes total). To keep them crispy, space them adequately on the baking sheet and avoid overcrowding. This way, you’ll have a quick and easy snack or appetizer ready to serve at a moment’s notice, just as delicious as freshly made!
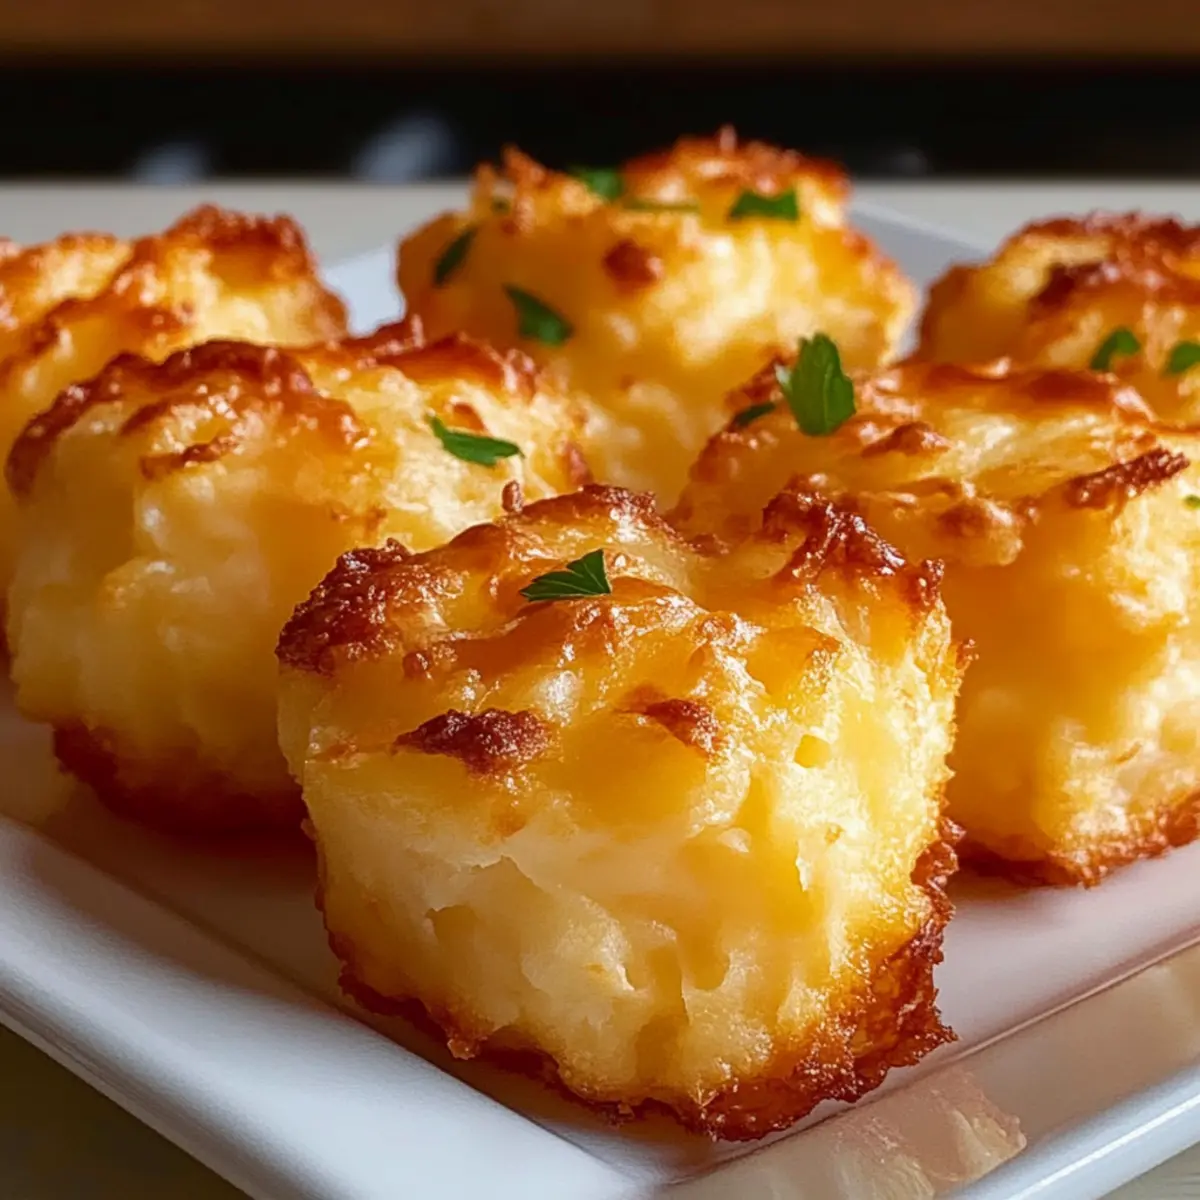
Leftover Mashed Potato Cheese Puffs Recipe FAQs
What type of leftover mashed potatoes should I use?
Absolutely! Use leftover mashed potatoes that are creamy and well-seasoned. If you’re in a pinch, store-bought mashed potatoes work perfectly too. Just ensure they don’t have any dark spots or off-smells, indicating they may have spoiled.
How should I store the mashed potato cheese puffs?
Store your leftover cheese puffs in an airtight container in the fridge for up to 3 days. To reheat, pop them back into the oven at 350°F (175°C) for about 10 minutes to retain their delicious crispiness—trust me, it makes a world of difference!
Can I freeze the shaped cheese puffs before baking?
Very! To freeze, simply place the uncooked puffs on a baking sheet spaced apart and freeze until firm—about 1 to 2 hours. Then, transfer them to a freezer-safe bag and they will keep for up to 3 months. When you’re ready to enjoy, bake them from frozen at 400°F (200°C) for 20-25 minutes—don’t thaw first!
What if my cheese puffs are falling apart?
If your cheese puffs are crumbling, it could be due to too much flour or not enough binding agent like the egg or flaxseed. Try mixing in a little more mashed potato to help bind them, or add an extra egg if you’re not using a vegan substitute. The mixture should be sticky, so don’t be shy with your hands!
Is there a vegan option for these mashed potato cheese puffs?
Absolutely! You can easily adapt this recipe to be vegan by using dairy-free cheese and substituting the egg with a flaxseed egg (1 tablespoon of ground flaxseed mixed with 3 tablespoons of water, let sit for 5 minutes until it thickens). Enjoy the same deliciousness with a plant-based twist!
Are these cheese puffs suitable for pets if made without seasonings?
It’s best to avoid sharing these puffs with pets, even without seasonings. Ingredients like cheese can be hard for many dogs or cats to digest, and some may develop allergies. Sticking to their dedicated treats ensures they stay happy and healthy!

Crispy Mashed Potato Cheese Puffs for Irresistible Snacking
Ingredients
Equipment
Method
- Preheat your oven to 400°F (200°C). Gather your ingredients.
- In a large mixing bowl, combine mashed potatoes, cheese, flour, egg, and seasonings.
- Shape the mixture into balls or patties.
- Line a baking sheet with parchment paper and arrange puffs, leaving space between them.
- Bake for 20 to 25 minutes until golden brown.
- Allow to cool for a few minutes before serving.
Leave a Reply