
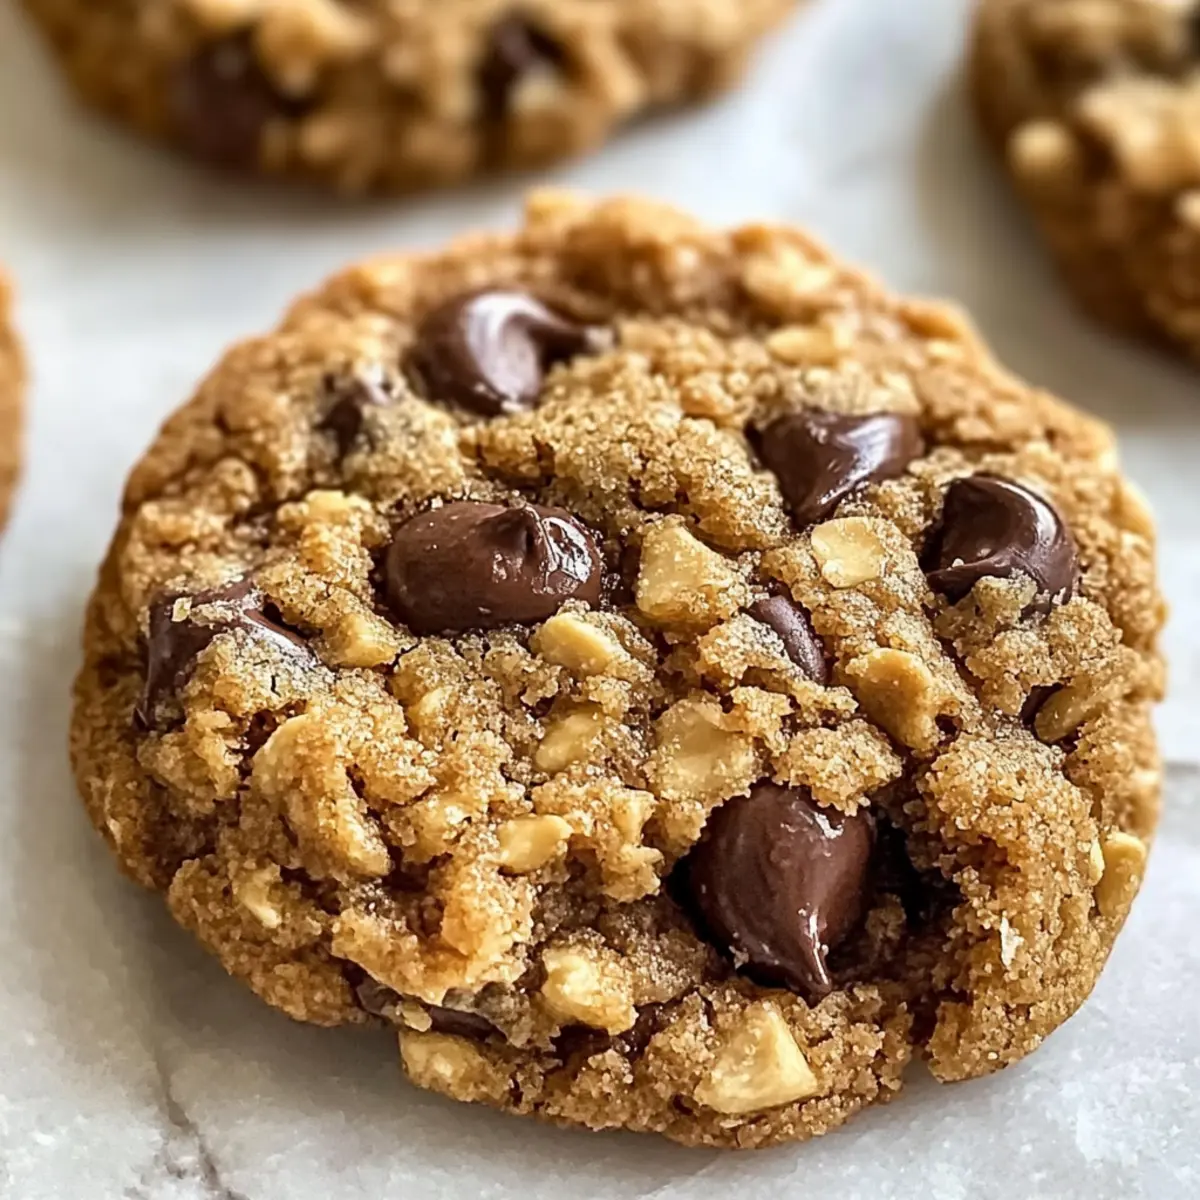
Have you ever found yourself rummaging through the pantry, desperate for a quick yet satisfying snack? That’s exactly how I stumbled upon the magic of these 4-Ingredient Protein Cookies. Thick, chewy, and utterly delicious, these treats pack over 20 grams of protein per cookie while keeping the prep time to a breezy minimum. Perfect for those moments when you’re craving something sweet without the guilt, they’re a fantastic choice for post-workout nourishment or a mid-afternoon boost. The best part? You only need four simple ingredients, making it easy to whip up a batch whenever hunger strikes. Ready to indulge in a healthier treat that won’t derail your day? Let’s dive into the recipe and see how these delightful cookies come together!
Why Are These Protein Cookies So Appealing?
Simplicity at Its Core: With just four ingredients, you can create a delicious and nutritious snack in no time.
High Protein Boost: Each cookie packs over 20 grams of protein, perfect for fueling your workouts or curbing hunger during busy days.
Guilt-Free Indulgence: They are flourless and sugar-free, so you can satisfy your sweet tooth without compromising on health.
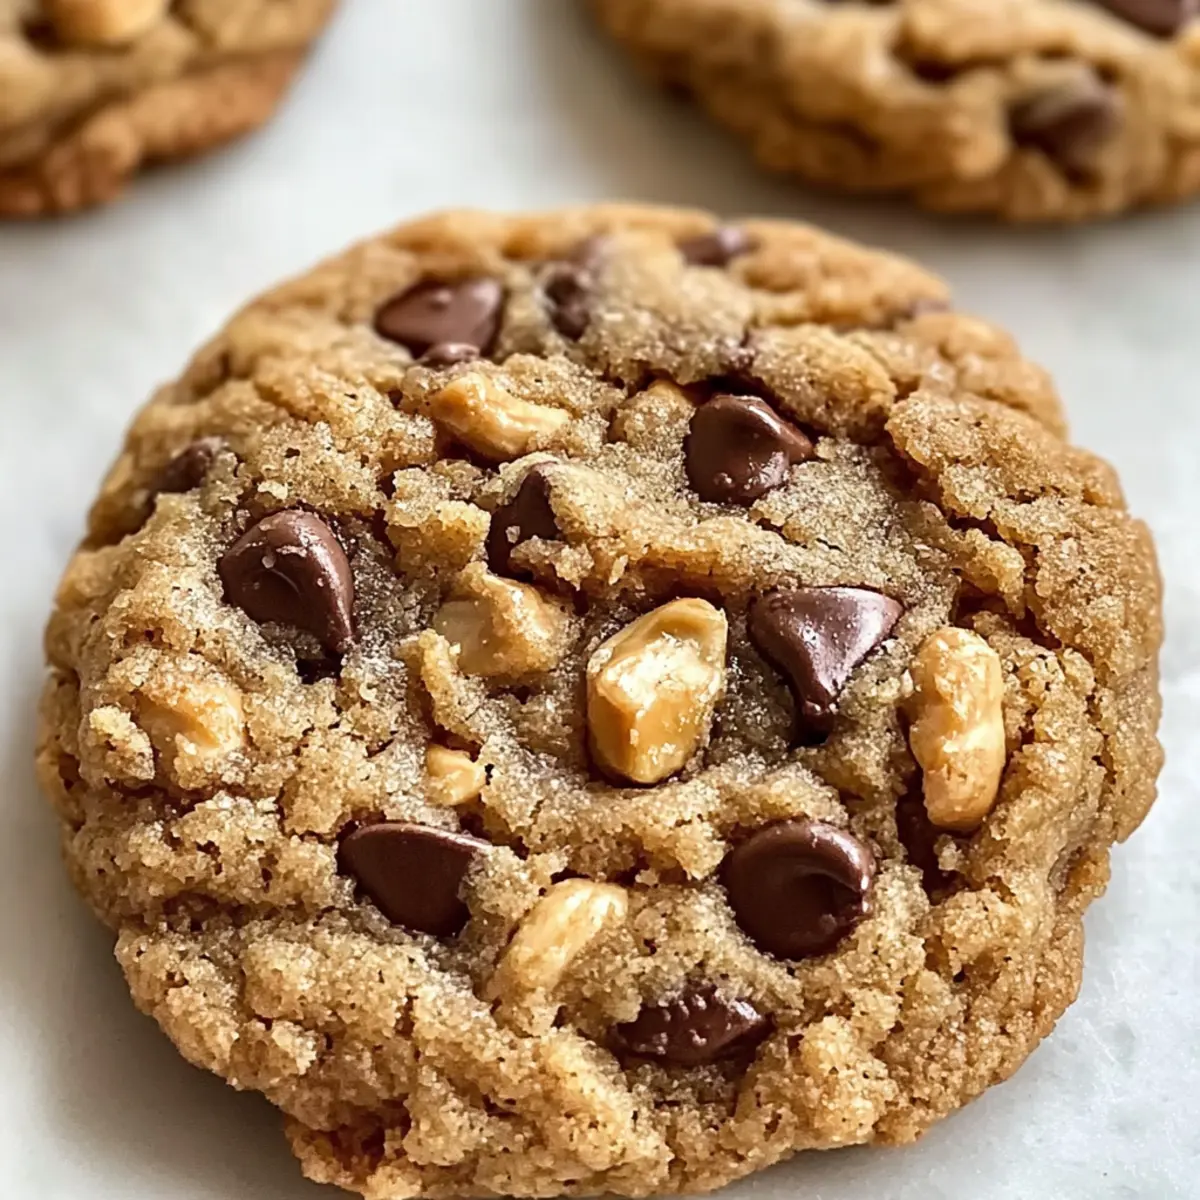
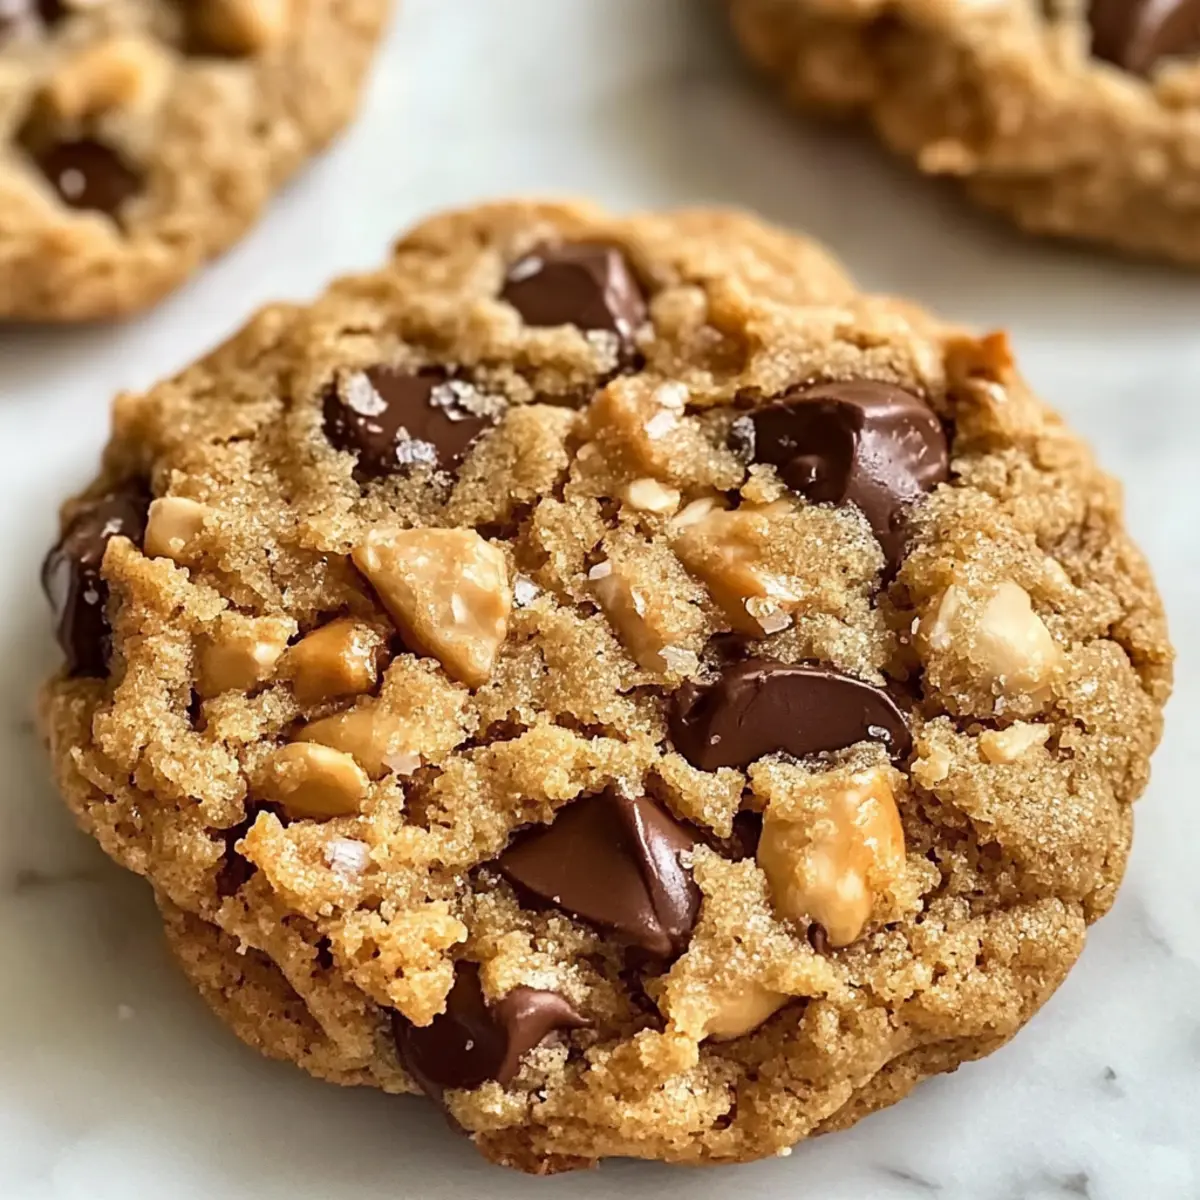
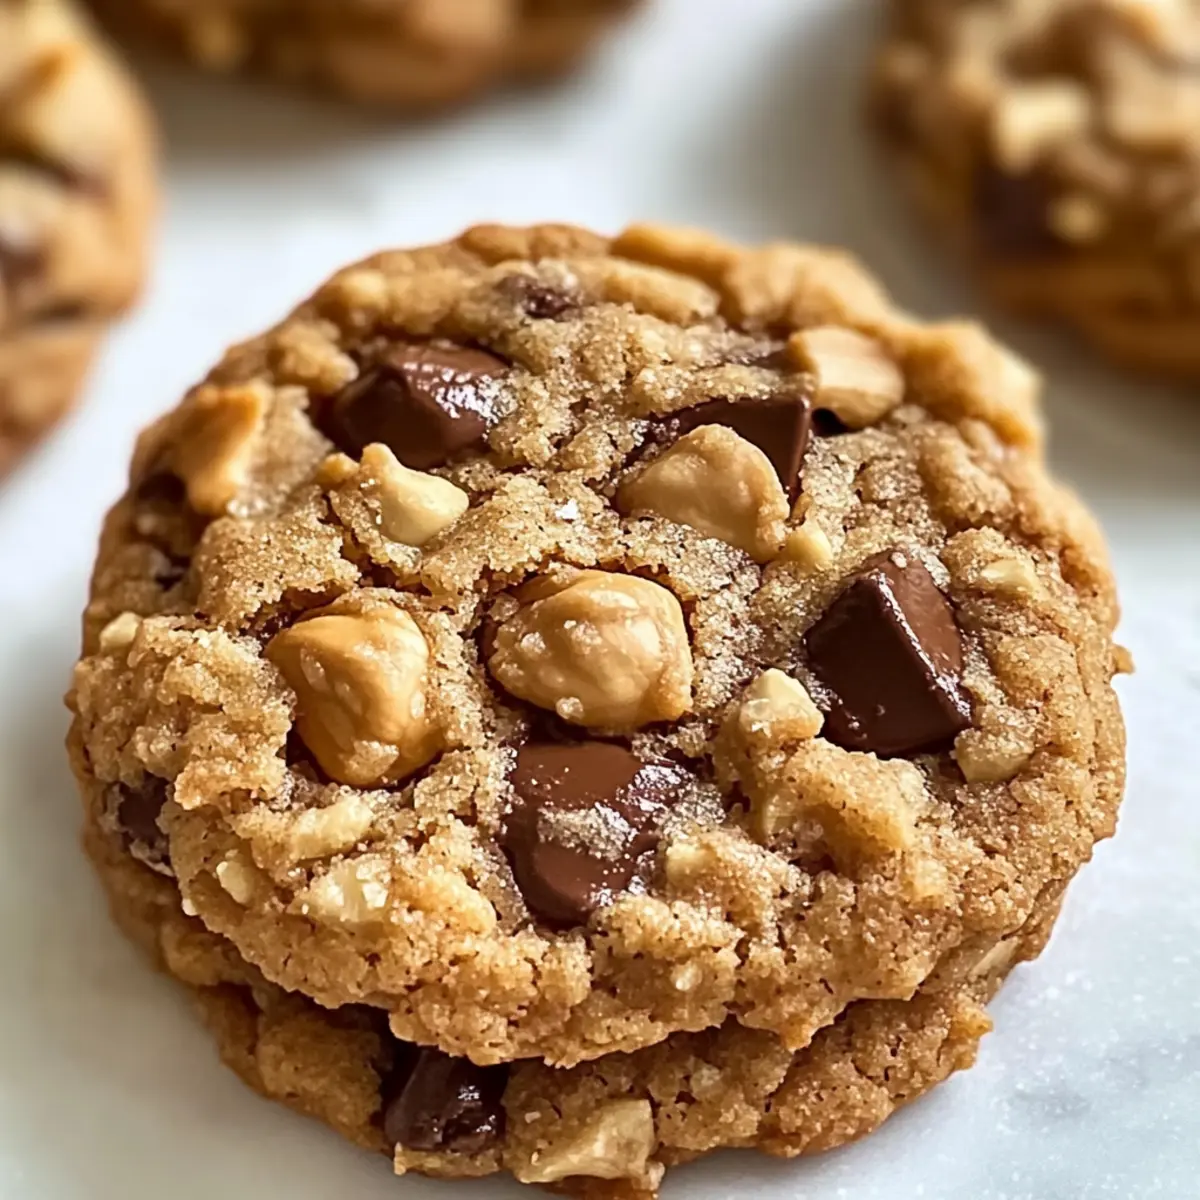
Customizable Fun: Add your favorite mix-ins, like chocolate chips or nuts, to make the flavor uniquely yours—the options are endless!
Perfect Texture: These cookies are dense and chewy, reminiscent of a tasty homemade protein bar but with a wholesome touch.
For another filling option, be sure to check out my High Protein Pancake Bowl for breakfast or a delightful snack!
Protein Cookies Ingredients
These Protein Cookies are as delightful to make as they are to eat!
For the Dough
- Peanut Butter – Adds richness and moisture; almond butter or sunflower seed butter serves as a great nut-free substitute.
- Brown Sugar Substitute – Provides natural sweetness without extra calories; make sure it’s suitable for baking.
- Egg – Binds all ingredients together, ensuring the right texture; you can replace it with 1/4 cup of unsweetened applesauce or a flaxseed meal mixture if needed.
- Vanilla Protein Powder – Delivers a protein boost while enhancing flavor; choose your favorite flavor for a tasty twist.
Now you have all the essentials to create those delectable Protein Cookies!
Step‑by‑Step Instructions for Protein Cookies
Step 1: Preheat the Oven
Begin by preheating your oven to 180°C (350°F). While the oven heats up, line a baking sheet with parchment paper. This step is crucial as the parchment paper ensures that your Protein Cookies won’t stick, allowing for a clean removal once they are baked.
Step 2: Mix the Dough
In a mixing bowl, combine 1 cup of peanut butter, 1/2 cup of brown sugar substitute, 1 egg, and 1 scoop of vanilla protein powder. Use a spoon or spatula to mix these ingredients together until the mixture becomes smooth and fully integrated. Aim for a thick, creamy texture that embodies the essence of your delicious Protein Cookies.
Step 3: Shape the Cookies
Once your dough is well mixed, it’s time to shape the cookies! Using your hands, take small portions of the dough to form 12 balls and place them on the prepared baking sheet. Gently press each ball down with your fingers to flatten them slightly, giving each cookie its signature shape.
Step 4: Bake the Cookies
Now, pop the baking sheet into your preheated oven and bake your Protein Cookies for about 12-14 minutes. Keep a close eye on them; you’ll know they’re ready when the edges turn a lovely golden brown while the centers still appear slightly soft. This ensures the perfect chewy texture you desire.
Step 5: Cool and Serve
Once baked, carefully remove the cookies from the oven and let them cool on the baking sheet for a few minutes. This resting period helps them firm up, preventing crumbles. Afterward, transfer them to a wire rack to cool completely before serving. Enjoy your nutritious Protein Cookies as a delightful snack any time of day!
Make Ahead Options
These Protein Cookies are a fantastic option for meal prep, saving you both time and effort during your busy week! You can prepare the cookie dough up to 24 hours in advance by mixing all the ingredients and storing it in an airtight container in the refrigerator. When you’re ready to bake, simply scoop the chilled dough onto a lined baking sheet and allow a few extra minutes for baking, as cold dough might take slightly longer. For longer storage, shape and freeze the unbaked cookies for up to 3 months; just separate them with parchment paper. When craving a snack, bake directly from frozen, adding an extra 2-3 minutes to the baking time. Enjoy delicious, freshly-baked Protein Cookies with minimal hassle!
Expert Tips for Protein Cookies
• Mixing Method: Ensure thorough mixing but avoid over-mixing. A well-integrated dough will yield a consistent texture in your Protein Cookies.
• Cooling Time: Let the cookies cool completely on the baking sheet; removing them too soon can lead to a crumbly mess.
• Substitution Savvy: If using substitutes like applesauce for the egg, adjust baking time slightly. They may need an extra minute or two for perfect texture.
• Baking Sheet Prep: Lining with parchment paper is essential to avoid sticking. A greased pan may still lead to unfortunate cookie collisions!
• Storage Smart: Store these delicious Protein Cookies in an airtight container in the fridge to keep them fresh for up to one week or freeze for longer enjoyment.
Protein Cookies Variations & Substitutions
Feel free to get creative with your Protein Cookies—there are so many delicious ways to customize them!
-
Nut-Free: Substitute peanut butter with sunflower seed butter for a nut-free option, maintaining that rich flavor.
-
Sweetness Swap: Use a sugar alternative like monk fruit or erythritol to keep the cookie sweet without the calories. Try adjusting to find your perfect balance!
-
Vegan-Friendly: Substitute the egg with 1/4 cup of unsweetened applesauce or mix a flaxseed meal with water for an egg replacement. This keeps your cookies plant-based while still packed with protein!
-
Add More Protein: Mix in a scoop of your favorite flavored protein powder, like chocolate or cookies & cream, for a delightful twist. This can really elevate your cookie experience!
-
Flavor Boost: Toss in a handful of dark chocolate chips or chopped nuts to add texture and layers of flavor. The sweetness of chocolate pairs beautifully with the chewy texture.
-
Fruit Forward: Incorporate dried fruits like cranberries or raisins for a chewy texture and a sweet burst of flavor. This will create a delightful contrast with the nutty base.
-
Crunchy Texture: Add a few tablespoons of rolled oats for an extra chewy and crunchy texture. They can also bring a wholesome feel to your cookies.
For those who love variety, exploring my Crunchy Gluten Cookies will satisfy your craving for something sweet and crunchy!
What to Serve with 4-Ingredient High-Protein Cookies
Elevate your snacking experience by pairing these delightful cookies with complementary foods and beverages that enhance their deliciousness.
-
Creamy Greek Yogurt: Rich and tangy, it adds a silky texture and protein boost, making it a perfect pairing for these cookies.
-
Fresh Berries: The tartness of blueberries or strawberries provides a refreshing contrast, brightening each bite and adding a pop of color.
-
Nutty Granola: A crunchy, satisfying element that not only complements the cookies’ chewiness but also adds extra fiber and wholesome flavor.
-
Banana Slices: A natural sweetness that marries well with the nutty flavor of the cookies, creating a delightful balance and adding moisture.
-
Almond Milk: This creamy, nutty drink is a wonderful sip alongside your cookies, enhancing the overall flavor while keeping it light.
-
Dark Chocolate Drizzle: A decadent finishing touch, this adds a rich sweetness that pairs beautifully with the protein-packed cookies.
-
Chia Seed Pudding: For a unique twist, serve a small cup of chia pudding; its creamy texture and nutty flavor will beautifully accompany these Protein Cookies.
-
Iced Matcha Latte: Earthy and energizing, this unique drink adds an exquisite touch that elevates your afternoon snacking experience.
-
Coconut Chips: Their tropical crunch introduces a hint of sweetness and texture, making each bite memorable and deliciously satisfying.
How to Store and Freeze Protein Cookies
Fridge: Store your delicious Protein Cookies in an airtight container for up to 1 week. This keeps them moist and ready for your snacking pleasure!
Freezer: For longer storage, freeze cookies for up to 3 months. Place parchment paper between cookies in a suitable container to prevent sticking.
Reheating: Enjoy frozen cookies by reheating them in the microwave for 10-15 seconds or letting them thaw at room temperature before indulging.
Room Temperature: If consuming within a day, you can leave them at room temperature in a covered container, keeping their chewy texture intact.
Protein Cookies Recipe FAQs
How do I choose the right peanut butter for these cookies?
Absolutely! Opt for a natural, creamy peanut butter without added sugars or oils—this helps maintain the delicious flavor and texture of your Protein Cookies. You can also use almond butter or sunflower seed butter if you’re looking for a nut-free option.
How should I store my protein cookies, and how long will they last?
Store your Protein Cookies in an airtight container in the refrigerator, where they will stay fresh for up to 1 week. This keeps them moist and ready for snacking! If you’re planning to enjoy them later, you can freeze them for up to 3 months. Just remember to place parchment paper between the cookies to prevent sticking.
Can I freeze these protein cookies, and what’s the best way to do it?
Absolutely! To freeze your Protein Cookies, allow them to cool completely after baking. Then, layer them with parchment paper in a freezer-safe container. Seal tightly and label with the date. They can be safely stored in the freezer for up to 3 months. When you’re ready to enjoy them, just reheat in the microwave for about 10-15 seconds or let them thaw at room temperature.
What should I do if my cookies are too crumbly?
If your Protein Cookies end up being too crumbly, it may be because they weren’t cooled long enough or the dough was overmixed. Let them cool on the baking sheet for a few extra minutes, then carefully transfer them to a wire rack. If you’re still having trouble, try adding a bit more peanut butter or a splash of milk to the mix next time to help bind them together.
Are these protein cookies safe for people with allergies?
Very! However, they do contain peanut butter and eggs, so they’re not suitable for those with nut allergies or egg sensitivities. If needed, you can substitute the peanut butter with sunflower seed butter and replace the egg with 1/4 cup of unsweetened applesauce or a flaxseed meal mixture (1 tablespoon of flaxseed meal mixed with 2.5 tablespoons of water, let it sit for a few minutes until it thickens). This way, you can still enjoy these delightful Protein Cookies!
Healthy Protein Cookies for Guilt-Free Snacking Delight
Ingredients
Equipment
Method
- Preheat your oven to 180°C (350°F) and line a baking sheet with parchment paper.
- In a mixing bowl, combine peanut butter, brown sugar substitute, egg, and vanilla protein powder until smooth.
- Form the dough into 12 balls and place them on the baking sheet, flattening each slightly.
- Bake for about 12-14 minutes until the edges are golden brown and centers are slightly soft.
- Let cool on the baking sheet for a few minutes before transferring to a wire rack to cool completely.
Leave a Reply