
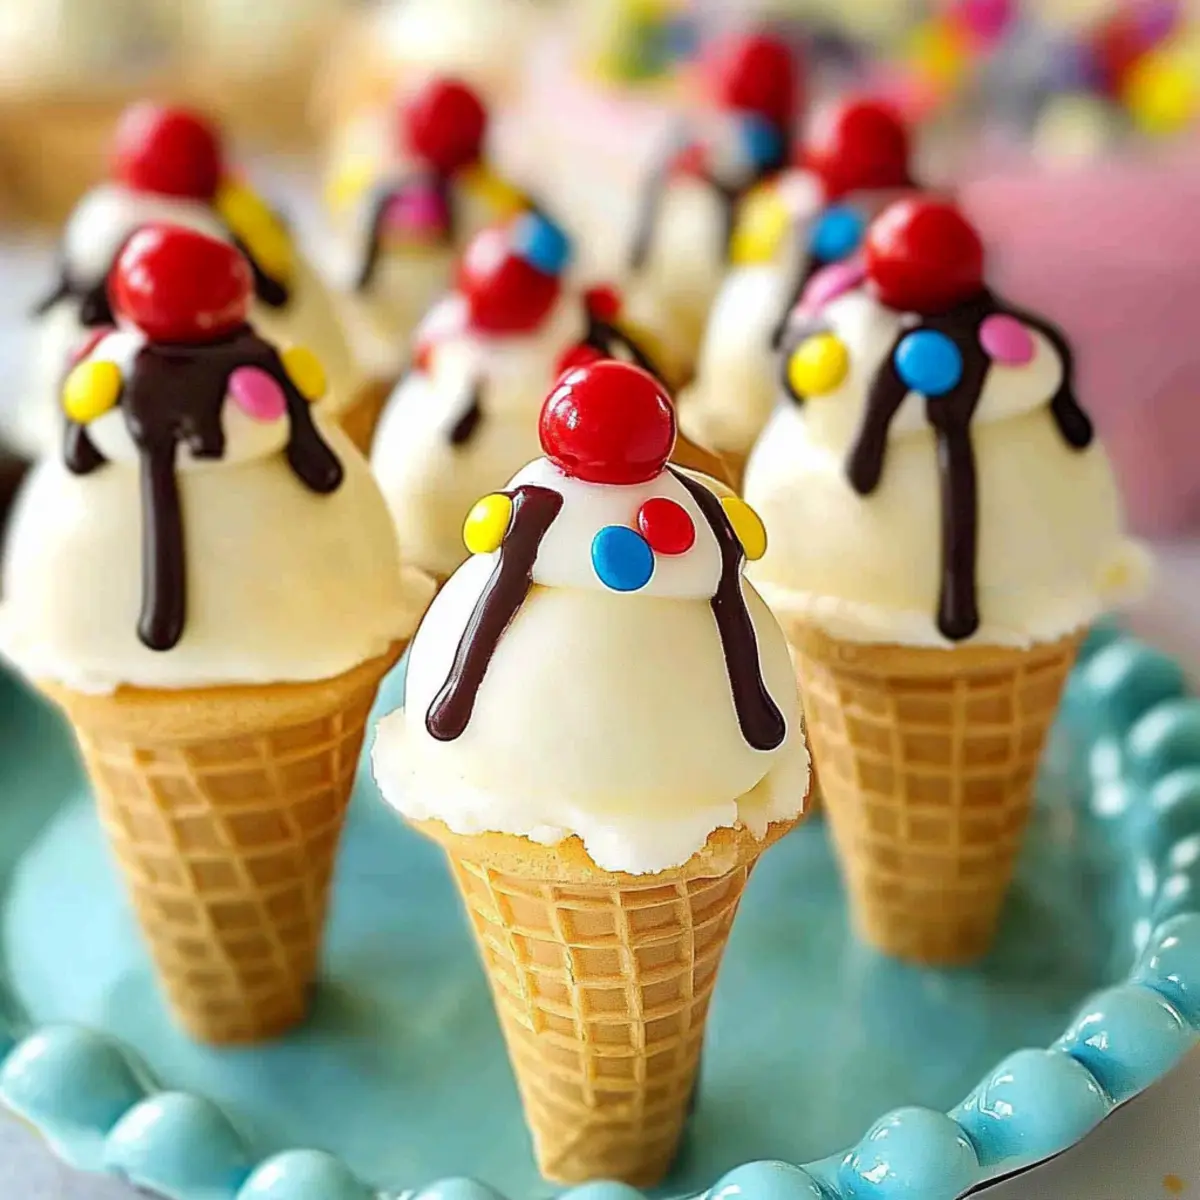
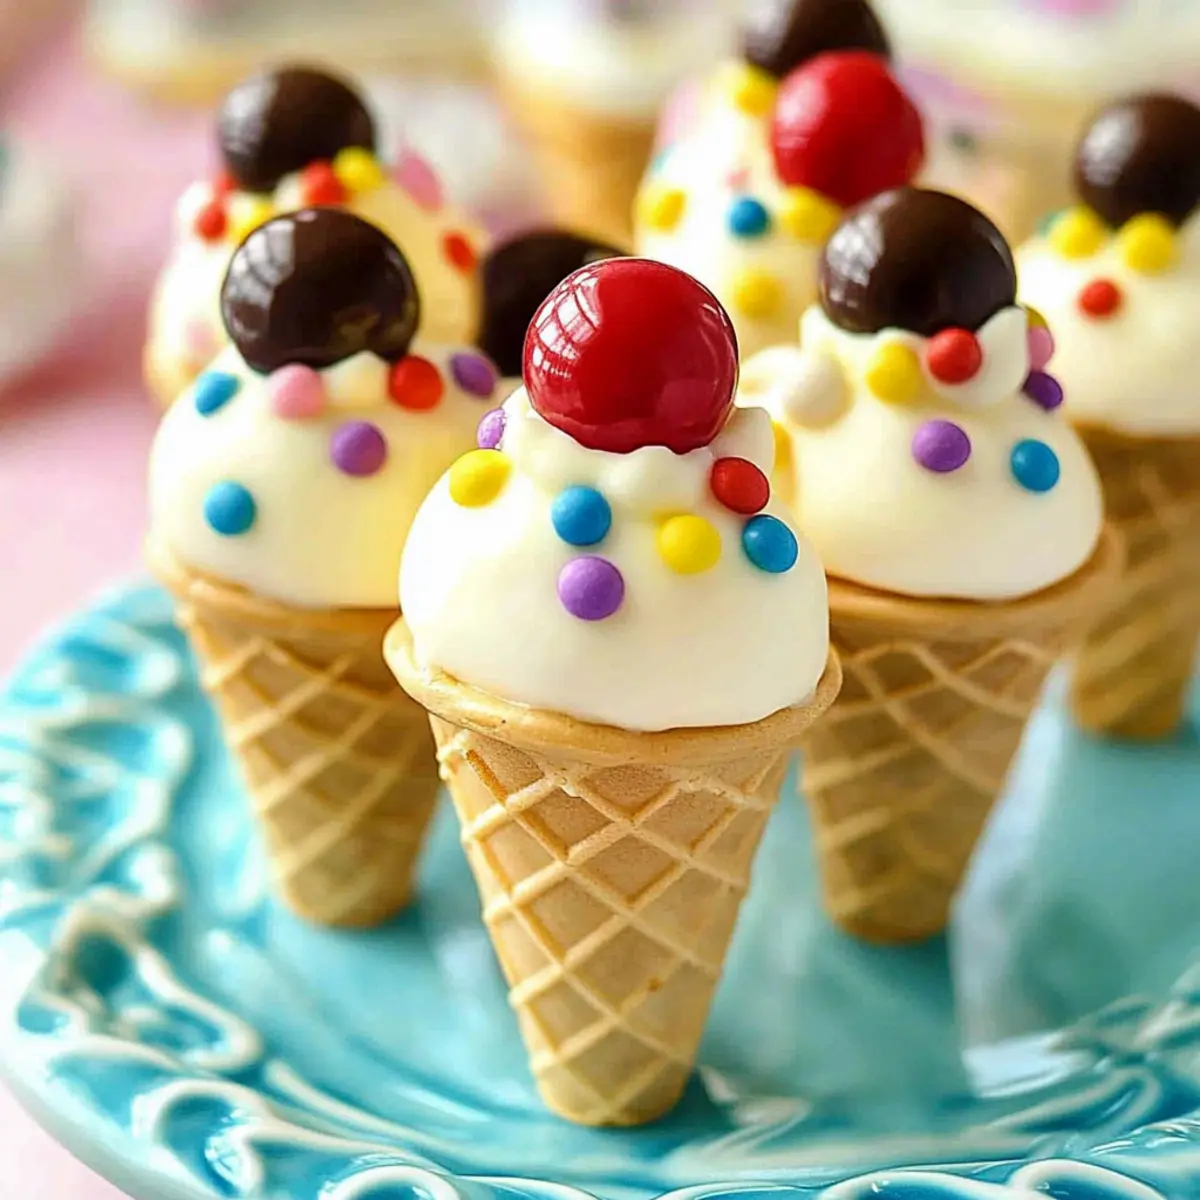
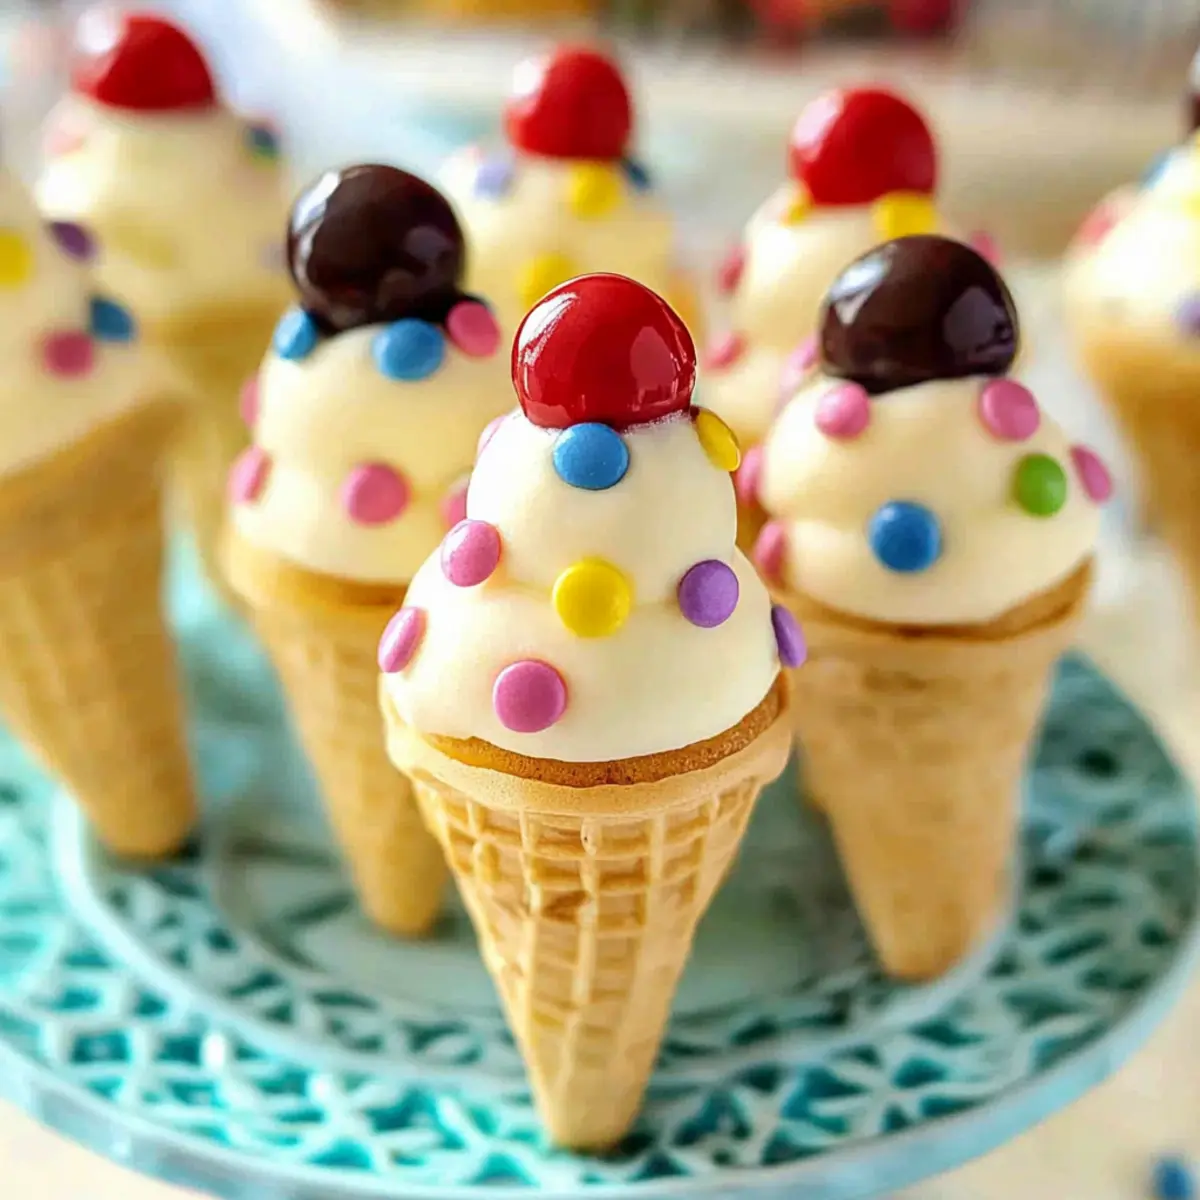
There’s something undeniably charming about a dessert that combines two beloved treats—cake pops and ice cream cones! These Fun Ice-Cream Cone Cake Pops are a delightful twist that not only spark childhood nostalgia but also make for an impressive and fun party treat. Best of all, they are incredibly easy to whip up, making them perfect for a delightful DIY project with the kids while escaping the hassle of traditional baking. With these no-bake wonders, you can mix and match flavors like chocolate, strawberry, or vanilla, ensuring there’s something for every sweet tooth. Plus, they hold their shape beautifully and can be frozen, ready to delight guests at a moment’s notice. Ready to make some sweet memories? Let’s dive into this whimsical recipe!
Why are Cake Pops Ice Cream Cones so fun?
Nostalgic Enjoyment: These cake pops bring back sweet childhood memories of ice cream and celebrations, making every bite a delightful experience.
No-Bake Convenience: Enjoy the ease of crafting these treats without turning on the oven, making them a quick and hassle-free dessert to prepare.
Flavorful Versatility: Whether you choose chocolate, vanilla, or even a fruity twist like strawberry, your options for customization are endless, ensuring everyone gets their favorite flavor!
Kid-Friendly Activity: Invite your little chefs into the kitchen for a fun family activity that not only builds memories but also hones their baking skills.
Party Showstopper: These whimsical pops are sure to impress at any gathering, serving as both tasty treats and eye-catching decorations!
Don’t forget to check out more fun and easy desserts like Cream Cheese Hashbrown or some delightful Pie Dump Cake options to curate your perfect dessert table!
Cake Pops Ice Cream Cones Ingredients
• Get ready to create a delightful treat that combines everyone’s favorites!
For the Cake Base
- 16 oz Fully Baked Cake – Use any flavor you like, such as vanilla, chocolate, or even strawberry for a fun twist!
- ¼ Cup Frosting – This binds the cake crumbs together; consider cream cheese frosting for an extra zing!
For the Cone Assembly
- 12 Mini Ice-Cream Cones – Choose colorful cones to make your cake pops visually appealing.
For the Coating
- 2 Cups White Candy Melts – Ensures a smooth, sweet exterior that everyone will love.
- ½ Cup Chocolate Candy Melts – A delicious drizzle perfect for adding flavor and decoration.
For the Decoration
- 36 Red M&M’s (or similar candies) – These act as adorable “cherries” on top, adding a pop of color.
- Rainbow Sprinkles – Sprinkle these on top to enhance the visual excitement and add a fun crunch!
Now that you have all the ingredients, let’s embark on this sweet adventure of creating your very own Cake Pops Ice Cream Cones!
Step‑by‑Step Instructions for Cake Pops Ice Cream Cones
Step 1: Crumble the Cake
Begin by crumbling the fully baked cake into a large mixing bowl, using your hands or a fork until you achieve fine crumbs. This process should take about 5 minutes; the finer the crumbs, the better they will bind together. As you work, enjoy the sweet aroma of the cake, allowing it to bring a festive feel to your kitchen.
Step 2: Mix with Frosting
Once your cake is crumbled, add in the ¼ cup of frosting. Use your hands to mix it thoroughly until the texture resembles play dough—smooth and uniform, yet moldable. This mixing should take around 3 to 5 minutes; you’ll know it’s ready once it holds together well when squeezed.
Step 3: Shape the Cake Balls
Scoop out 1-inch balls of the cake mixture using a small ice cream scoop or your hands. Place each ball on a parchment-lined cookie sheet, ensuring they are spaced apart to prevent sticking. Aim for about 12 cake balls in total, and take a moment to appreciate their round, bite-sized charm.
Step 4: Melt the White Candy Coating
In a microwave-safe bowl, add the 2 cups of white candy melts. Heat in the microwave at 50% power for 1 minute, then stir. Continue heating in 15-second intervals, stirring each time until the melts are fully smooth and glossy. This should take about 2-3 minutes total, so keep an eye on them to avoid overheating.
Step 5: Assemble the Cake Pops
Dip the open end of each mini ice cream cone in the melted white chocolate, then immediately press it onto the prepared cake ball. This process helps the cake pops to adhere to the cones. Place each assembled cone back onto the cookie sheet and freeze for 20 minutes to allow the chocolate to set completely.
Step 6: Coat the Cake Pops
Once the cake balls have frozen, take them out and dip each into the remaining melted white candy coating. Ensure each cake ball is completely covered, allowing excess chocolate to drip off back into the bowl. Set them upright on the cookie sheet and let them sit for 10-15 minutes until the coating hardens to a crisp shell.
Step 7: Add Chocolate Drizzle
While your cake pops are setting, melt the ½ cup of chocolate candy melts in the microwave using the same technique you used for the white melts. Once melted, use a fork or piping bag to create a drizzle over the coated cake pops. This step adds a delightful flavor and visual appeal as the chocolate begins to cascade down.
Step 8: Decorate and Set
Sprinkle rainbow sprinkles generously over the drizzled chocolate while it’s still wet for a colorful pop. Top each cake pop with a red M&M to mimic a cherry on top. Allow the decorations to set for another 10 minutes by letting them sit at room temperature, where they will firm up nicely.
Now you’re ready to enjoy your delightful Cake Pops Ice Cream Cones, a whimsical dessert that captures the joy of cake and ice cream in one fun treat!
Make Ahead Options
These Cake Pops Ice Cream Cones are a fantastic option for meal prep, allowing you to save time on busy days! You can prepare the cake balls and freeze them for up to 3 days before assembly. Simply crumble the fully baked cake, mix with frosting, and form the balls, then place them on a baking sheet and freeze. When it’s time to serve, dip them into the melted candy coating and decorate as desired. To maintain their quality, ensure they are well-wrapped in an airtight container in the freezer. Your delightful cake pops will still be just as delicious when ready to indulge!
Expert Tips for Cake Pops Ice Cream Cones
-
Fresh Ingredients: Use freshly baked cake to ensure the best flavor. If you have leftover cake, make sure it’s not stale before using it for your cake pops.
-
Frosting Considerations: If your cake is a bit dry, consider adding a little extra frosting to improve binding. This will help your cake pops hold their shape and stay moist.
-
Melt Chocolate Properly: When melting candy melts, do it in intervals to prevent overheating. If your chocolate cools and thickens, simply reheat for a few seconds to restore its fluidity.
-
Chill Before Dipping: After assembling the cake pops, freeze them for 20 minutes. This helps the coating adhere better and prevents melting during dipping.
-
Creative Decorating: Don’t be afraid to use different types of sprinkles or toppings to make your Cake Pops Ice Cream Cones unique. Let your creativity shine at your next gathering!
Cake Pops Ice Cream Cones Variations
Feel free to get creative and make these cake pops your own with some fun and delicious twists!
-
Flavor Swaps: Use different cake flavors, like red velvet or lemon, to bring new dimensions to your cake pops. Each unique flavor will make your treats even more exciting!
-
Frosting Twists: Change up the frosting—try chocolate or berry-flavored frosting for an extra flavor kick that’s sure to delight.
-
Candy Coatings: Instead of white candy melts, experiment with colored candy melts to match party themes or to create playful visuals.
-
Healthy Option: Substitute the frosting with Greek yogurt or naturally flavored yogurt for a lighter alternative that still brings tasty flavor to your pops!
-
Nutty Crunch: Sprinkle crushed nuts like almonds or peanuts on top after frosting for a crunchy texture that adds a delightful twist.
-
Hot & Spicy: Add a hint of chili powder or cayenne to the chocolate drizzle for a surprising sweet-and-spicy flavor combo. It’s a fun way to elevate your cake pops!
-
Miniature Cake Pops: Make bite-sized versions of cake pops by reducing the cake balls to half an inch for smaller mouthfuls—perfect for little hands!
-
Themed Decorations: Decorate your pops to fit any holiday—use colored sprinkles or themed candies for birthdays, Halloween, or Christmas.
With these variations, you’ll never run out of ways to enjoy your Cake Pops Ice Cream Cones! And while you’re indulging in this sweet adventure, keep an eye out for more inspiring treats like Packed Pasta Bowl to complement your dessert table!
How to Store and Freeze Cake Pops Ice Cream Cones
Airtight Container: Store your cake pops in an airtight container at room temperature for up to 3 days to maintain their delightful freshness.
Fridge Storage: If you prefer, keep them in the fridge for up to a week. Place them in a container lined with parchment paper to avoid sticking.
Freezer-Friendly: For longer storage, freeze the cake pops for up to 2 months. Make sure they are well-wrapped in plastic wrap or placed in a freezer-safe bag.
Reheating: To enjoy them, simply let the frozen pops thaw in the fridge before serving, allowing them to regain their delightful texture.
What to Serve with Fun Ice-Cream Cone Cake Pops?
These whimsical treats make dessert feel like a celebration, perfect for parties and playdates alike.
-
Creamy Vanilla Ice Cream: A scoop of vanilla ice cream pairs beautifully, enhancing the cake pop experience with extra creaminess. The classic flavor complements the sweetness and fun of cake pops.
-
Chocolate Dipping Sauce: For extra indulgence, serve chocolate sauce on the side. Guests can dip and make their treats even more decadent.
-
Fresh Fruit Skewers: Bright, fresh fruit can provide a refreshing contrast to the sweetness of cake pops. Think strawberries, pineapple, or juicy melons – they add color and healthfulness to the mix!
-
Sparkling Lemonade: A fizzy drink like sparkling lemonade can be a refreshing companion, cutting through the sweetness of the cake pops. Its zesty flavor will brighten your gathering!
-
Mini Cupcakes: Complement the cake pops with mini cupcakes in various flavors; they keep the cake party theme going while offering variety. These delightful bites are perfect for sharing!
-
Chocolate Milkshakes: Rich and creamy milkshakes make a delightful drink pairing. They’re nostalgic and fun, just like the cake pops themselves!
Let your creativity flow and mix match these suggestions to create a delightful spread that highlights the fun of your Cake Pops Ice Cream Cones!

Ice-Cream Cone Cake Pops Recipe FAQs
How do I choose the right cake for my cake pops?
Absolutely! Use a fully baked cake that’s moist and flavorful. I recommend checking for freshness; if it’s a little stale, adding an extra 1-2 tablespoons of frosting can help bind the cake crumbs together, making it easier to shape into cake balls.
What’s the best way to store leftover cake pops?
Store your cake pops in an airtight container at room temperature for up to 3 days. If you prefer them chilled, store them in the refrigerator for up to a week. To prevent sticking, I advise lining the container with parchment paper.
Can I freeze my cake pops? If so, how?
Yes, indeed! To freeze your Ice-Cream Cone Cake Pops, wrap each one tightly in plastic wrap or place them in a freezer-safe bag. They’ll stay delicious for up to 2 months. When you’re ready to enjoy, simply transfer them to the fridge for a few hours to thaw gently.
What should I do if my candy melts get too thick while dipping?
Very common! If your melted candy coating thickens, just pop it in the microwave for 10-15 seconds and stir well. Repeat if necessary until it’s smooth and pours easily. This way, you’ll achieve that perfect glossy finish on your cake pops!
Can I customize the decorations for the cake pops?
The more the merrier! Feel free to get creative with your toppings. Use different types of sprinkles, edible glitter, or even flavored drizzle like caramel or dark chocolate for a unique twist on your Ice-Cream Cone Cake Pops!
Are there any dietary considerations I should be aware of?
Always great to check! If you or your guests have any allergies, make sure to inspect the labels on your ingredients, especially the candy melts and sprinkles, as they may contain allergens like nuts or gluten. For a gluten-free option, substitute with a gluten-free cake mix!
Deliciously Fun Cake Pops Ice Cream Cones for All Ages
Ingredients
Equipment
Method
- Crumble the fully baked cake into fine crumbs.
- Mix the frosting into the cake crumbs until the texture resembles play dough.
- Shape the mixture into 1-inch balls and place them on a cookie sheet.
- Melt the white candy coating and ensure it is smooth and glossy.
- Dip each cone in melted chocolate and press it onto the cake ball, then freeze for 20 minutes.
- Coat each frozen cake ball in the white candy coating and let sit for 10-15 minutes until hardened.
- Melt the chocolate candy melts and drizzle over the cake pops.
- Decorate with rainbow sprinkles and top with red M&M's, then let set for 10 minutes.
Leave a Reply