
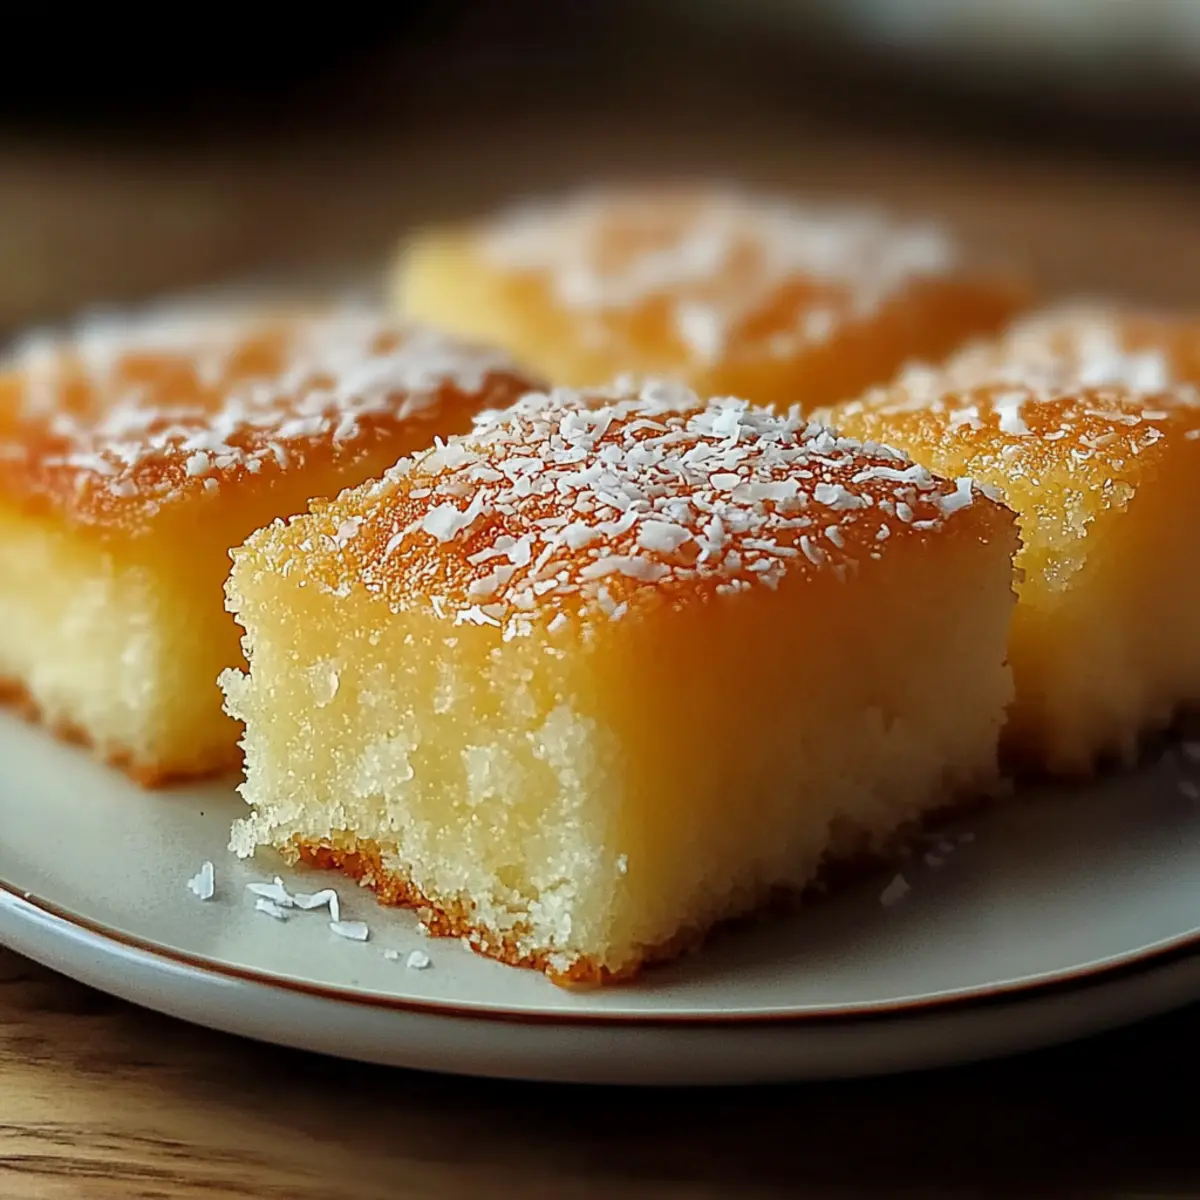
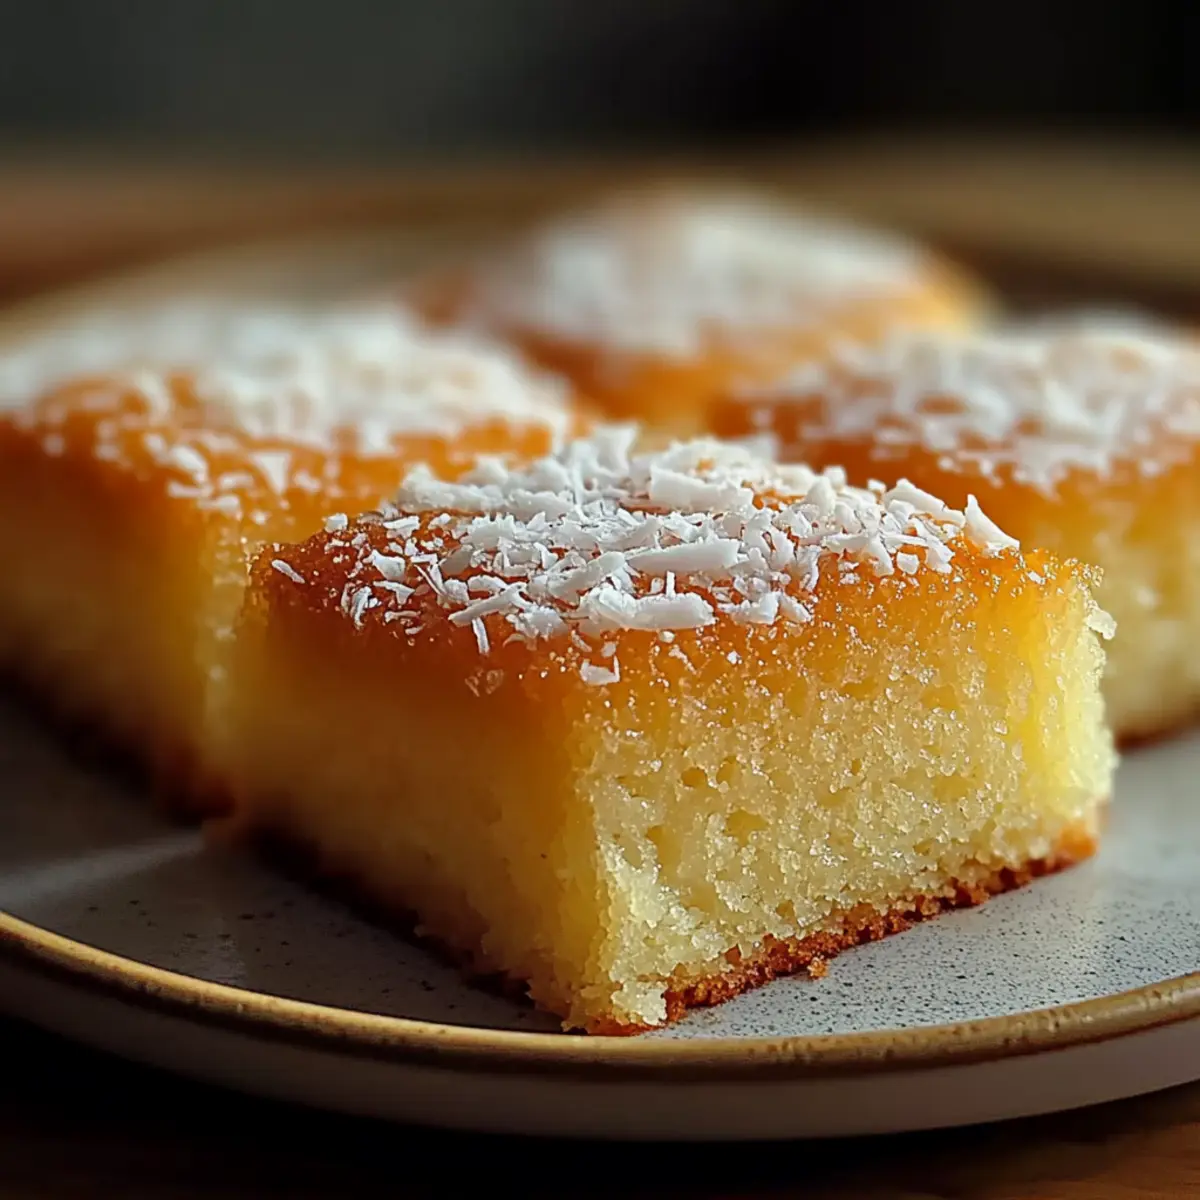
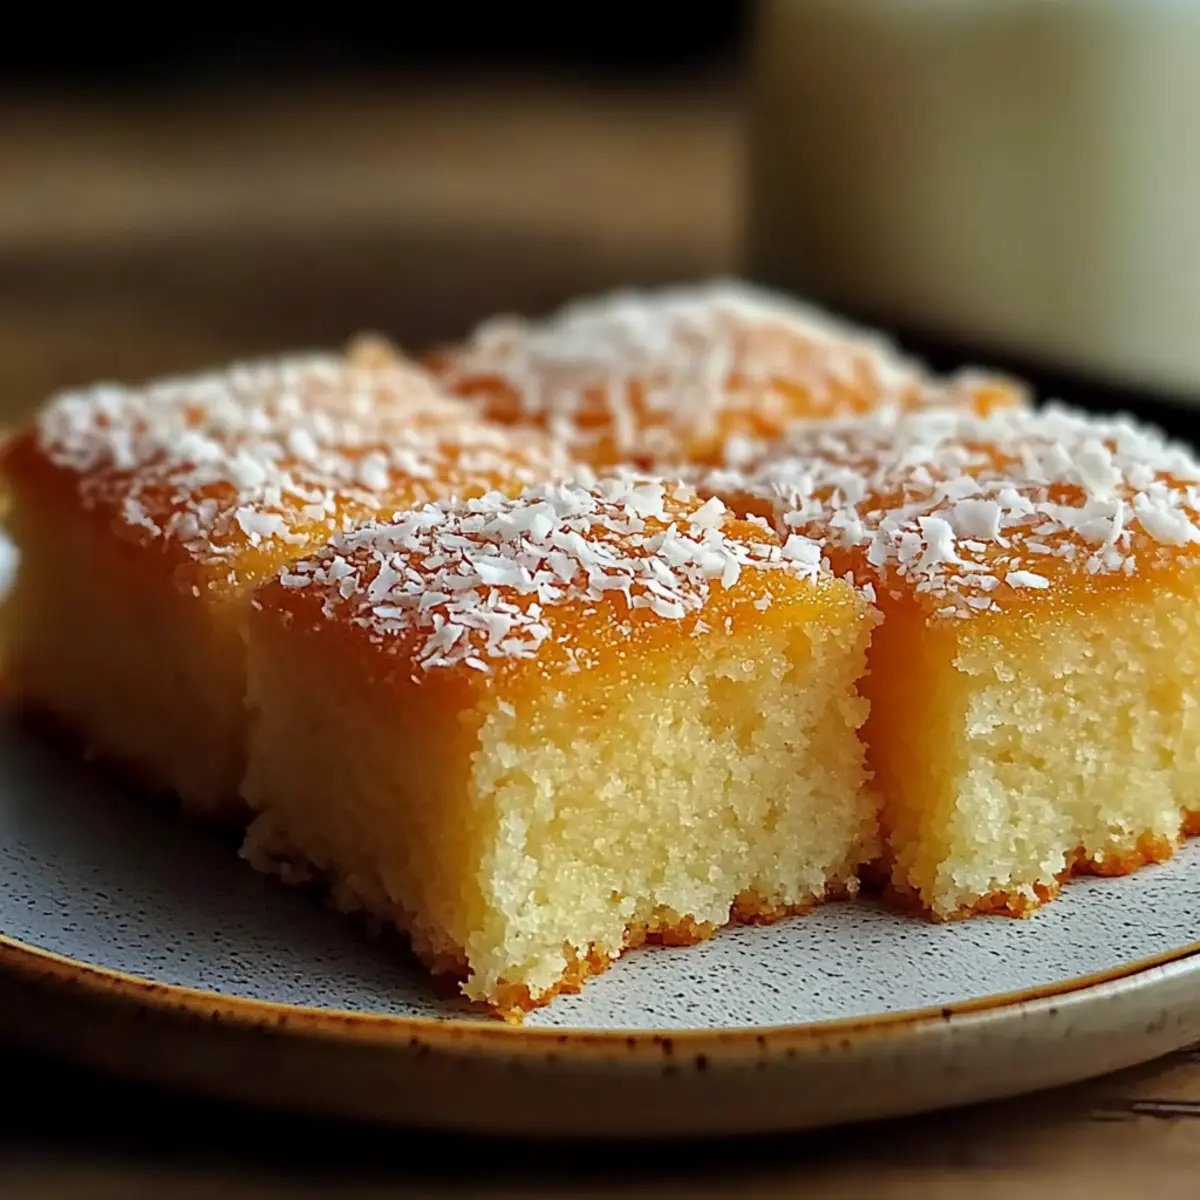
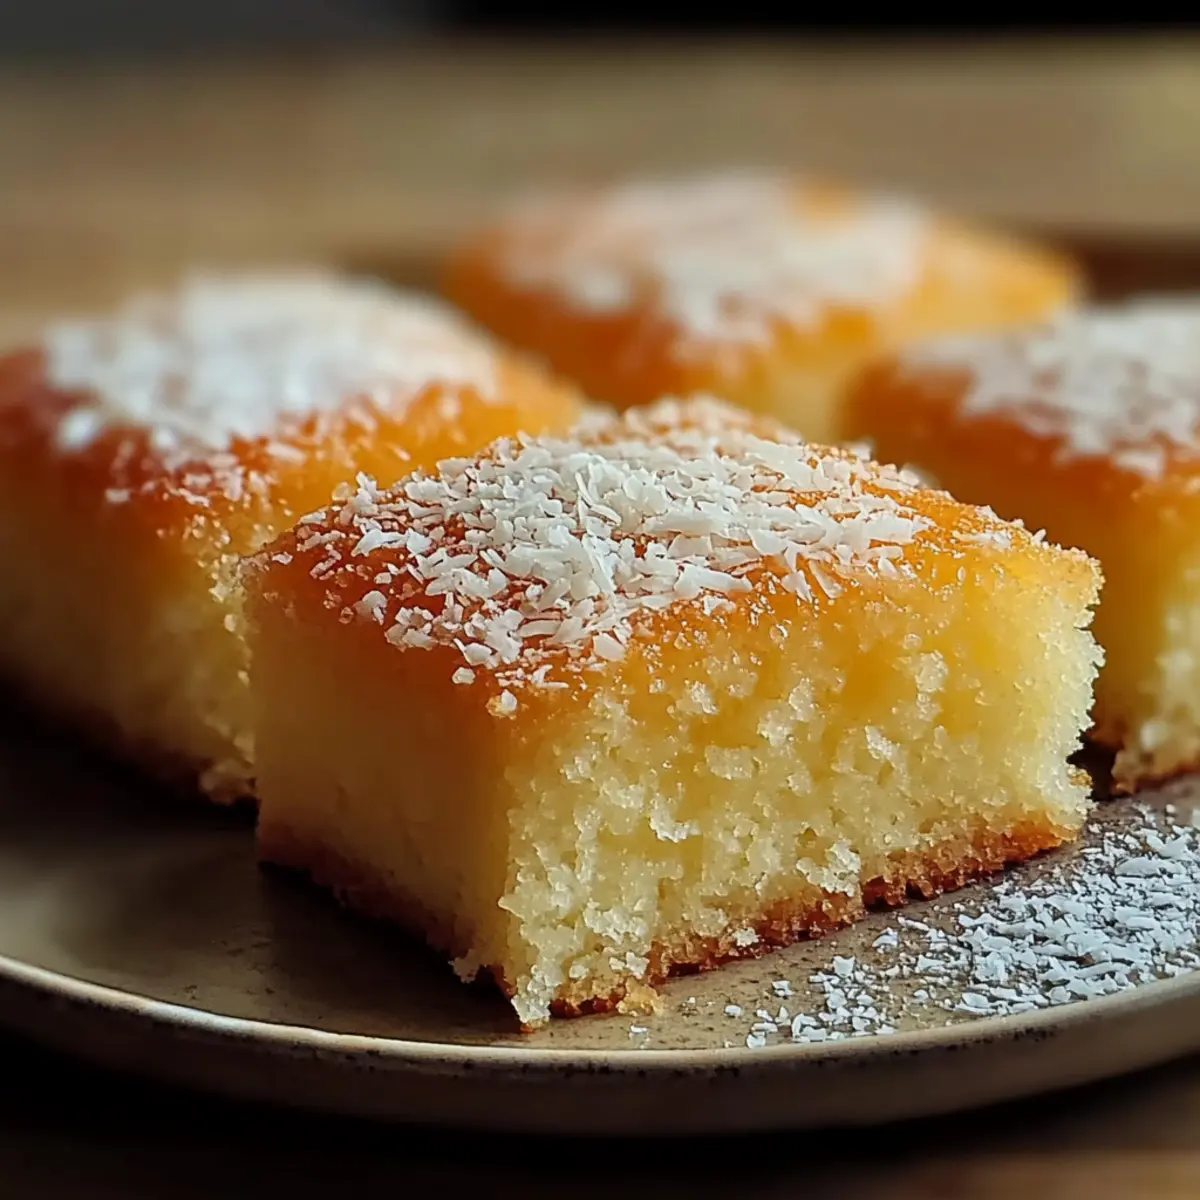
A tantalizing coconut aroma wafts through my kitchen as I whisk together the ingredients for my favorite Coconut Milk Snack Cake. This cake is my secret weapon for those busy days when I crave a wholesome treat without the fuss. With its tender texture and light coconut flavor, it’s the perfect dairy-free delight that’s budget-friendly and quick to whip up. Whether you’re looking for a delightful addition to lunchboxes or a delicious snack for your next get-together, this easy recipe checks all the boxes. Plus, it’s so forgiving that you can customize it with pineapple or almonds for a fun twist. What will you pair it with—coffee, ice cream, or maybe both?
Why is this Coconut Cake So Special?
Tender Texture: The Coconut Milk Snack Cake is incredibly moist with a fluffy crumb that will have everyone asking for seconds.
Dairy-Free Delight: Perfect for those avoiding dairy, this cake is made with coconut milk and oil, making it a versatile treat for all dietary preferences.
Quick and Easy: With just a handful of ingredients, it comes together effortlessly, allowing you to bake even on your busiest days.
Customizable Flavors: Whether you’re a fan of tropical pineapple or nutty almonds, there are numerous ways to make this cake your own. Try swapping in Spicy Brazilian Coconut for a deliciously rich twist!
Crowd-Pleasing: Galas, potlucks, or family gatherings, this cake is a hit everywhere, making it the go-to dessert for any occasion.
Coconut Milk Snack Cake Ingredients
• Here’s everything you need to create this delightful Coconut Milk Snack Cake.
For the Cake
- Coconut Milk – Provides moisture and a rich coconut flavor; opt for full-fat canned coconut milk for the best texture.
- Coconut Oil – Adds moisture and a hint of coconut flavor while keeping the cake dairy-free.
- Eggs – Binds the ingredients together and contributes to the cake’s structure; substitute with applesauce for a vegan option.
- Sugar – Sweetens the cake without overpowering its delicate flavor.
- Vanilla Extract – Enhances the overall flavor profile of the cake.
- All-Purpose Flour – Creates the cake’s structure and texture; can be swapped with a gluten-free blend for gluten-free options.
- Baking Powder – Helps the cake rise, giving it a fluffy texture.
- Shredded Coconut – Boosts texture and coconut flavor; toasting enhances its nuttiness.
Feel free to mix in your favorite variations when preparing this Coconut Milk Snack Cake!
Step‑by‑Step Instructions for Coconut Milk Snack Cake
Step 1: Preheat the Oven and Prepare the Pan
Begin by preheating your oven to 350°F (175°C). While the oven warms up, take an 8×8-inch baking pan and lightly grease it with coconut oil or line it with parchment paper for easy removal later. You’ll want to have everything ready for your Coconut Milk Snack Cake, so this initial setup is key.
Step 2: Recombine the Coconut Milk
Take your can of coconut milk and pour it into a bowl. If the cream has separated, blend it using a whisk or blender for about 10–20 seconds until it’s smooth and unified. This ensures that the moisture and rich coconut flavor will evenly distribute throughout the cake, making each bite delightful and moist.
Step 3: Mix the Wet Ingredients
In a large mixing bowl, combine the smooth coconut milk, melted coconut oil, eggs, sugar, and vanilla extract. Use a whisk to blend everything together until the mixture is well combined and slightly frothy, which should take about 1–2 minutes. This step is crucial for the Coconut Milk Snack Cake’s tender texture and flavor richness.
Step 4: Combine the Dry Ingredients
In a separate bowl, whisk together the all-purpose flour, shredded coconut, and baking powder. Make sure to mix thoroughly until there are no lumps, as this will help the batter rise beautifully when baking. The dry mixture should have a light, fluffy feel to it, providing the foundation for your cake’s structure.
Step 5: Combine Wet and Dry Mixtures
Gently add the dry ingredients to the wet mixture, folding them together using a spatula. Be careful not to overmix; aim for just combined with a few flour streaks remaining. This gentle folding technique keeps your Coconut Milk Snack Cake tender, ensuring a delightful crumb when it’s baked.
Step 6: Bake the Cake
Pour the batter into your prepared baking pan, spreading it evenly. Place the pan in the preheated oven and bake for 30–40 minutes. Keep an eye on the cake; it’s ready when it’s golden brown and a toothpick inserted in the center comes out clean or with a few moist crumbs.
Step 7: Cool Before Slicing
Once baked, remove your Coconut Milk Snack Cake from the oven and let it cool in the pan for about 10 minutes. After that, transfer it to a wire rack to cool completely. This cooling period is essential for the cake to set and makes slicing much easier, ensuring neat pieces for serving or storage.
Coconut Milk Snack Cake: Endless Possibilities
Feel free to let your creativity shine and personalize your Coconut Milk Snack Cake!
- Tropical Twist: Fold in ½ cup diced pineapple for bursts of tropical flavor that perfectly complement the coconut.
- Nutty Delight: Swap shredded coconut with toasted almond slivers for added crunch and a hint of nuttiness in each bite.
- Zesty Upgrade: Add lime zest to the batter for a refreshing citrus zing that elevates the whole cake experience.
- Cupcake Conversion: Transform the batter into cupcakes by baking in a muffin tin, reducing the bake time to just 16-20 minutes.
- Indulgent Layers: Sandwich slices with coconut whipped cream for a decadent dessert that feels like a tropical vacation.
- Spice it Up: Incorporate a teaspoon of cinnamon or nutmeg into the dry ingredients for a warm, comforting flavor that’s perfect for cozy gatherings.
- Chocolate Lover’s Dream: Add chocolate chips into the batter for an irresistible chocolate-coconut fusion; who could resist that?
- Quick Snack Idea: Consider serving slices with a drizzle of honey or maple syrup for a sweet treat any time of the day.
Whether it’s pairing with a cup of coffee or whipping up a quick dessert like this High Protein Pancake Bowl, there’s no limit to how you can enjoy this delightful treat!
Make Ahead Options
These Coconut Milk Snack Cakes are perfect for meal prep enthusiasts looking to save time during the week! You can prepare the batter up to 24 hours in advance; simply combine the wet and dry ingredients, and store the mixed batter in an airtight container in the refrigerator. To maintain the tender texture, make sure to cover it tightly to prevent drying out. When ready to bake, give the batter a gentle stir, pour it into the prepared pan, and bake as directed. Alternatively, you can bake the cake ahead of time and store it in an airtight container at room temperature for up to 3 days. Just wait to slice it until you’re ready to serve, and you’ll have a delightful, homemade treat that’s just as delicious as when it was freshly baked!
How to Store and Freeze Coconut Milk Snack Cake
Room Temperature: Keep the cooled Coconut Milk Snack Cake in an airtight container at room temperature for up to 1 week. This preserves its delightful moisture and flavor.
Fridge: If you prefer, store the cake in the fridge for up to 2 weeks, wrapped tightly to prevent it from drying out.
Freezer: For longer storage, freeze individual slices in a freezer bag or wrap them in plastic wrap for up to 3 months. Thaw at room temperature or reheat in a microwave for a quick snack.
Reheating: When ready to enjoy, you can reheat slices in the microwave for about 15-20 seconds or until warmed through, restoring that comforting texture.
What to Serve with Coconut Milk Snack Cake?
Imagine indulging in a slice of this tender, dairy-free delight while enjoying the perfect complement to your meal.
- Fresh Berries: A burst of vibrancy and flavor, fresh berries add a juicy contrast that elevates each bite of cake.
- Coconut Whipped Cream: Silky and light, this dairy-free whipped cream adds a rich creaminess that enhances the tropical coconut flavor.
- Rich Coffee: The deep, bold flavors of coffee provide a delightful balance to the light sweetness of the cake, creating a perfect pairing.
- Vanilla Ice Cream: Creamy and cool, vanilla ice cream melts slightly into the warm cake, making for a heavenly combination of textures.
- Tropical Fruit Salad: A refreshing mix of pineapple, mango, and kiwi brightens the palate and adds a tropical flair that complements the cake beautifully.
- Lemonade or Iced Tea: Cold, tangy drinks cut through the sweetness of the cake, making them a refreshing choice for warm days.
- Toasted Almonds: For a bit of crunch, toasted almonds on top offer a delightful nutty flavor, enhancing the cake while adding extra texture.
- Chocolate Sauce: A drizzle of chocolate sauce brings a decadent twist, creating an indulgent treat for special occasions.
- Coconut-Lime Spritzer: A refreshing beverage with fizzy coconut water and a dash of lime captures the cake’s flavor while keeping things light and fun.
Expert Tips for Coconut Milk Snack Cake
-
Avoid Overmixing: Gently fold ingredients together to maintain a tender crumb. Overmixing can lead to a dense cake instead of the light texture you want in your Coconut Milk Snack Cake.
-
Blend Coconut Milk: If your coconut milk has separated, thoroughly blend it before measuring. This ensures even distribution of moisture and rich coconut flavor throughout the cake.
-
Check for Doneness: Use a toothpick to test the cake; it should come out clean or with just a few moist crumbs. Checking at the 30-minute mark can prevent overbaking.
-
Storage Matters: To keep your Coconut Milk Snack Cake fresh, store it in an airtight container. This helps maintain its moisture and flavor for up to a week at room temperature.
-
Experiment with Variations: Don’t hesitate to try different mix-ins, like diced pineapple or lime zest. These variations can elevate your cake experience and bring a unique flavor profile to this delightful treat.
Coconut Milk Snack Cake Recipe FAQs
What type of coconut milk should I use for the best results?
I recommend using full-fat canned coconut milk for a rich texture and moisture. This will give your Coconut Milk Snack Cake that delightful tenderness you’re looking for. Avoid light coconut milk, as it can lead to a drier cake.
How should I store my Coconut Milk Snack Cake?
After cooling, store your Coconut Milk Snack Cake in an airtight container at room temperature for up to one week. If you’d like to keep it longer, wrap the pieces tightly in plastic wrap or aluminum foil and freeze them for up to three months. This allows you to enjoy a slice whenever the craving strikes!
Can I freeze Coconut Milk Snack Cake for later use?
Absolutely! To freeze your Coconut Milk Snack Cake, cut it into individual portions and wrap each piece in plastic wrap. Then place the wrapped slices in a freezer-safe bag or container. When you’re ready to enjoy, thaw them in the refrigerator overnight or at room temperature. You can also reheat them in the microwave for a cozy treat.
What if my cake turns out too dense?
If your cake is denser than expected, it could be due to overmixing the batter. Always aim to mix just until combined, leaving a few streaks of flour. Another reason might be the measurement of ingredients, so double-check that you’re using the correct quantities. If you’re using gluten-free flour, ensure it’s fresh, as older flours can affect texture.
Is this cake suitable for those with food allergies?
This Coconut Milk Snack Cake is dairy-free and can accommodate various dietary needs! However, it contains eggs, so for a vegan version, substitute eggs with unsweetened applesauce (1/4 cup per egg). Also, be mindful of coconut allergies; ensure your guests are informed about the ingredients if you’re serving it at gatherings.
Coconut Milk Snack Cake: A Tender Treat for Every Occasion
Ingredients
Equipment
Method
- Preheat the oven to 350°F (175°C) and prepare an 8x8-inch baking pan by greasing it or lining with parchment paper.
- Blend the coconut milk if the cream has separated to ensure even moisture distribution.
- In a large mixing bowl, combine the smooth coconut milk, melted coconut oil, eggs, sugar, and vanilla extract; whisk until well combined.
- In a separate bowl, whisk together the flour, shredded coconut, and baking powder until no lumps remain.
- Gently fold the dry ingredients into the wet mixture without overmixing.
- Pour the batter into the prepared pan and bake for 30-40 minutes until golden and a toothpick comes out clean.
- Cool in the pan for 10 minutes then transfer to a wire rack to cool completely before slicing.
Leave a Reply