
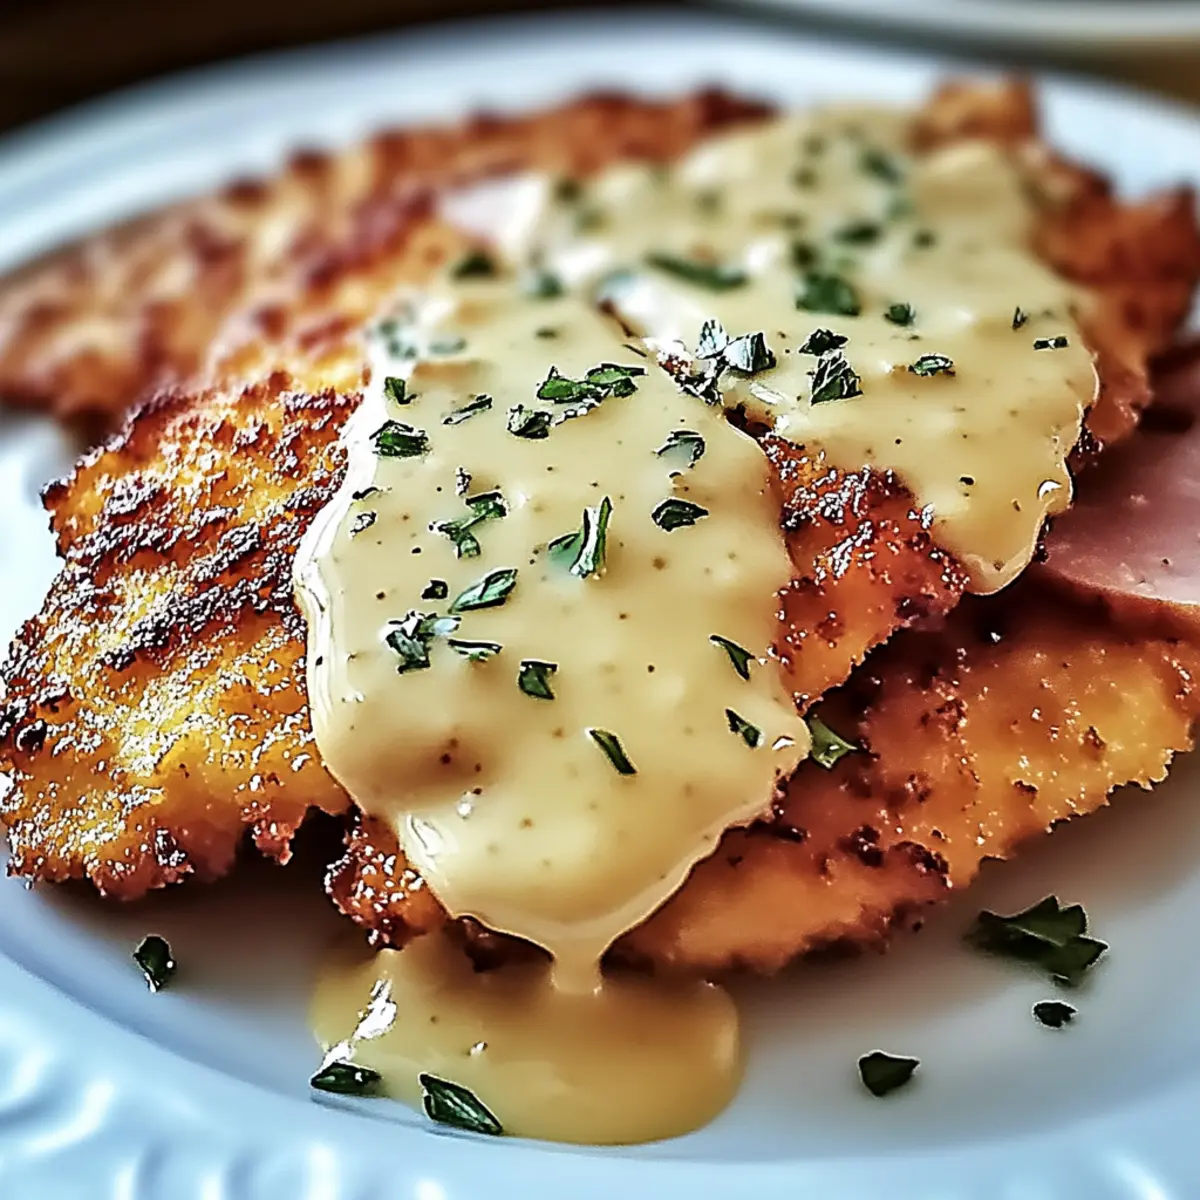
As I tossed dinner ideas around, a memory of a tropical getaway came rushing back—sun-kissed beaches, and plates piled high with comfort food that made me feel at home. Inspired by those flavors, my Crispy Malibu Chicken with Creamy Mustard Sauce was born. This quick dinner option is not just a family favorite; it brings a scrumptious fusion of textures, featuring a crunchy exterior wrapped around savory ham and gooey cheese. In under 30 minutes, you can elevate a busy weeknight into something special, all while accommodating gluten-free and customizable preferences to suit everyone at the table. What delightful touch will you add to your version of this beloved dish?
Why is Crispy Malibu Chicken a Must-Try?
Quick Dinner Solution: This recipe is perfect for busy weeknights, ready in under 30 minutes!
Crowd-Pleasing Flavor: The delightful combination of ham, cheese, and a creamy mustard sauce will satisfy even the pickiest eaters.
Customizable Options: Easily adapt the ingredients to fit dietary needs, from gluten-free flour to different cheese choices.
Deliciously Comforting: Each bite delivers a satisfying crunch, making this dish a hit with the whole family.
Easy Prep: With simple steps and minimal ingredients, even novice cooks can shine in the kitchen. Elevate your dinner with this Oven Fried Chicken or serve it alongside a fresh Garlic Chicken Fried Rice for a complete meal!
Crispy Malibu Chicken Ingredients
For the Chicken
• Boneless Chicken Breasts – The main protein source; thinly pound for even cooking.
• Ham Slices – Adds savory flavor; consider using Black Forest or Honey ham for richness.
• Swiss Cheese – Melts beautifully over chicken; Provolone or Gruyère can be good substitutes.
• All-Purpose Flour – Provides the first layer in the breading; use gluten-free flour for an alternative.
• Eggs – Binds the coating to the chicken; try plant-based milk for a vegan option.
• Panko Breadcrumbs – Creates a crispy exterior; gluten-free Panko is available for dietary needs.
For the Creamy Mustard Sauce
• Mayonnaise – Forms the base for the sauce; substitute with Greek yogurt for a lighter version.
• Dijon Mustard – Adds a delightful tang; yellow mustard works well as an alternative.
• Honey – Introduces sweetness; maple syrup can be a substitute if desired.
• Lemon Juice – Offers acidity; feel free to use vinegar in a pinch.
• Worcestershire Sauce (optional) – Enhances umami flavor; be sure it’s gluten-free if needed.
• Salt and Pepper – Essential for seasoning; adjust according to your taste.
Embrace the magic of Crispy Malibu Chicken with these simple, yet essential ingredients that will have your family asking for seconds!
Step‑by‑Step Instructions for Crispy Malibu Chicken
Step 1: Prepare the Chicken
Begin by placing the boneless chicken breasts between two layers of plastic wrap, then gently pound them to a uniform thickness of 1/4 to 1/2 inch. This ensures even cooking and tenderness. Season both sides generously with salt and pepper to enhance the flavor of your Crispy Malibu Chicken.
Step 2: Set Up Your Breading Station
Create a breading station by arranging three shallow bowls in a line. Fill the first bowl with all-purpose flour, the second with two beaten eggs, and the third with Panko breadcrumbs. This organized setup will streamline the breading process and minimize mess, making it easier to prepare the next steps in making Crispy Malibu Chicken.
Step 3: Dredge the Chicken
Start by taking a pounded chicken breast and dredging it in the flour, ensuring an even coating all over. Next, dip it into the beaten eggs, allowing any excess to drip off, and finally coat it thoroughly with Panko breadcrumbs for that irresistible crunch. Repeat this process for each chicken breast to prepare for frying.
Step 4: Preheat and Pan-Fry
Preheat your oven to 400°F (200°C) while heating a large skillet over medium heat with olive oil or butter. Once hot, add the breaded chicken breasts and pan-fry for 3 minutes on each side, or until they develop a golden-brown crust. This initial frying step is crucial for that crispy texture in your Crispy Malibu Chicken.
Step 5: Add Ham and Cheese
After pan-frying, carefully layer a slice of ham and a slice of Swiss cheese over each chicken breast. The heat will start to melt the cheese, infusing the chicken with savory goodness. Make sure the ham and cheese are evenly distributed to enhance the flavor in each bite of your Crispy Malibu Chicken.
Step 6: Bake the Chicken
Transfer the skillet to the preheated oven and bake the chicken for 15 to 20 minutes. Ensure that the cheese melts beautifully and that the internal temperature of the chicken reaches 165°F (75°C) for safe consumption. The baking process will finish cooking the chicken, keeping it juicy while achieving a delightful crunch.
Step 7: Make the Creamy Mustard Sauce
While the chicken is baking, combine mayonnaise, Dijon mustard, honey, lemon juice, and Worcestershire sauce (if using) in a bowl. Whisk everything together until the sauce is smooth and creamy. Taste and adjust the seasoning with salt and pepper to create a flavorful accompaniment to your Crispy Malibu Chicken.
Step 8: Serve and Enjoy
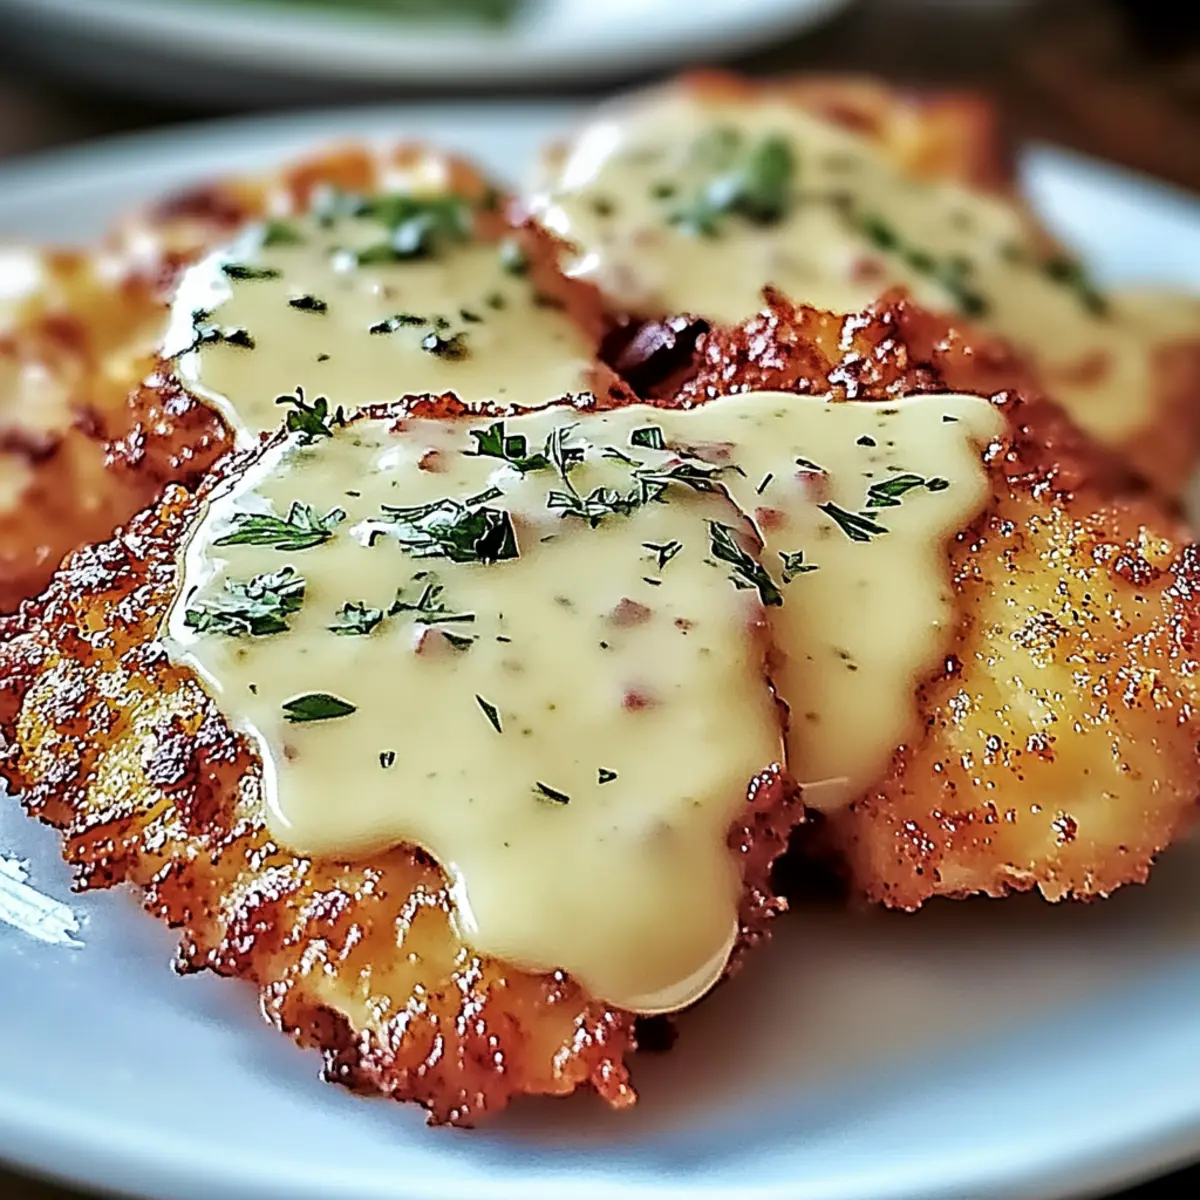
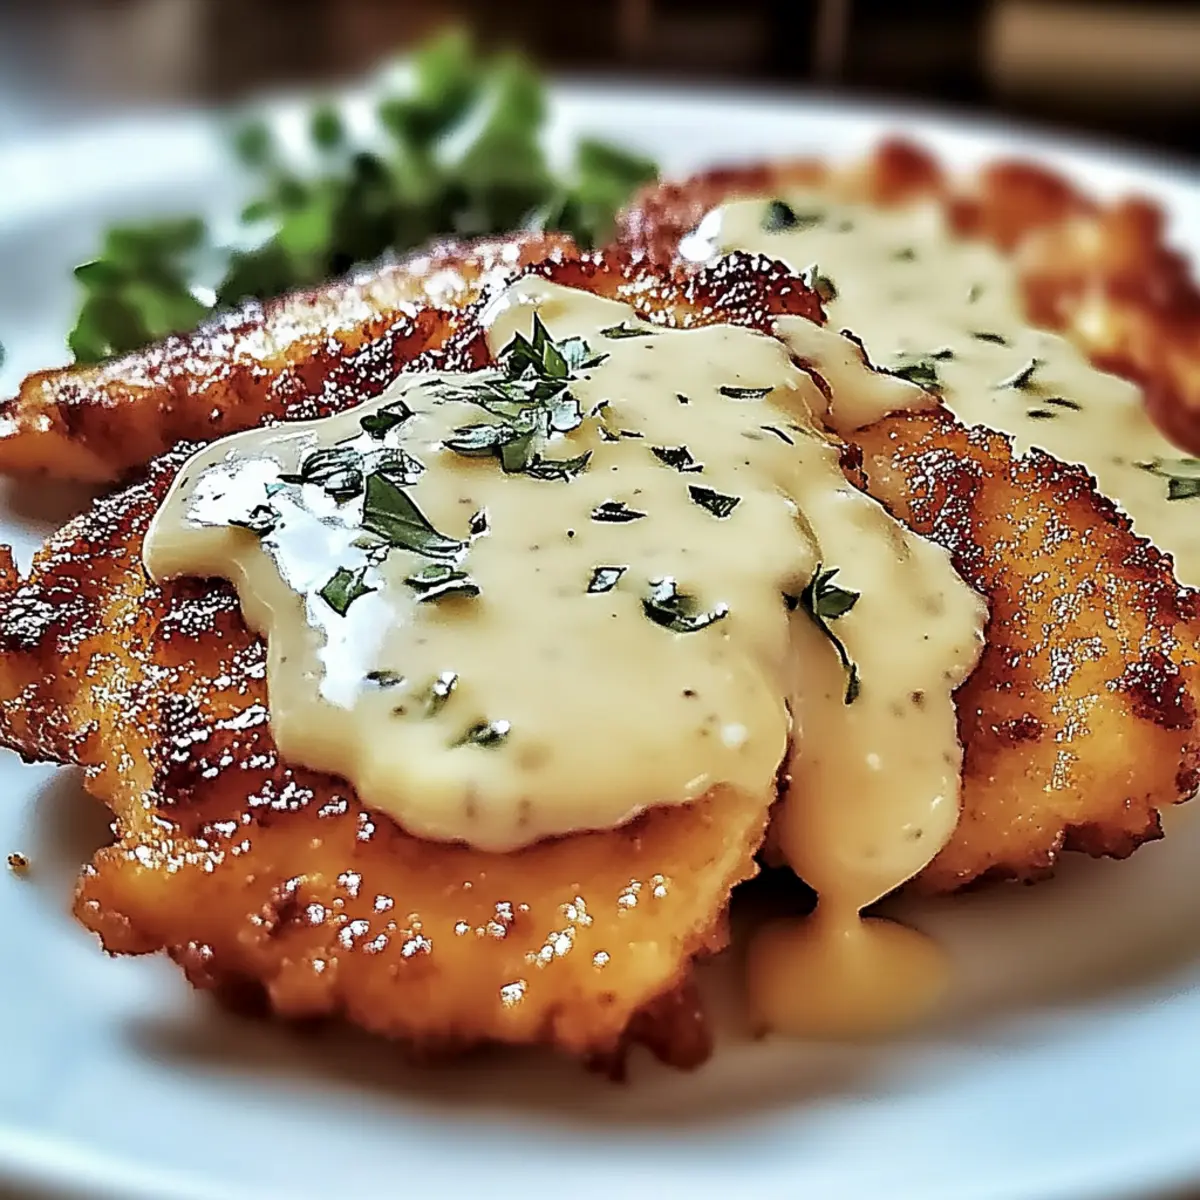
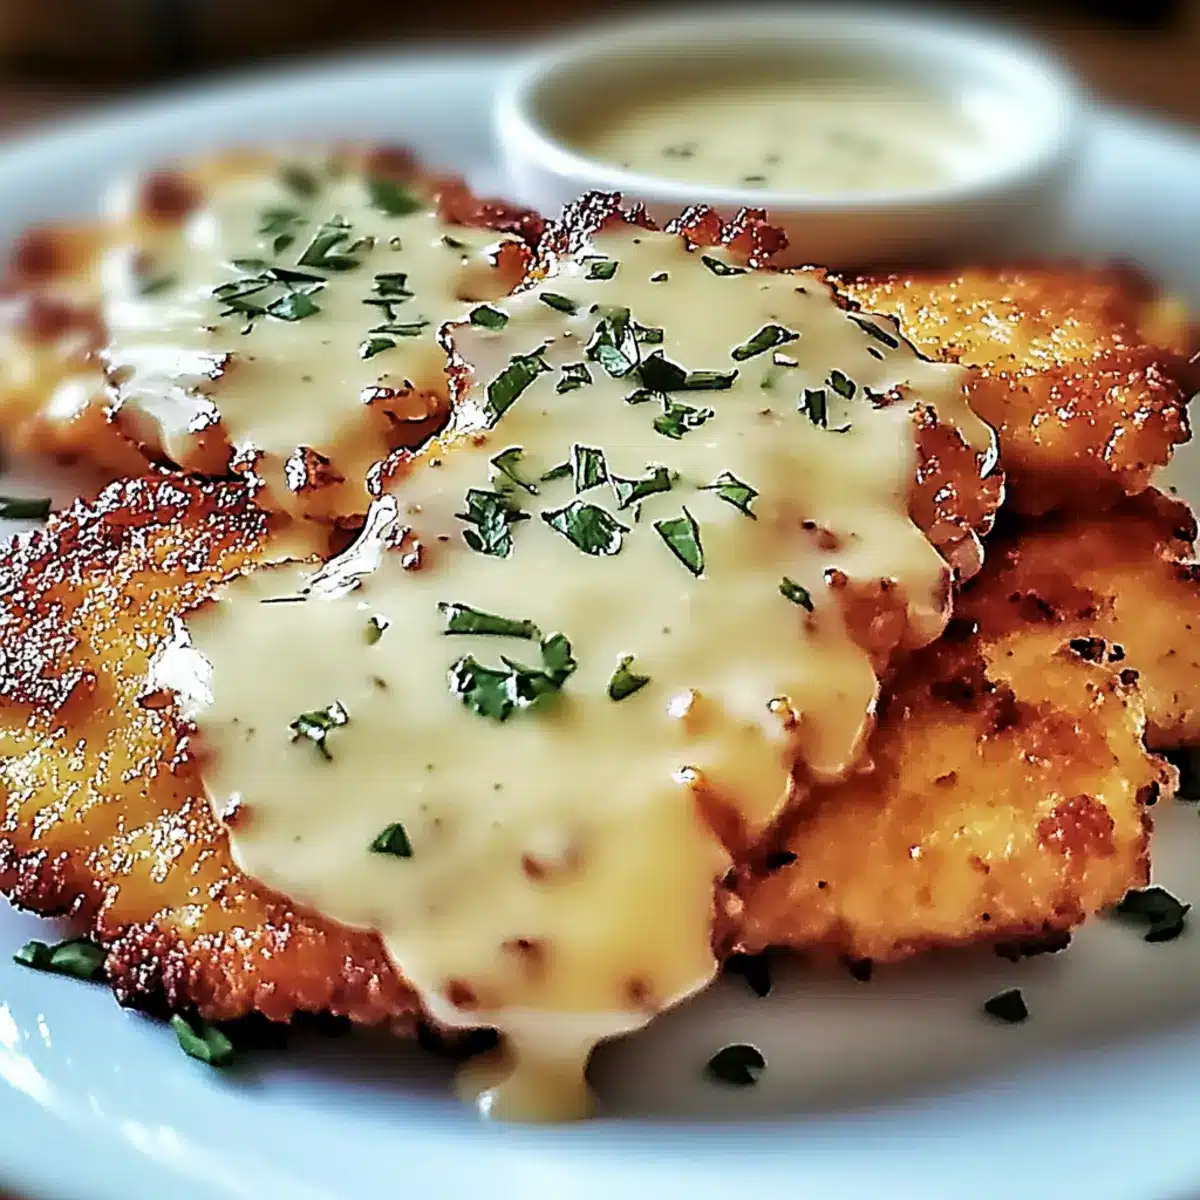
Once the baking time is up and the cheese is wonderfully melted, remove the Crispy Malibu Chicken from the oven. Serve it on a plate, drizzled generously with the creamy mustard sauce. For added flair, garnish with freshly chopped parsley, if desired, creating a beautiful presentation to delight your family at dinner!
Expert Tips for Crispy Malibu Chicken
-
Uniform Pounding: Ensure chicken is uniformly pounded to avoid dryness and achieve even cooking, making your Crispy Malibu Chicken tender and juicy.
-
Breading Technique: Use separate hands for wet and dry ingredients during the breading process to prevent clumping, which helps maintain that desired crunch.
-
Frying Monitoring: Keep an eye on frying to achieve a perfect golden brown finish. Burning breadcrumbs can ruin your Crispy Malibu Chicken experience.
-
Temperature Check: Always use a meat thermometer to confirm the chicken reaches an internal temperature of 165°F. This guarantees food safety and proper doneness.
-
Ingredient Experimentation: Don’t hesitate to explore ingredient substitutions based on preferences or dietary needs, ensuring everyone enjoys their version of Crispy Malibu Chicken.
Make Ahead Options
These Crispy Malibu Chicken delights are perfect for busy home cooks looking to streamline their meal prep! You can bread the chicken and refrigerate it for up to 24 hours before cooking, keeping it fresh and ensuring a crispy exterior when you finally fry it. The creamy mustard sauce can also be prepared 2-3 days in advance; simply whisk together the ingredients and store it in an airtight container in the fridge to maintain the flavors. When ready to serve, pan-fry the chicken and bake as directed, creating a delicious weeknight meal that’s just as satisfying and packed with flavor as if made fresh that day.
How to Store and Freeze Crispy Malibu Chicken
Fridge: Store leftover Crispy Malibu Chicken in an airtight container for up to 3-4 days to keep it fresh and flavorful.
Freezer: For longer storage, freeze the chicken in a single layer on a baking sheet, then transfer to an airtight container or freezer bag. It will maintain quality for up to 2 months.
Reheating: Reheat in the oven at 350°F (175°C) until warmed through. This will help restore the crispy texture of the chicken without drying it out.
Make-Ahead: If you’re planning a busy week, you can prepare the breaded chicken up to 24 hours in advance and store it in the fridge before frying to save time at dinner.
What to Serve with Crispy Malibu Chicken
Elevate your meal experience with delightful pairings that bring harmony to the table, enhancing the comfort of dinner time.
-
Creamy Mashed Potatoes: Silky and buttery potatoes add a rich base, perfectly balancing the crispy chicken’s crunch and the creamy sauce. They’re a family favorite that provides heartiness to the meal.
-
Garlic Green Beans: Crisp-tender green beans sautéed with garlic provide a fresh, vibrant contrast, and a touch of brightness that cuts through the richness of the chicken.
-
Caesar Salad: This classic salad, with its crisp romaine, crunchy croutons, and creamy dressing, brings a refreshing crispness and a zesty flavor twist that complements the savory chicken beautifully.
-
Honey-Glazed Carrots: Sweet and tender carrots add a pop of color and sweetness to the plate, providing a lovely contrast to the savory elements of the dish.
-
Buttery Corn on the Cob: Juicy, sweet corn on the cob offers a delightful crunch and an element of fun that rounds out the meal experience.
-
Fresh Fruit Salad: A refreshing mix of seasonal fruits can cleanse the palate, introducing a light and sweet finish that balances the richness of the meal.
-
Sparkling Lemonade: Quench your thirst with a bubbly, refreshing drink that pairs effortlessly with the savory flavors of Crispy Malibu Chicken, enhancing the overall dining experience.
-
Chocolate Chip Cookies: For a sweet ending, warm chocolate chip cookies provide a nostalgic treat that will delight everyone at the table, making the meal memorable.
Crispy Malibu Chicken Variations & Substitutions
Feel free to get creative and make this dish your own with these fun twists and alternatives!
-
Cheese Swap: Try Pepper Jack for a spicy kick, or opt for a sharp aged cheddar for a bold flavor.
-
Ham Alternative: Use turkey ham or a plant-based meat for a lighter, vegetarian-friendly option. A thin slice of smoked tofu can add a delicious smoky flavor too.
-
Sauce Customization: Add fresh herbs like dill or tarragon to the creamy mustard sauce. These herbs not only enhance the flavor but also add a beautiful freshness.
-
Add Heat: For an extra kick, mix in a touch of Sriracha or cayenne pepper into the sauce. This will turn your dish into a zesty delight that wakes up the palate!
-
Breadcrumb Boost: Consider mixing in some grated Parmesan with the Panko for additional flavor and richness. This will elevate the crunch while adding a savory layer.
-
Gluten-Free Friendly: Swap all-purpose flour with a gluten-free blend, and ensure your Panko is also gluten-free. The delicious crunch will remain intact without any dietary worries!
-
Crispy Coating Texture: For ultimate crunch, double-dip the chicken by going through the egg mixture and breadcrumbs twice. This ensures a thicker, crunchier coating that pairs wonderfully with the creamy sauce.
Ready to whip up a batch? For more chicken inspiration, don’t forget to check out my delightful Grilled Chicken Broccoli Bowls with Creamy Garlic Sauce or the savory High Protein Chicken Ranch Quesadilla for a filling family meal!
Crispy Malibu Chicken Recipe FAQs
How do I choose the best chicken breasts for Crispy Malibu Chicken?
When selecting chicken breasts, look for ones that are plump, firm, and have a pink hue with minimal discoloration. Avoid any with dark spots or a slimy texture, as these can indicate spoilage. If possible, choose organic or free-range options for better flavor.
How should I store leftovers of Crispy Malibu Chicken?
To keep your Crispy Malibu Chicken fresh, store the leftovers in an airtight container in the refrigerator. Enjoy them within 3-4 days. For longer storage, freeze the chicken in a single layer on a baking sheet before transferring it to a freezer bag or airtight container. This will preserve its crispy texture for up to 2 months.
Can I freeze Crispy Malibu Chicken?
Absolutely! To freeze, first allow the chicken to cool completely. Place it in a single layer on a baking sheet and freeze until solid. Then, transfer the chicken to a freezer bag, remove as much air as possible, and label it with the date. When ready to enjoy, reheat in the oven at 350°F (175°C) until warmed through to restore its crunchiness.
What if my chicken doesn’t get crispy when frying?
If your chicken lacks crispiness, make sure you are using Panko breadcrumbs, as they’re lighter and airier than regular breadcrumbs. Additionally, ensure your oil is sufficiently hot before adding the chicken—ideally around 350°F (175°C). Frying for the recommended time should give you that perfect golden crust.
Are there any dietary considerations for making this dish?
Certainly! If you’re catering to gluten-free diets, simply use gluten-free flour and Panko breadcrumbs. For dairy-free options, you can substitute the Swiss cheese with a plant-based cheese alternative and use non-dairy milk in place of eggs for binding. Always check labels for any hidden allergens, especially in sauces.
How can I customize the creamy mustard sauce for Crispy Malibu Chicken?
To put your spin on the creamy mustard sauce, consider adding herbs like dill or fresh chives for an extra burst of flavor. For a spicy kick, mix in a dash of hot sauce or a sprinkle of cayenne pepper. This adaptability allows you to create a sauce that suits your family’s taste preferences perfectly!
Crispy Malibu Chicken: A Family-Friendly Dinner Delight
Ingredients
Equipment
Method
- Begin by placing the boneless chicken breasts between two layers of plastic wrap, then gently pound them to a uniform thickness of 1/4 to 1/2 inch. Season both sides generously with salt and pepper.
- Create a breading station by arranging three shallow bowls in a line. Fill the first with all-purpose flour, the second with beaten eggs, and the third with Panko breadcrumbs.
- Dredge a pounded chicken breast in the flour, then dip it into the beaten eggs, and finally coat it with Panko breadcrumbs. Repeat for each chicken breast.
- Preheat your oven to 400°F (200°C) and heat a large skillet over medium heat with olive oil or butter. Add the breaded chicken breasts and pan-fry for 3 minutes on each side until golden brown.
- Layer a slice of ham and cheese over each chicken breast and transfer the skillet to the preheated oven. Bake for 15 to 20 minutes until the cheese melts and the chicken's internal temperature is 165°F (75°C).
- While the chicken is baking, combine mayonnaise, Dijon mustard, honey, lemon juice, and Worcestershire sauce in a bowl. Whisk together until smooth and adjust seasoning with salt and pepper.
- Remove the chicken from the oven, serve drizzled with the creamy mustard sauce, and garnish with freshly chopped parsley if desired.
Leave a Reply