
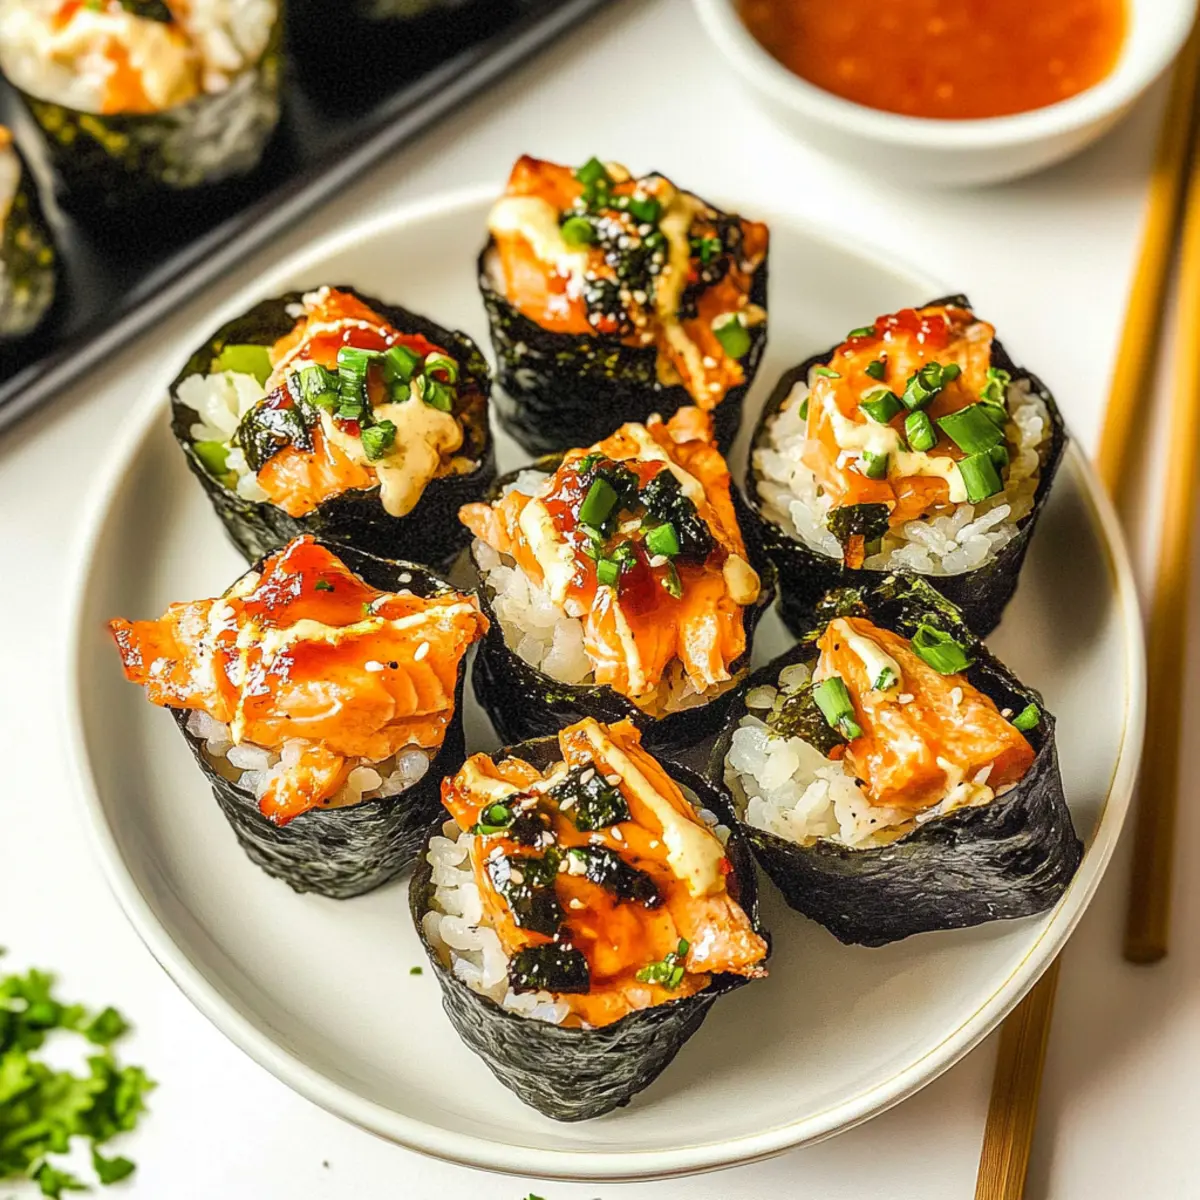
As I took a bite of these vibrant Easy Baked Salmon Sushi Cups, I felt transported to a cozy sushi bar on a bustling Tokyo street. This quick appetizer brings all the mouthwatering flavors of sushi into a fun, deconstructed version that’s perfect for any gathering. No more striving for perfection in rolling sushi – these bite-sized wonders let you delight in the taste without the fuss! With minimal prep time and bursting with fresh ingredients, you’ll have a crowd-pleaser that’s not just delectable, but also a total lifesaver for busy weeknights or impromptu get-togethers. Trust me, they’re the perfect mix of crispy nori, tender salmon, and a zesty kick of sriracha mayo that will have everyone coming back for more. Want to make your next meal feel like a culinary adventure? Let’s dive into this delightful recipe together!
Why Are These Sushi Cups So Special?
Fun, Deconstructed Twist: These Easy Baked Salmon Sushi Cups break the mold of traditional sushi with a fun, deconstructed format that’s easily customizable.
Quick to Prepare: With minimal prep time, you can whip these up in under an hour, making them an ideal appetizer for spontaneous gatherings.
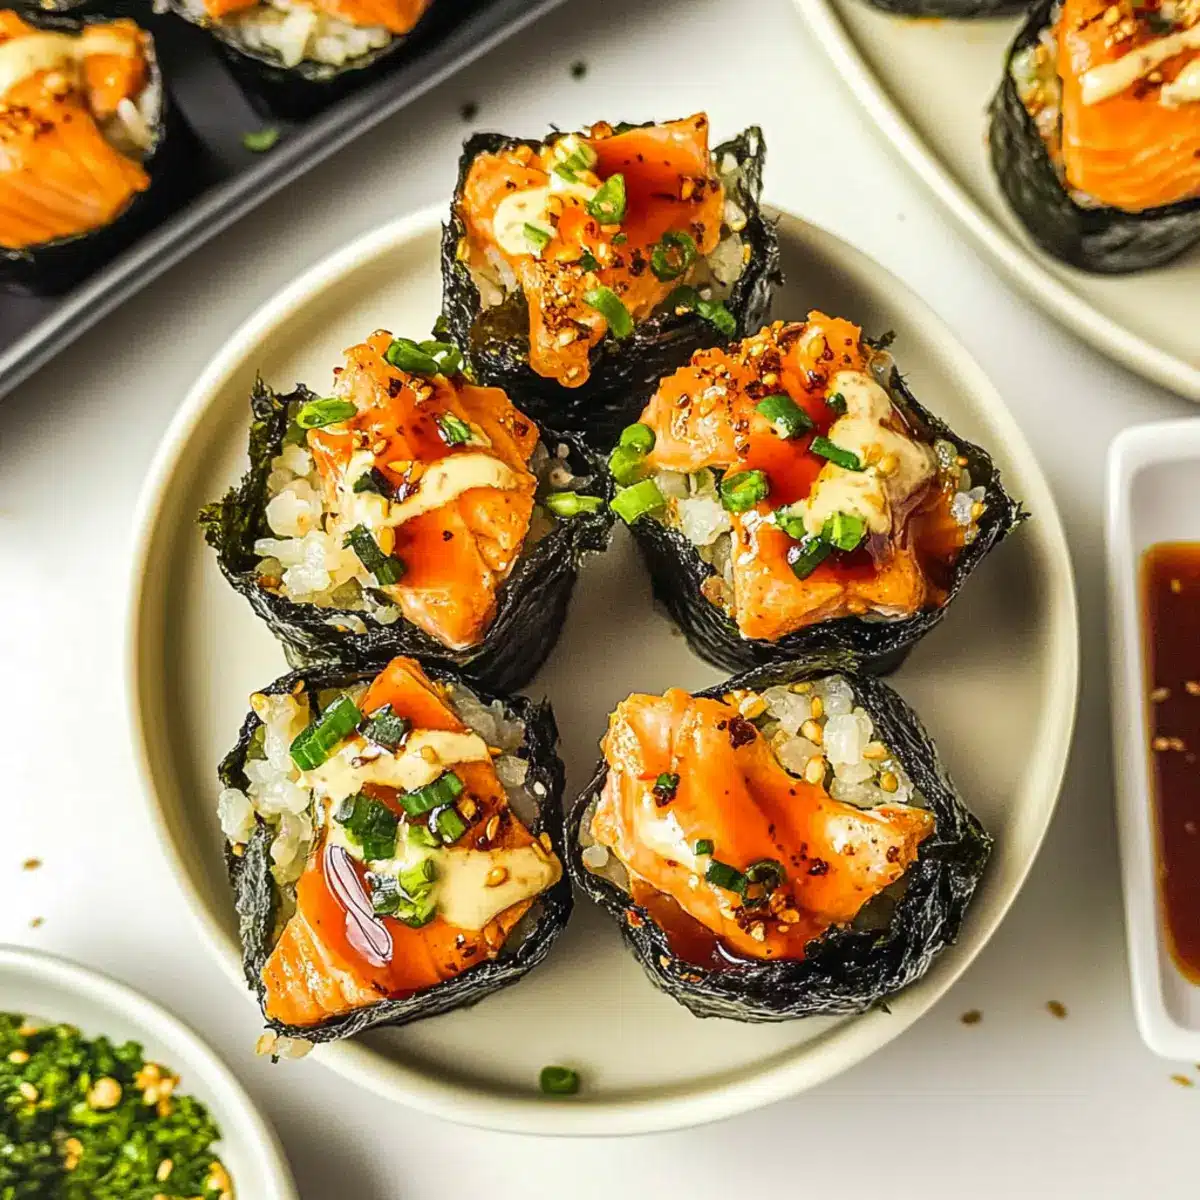
Crispy Texture: Enjoy the incredible crunch from the baked nori that holds these delightful cups together, providing a satisfying contrast to the tender salmon.
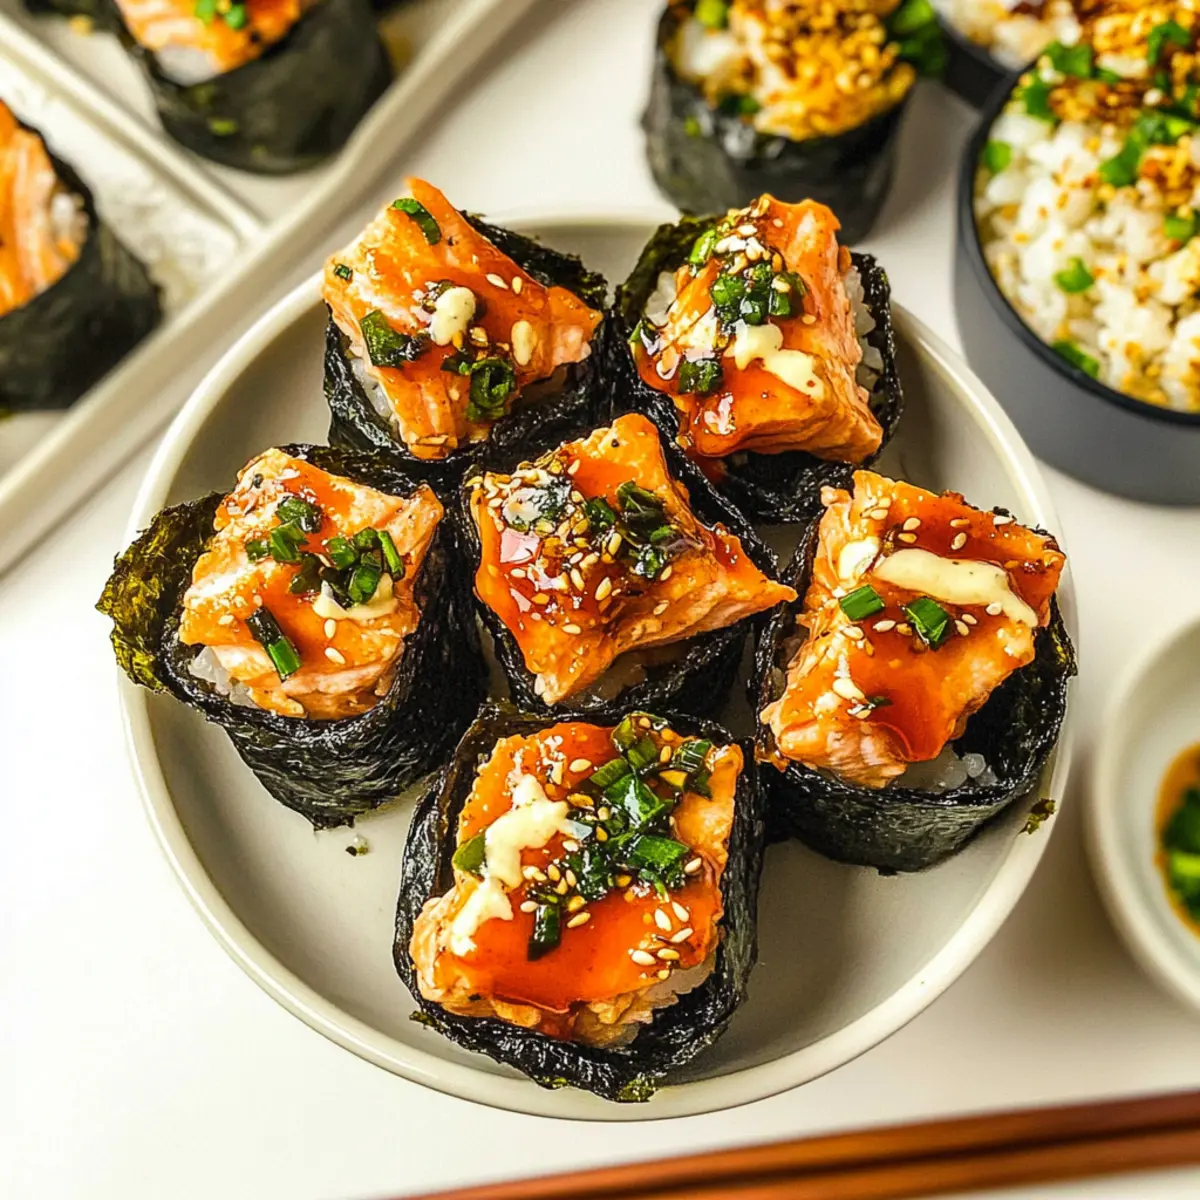
Flavor Explosion: Packed with rich flavors from the salmon, zesty sriracha, and creamy Kewpie mayo, these cups appeal to sushi lovers and newcomers alike. Plus, serve them alongside options like Cheesy Hamburger Casserole or Oven Baked Sweet potato fries for a full meal!
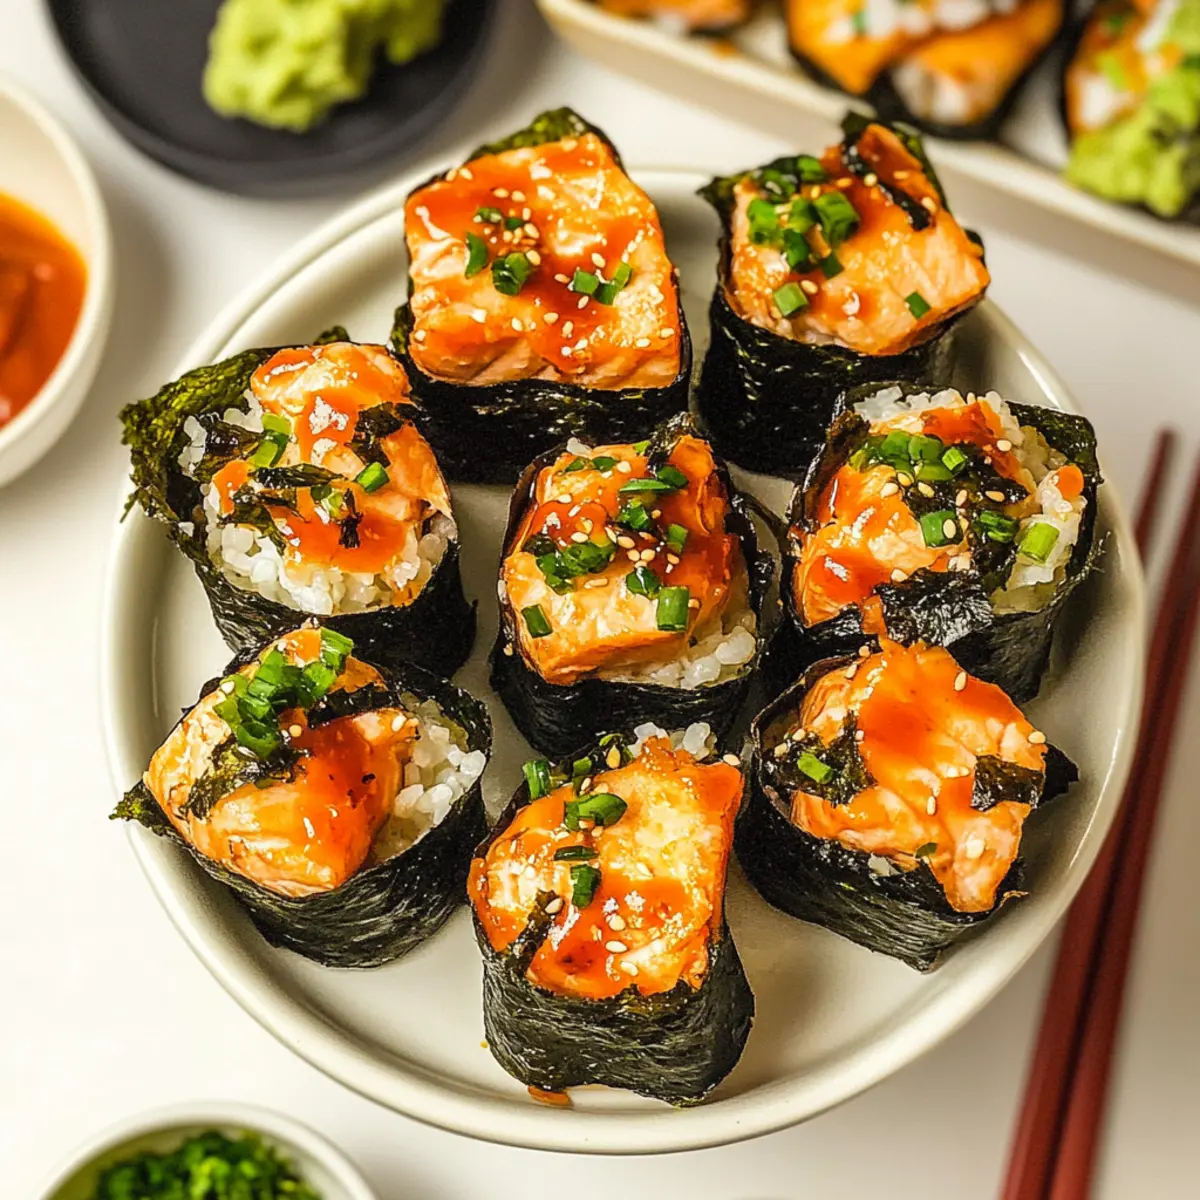
Perfect for Sharing: Each cup is a delightful bite-sized treat, making them fantastic for sharing at parties or a cozy meal at home. Enjoy these sushi sensations and watch them disappear!
Easy Baked Salmon Sushi Cups Ingredients
For the Salmon Mixture
- Salmon – Fresh, cubed salmon provides the main protein and fish flavor; ensure it’s sushi-grade for safety.
- Light Soy Sauce – Adds umami and saltiness; can be substituted with tamari for gluten-free options.
- Kewpie Mayo – Offers creaminess and a rich texture; substitute with regular mayo or a vegan alternative if desired.
- Sriracha – Provides heat and flavor; adjust based on spice tolerance or substitute with your favorite hot sauce.
- Sesame Oil – Adds nuttiness and depth to the flavors; optional, but highly recommended for added richness.
For the Sushi Rice
- Sushi Rice – The base of the cups, providing structure and texture; short-grain white rice is preferred for authenticity.
- Rice Vinegar & Sugar – Used to season the sushi rice, providing tanginess; can be omitted for a simpler flavor if desired.
For Assembly
- Nori Sheets – Essential for holding the sushi ingredients together; use sheets large enough to fit the muffin tins.
- Furikake – A Japanese seasoning used for garnish, adding extra flavor and texture; optional but recommended for authenticity.
- Green Onion – For garnish, adds freshness and crunch; can be substituted with sliced chives if needed.
- Cooking Spray – For greasing the muffin tin to prevent sticking.
These Easy Baked Salmon Sushi Cups are not just a meal; they’re an experience bursting with bold flavors!
Step‑by‑Step Instructions for Easy Baked Salmon Sushi Cups
Step 1: Cook Sushi Rice
Begin by preparing your sushi rice according to the package instructions. Typically, this involves rinsing the rice under cold water until the water runs clear, then cooking it with water in a rice cooker or pot for about 20 minutes. Once cooked, fluff the rice with a fork and gently mix in rice vinegar and sugar to add tanginess and sweetness, allowing it to cool while you prepare the salmon mixture.
Step 2: Prepare Salmon Mixture
In a mixing bowl, combine your cubed, sushi-grade salmon with light soy sauce, Kewpie mayo, sriracha, and sesame oil. Gently fold the ingredients together until the salmon is evenly coated. This delicious mixture will provide a rich and flavorful topping for your Easy Baked Salmon Sushi Cups, so set it aside and let the flavors meld together while you preheat your oven.
Step 3: Preheat Oven
Preheat your oven to 400°F (200°C). This step is crucial for ensuring that the salmon cooks evenly while giving the nori a crispy texture. A fully preheated oven will contribute to the perfect finish for your sushi cups, creating a lovely contrast between the warm interior and the crunchy exterior once baked.
Step 4: Assemble Sushi Cups
Lightly grease a muffin tin with cooking spray to prevent sticking. Cut your nori sheets into squares large enough to line each muffin cup. Place a square in each tin, ensuring the edges overlap to create a pocket. Spoon in a generous amount of sushi rice, pressing it down gently to form a solid base before topping it with the prepared salmon mixture.
Step 5: Bake
Carefully transfer the muffin tin into the preheated oven and bake for about 15 minutes. Keep an eye on them; the salmon should be cooked through and lightly browned while the nori crisps up around the edges. This step ensures your Easy Baked Salmon Sushi Cups are a delightful, warm treat that’s ready to impress.
Step 6: Garnish & Serve
Once baked, remove the sushi cups from the oven and allow them to cool slightly. Drizzle them with additional sriracha or Kewpie mayonnaise if desired, then sprinkle with furikake and finely chopped green onions for an added pop of flavor and color. Serve these delightful cups warm, and watch them disappear at your next gathering!
Easy Baked Salmon Sushi Cups Variations
Feel free to get creative and make these Easy Baked Salmon Sushi Cups your own with these delightful variations!
-
Seafood Swap: Substitute salmon with cooked shrimp or crab for a different seafood experience that’s equally delicious and satisfying. The sweet and tender shrimp pairs perfectly with the sushi flavors!
-
Veggie Delight: Incorporate veggies like avocado or cucumber into the cups for a refreshing crunch. Avocado adds a creamy texture, while cucumber provides an uplifting crunch, intensifying the flavor profile.
-
Whole Grain Twist: Use brown rice instead of sushi rice for a healthier option. Brown rice has a nuttier taste, and while it may need a tad more cooking time, it’s a fantastic way to boost fiber content!
-
Extra Zing: Add some diced jalapeños or spicy mayo for an extra kick! If you’re a fan of heat, this adjustment will elevate your sushi cups to new flavorful heights—perfect for spice lovers!
-
Herb Infusion: Mix in a handful of fresh herbs like cilantro or mint into the salmon mixture for a unique flavor profile. These herbs can freshen up the dish, giving it an aromatic twist.
-
Cheesy Addition: Experiment with a sprinkle of cream cheese or a dash of wasabi cream for an added richness! This twist brings a classic sushi bar favorite into your sushi cups, creating a delightful harmony of flavors.
-
Themed Nights: Pair your sushi cups with themed sides like Baked Italian Sub for an exciting fusion dinner night. A mix of cuisines at the table is always a hit!
-
Toppings Galore: Top these sushi cups with your favorite sushi toppings, such as sesame seeds or pickled ginger, for an authentic touch. These add flavor and texture, ensuring every bite is a delightful experience!
What to Serve with Easy Baked Salmon Sushi Cups?
Pair your savory salmon cups with complementary sides that elevate your meal experience.
-
Cucumber Salad: Fresh and crunchy, this salad provides a refreshing contrast to the rich flavors of the sushi cups. A light vinaigrette adds just the right zing.
-
Edamame: Steamed edamame sprinkled with sea salt offers a delightful bite. This protein-packed snack adds an extra layer of fun to your meal.
-
Miso Soup: Warm and comforting, miso soup pairs beautifully with sushi. Its umami flavors enhance the overall dining experience while keeping things cozy.
-
Pickled Ginger: A traditional sushi accompaniment, pickled ginger cleanses the palate, making each bite of your Easy Baked Salmon Sushi Cups even more enjoyable.
-
Wasabi Peas: For added crunch and heat, serve wasabi peas alongside. Their bold flavor complements the sushi cups while creating a fun texture contrast.
-
Green Tea: A subtle and soothing drink, green tea offers a beautiful balance to the rich and savory notes of the sushi. It’s refreshing and excellent for digestion.
-
Chocolate Mochi: End the meal on a sweet note with chocolate mochi. This delightful dessert adds a chewy texture that’s perfect after savoring the sushi flavors.
-
Sake: For a more traditional pairing, offer sake. Its warm soothing notes beautifully complement the fishy goodness while enhancing the overall experience.
How to Store and Freeze Easy Baked Salmon Sushi Cups
-
Fridge: Store leftover sushi cups in an airtight container for up to 2–3 days. This keeps them fresh while retaining their delightful flavors.
-
Freezer: You can freeze these sushi cups for up to 1 month, but it’s best to wrap each one tightly in plastic wrap and then foil to prevent freezer burn.
-
Reheating: When ready to enjoy, reheat in the oven at 350°F for about 10 minutes for a crispy texture, or microwave until heated through, about 1-2 minutes.
-
Make Ahead: Consider preparing the salmon mixture and sushi rice a day in advance, storing them separately in the fridge for easy assembly and baking on a busy day!
Expert Tips for Easy Baked Salmon Sushi Cups
-
Use Sushi-Grade Salmon: Ensure the salmon used is sushi-grade for quality and safety. This makes a significant difference in flavor and freshness.
-
Preheat the Oven: Always preheat your oven to 400°F before baking. This step is essential for getting the nori crispy and ensuring the salmon cooks evenly.
-
Don’t Overcook: Keep an eye on your sushi cups while baking; the salmon should be tender and slightly pink in the center for optimal texture. Overcooking can lead to dryness.
-
Perfect Rice Texture: Make sure to rinse the sushi rice thoroughly until the water runs clear. This helps remove excess starch, giving you the perfect sticky and fluffy texture.
-
Customize Seasoning: Feel free to adjust the amount of sriracha and Kewpie mayo based on your heat preference. Balance is key to making these Easy Baked Salmon Sushi Cups a flavor sensation!
Make Ahead Options
These Easy Baked Salmon Sushi Cups are perfect for meal prep enthusiasts wanting to save time on busy weeknights! You can prepare the sushi rice and salmon mixture up to 24 hours in advance; just store each component in separate airtight containers in the refrigerator. To maintain quality and prevent the nori from getting soggy, it’s best to assemble the cups right before baking. When you’re ready to serve, simply spoon the prepped sushi rice into the nori-lined muffin tins, top with your chilled salmon mixture, and bake as directed. This way, you’ll enjoy fresh, delicious bites with minimal effort!
Easy Baked Salmon Sushi Cups Recipe FAQs
How do I choose the right salmon for my sushi cups?
Absolutely! When selecting salmon for your Easy Baked Salmon Sushi Cups, always look for sushi-grade salmon, which is safe to eat raw. Freshness is key—choose salmon that appears bright in color and has a clean, ocean-like smell. Avoid any pieces with dark spots or an off-putting odor.
What’s the best way to store leftover sushi cups?
Very important! Store leftover sushi cups in an airtight container in the fridge for up to 2–3 days. This helps retain their fresh flavors. When you’re ready to enjoy them, simply reheat in the oven at 350°F for about 10 minutes to restore that delightful crispiness.
Can I freeze my sushi cups, and if so, how should I do it?
Yes, you can freeze your Easy Baked Salmon Sushi Cups! Wrap each cup tightly in plastic wrap and then in foil to prevent freezer burn. They can be frozen for up to 1 month. To reheat, just remove the wrapping and bake at 350°F for about 10–15 minutes, or microwave until heated through.
Why is my sushi rice not sticky?
Ah, the texture is crucial! If your sushi rice isn’t sticky, it could be due to not enough rinsing. Make sure to rinse it under cold water until the water runs clear, which helps remove excess starch. Also, ensure you’re using short-grain sushi rice as it’s essential for that ideal sticky texture.
Can I customize ingredients for dietary needs?
Absolutely! Feel free to customize your Easy Baked Salmon Sushi Cups based on dietary needs. If gluten-free, substitute light soy sauce with tamari. For a dairy-free option, swap Kewpie mayo for vegan mayonnaise. You can even replace salmon with cooked shrimp or crab for variety!
Are there any petsafe considerations with these ingredients?
Definitely! Keep in mind that while these sushi cups are safe for human consumption, some ingredients can be harmful to pets. Avoid sharing salmon, soy sauce, and sriracha with pets, as fish can cause allergies, and soy products aren’t always safe for them. Always check with your vet if you’re unsure!
Delicious Easy Baked Salmon Sushi Cups You'll Love!
Ingredients
Equipment
Method
- Cook sushi rice according to package instructions, rinsing until clear, then cooking for about 20 minutes. Mix in rice vinegar and sugar, allowing it to cool.
- In a bowl, combine cubed sushi-grade salmon with light soy sauce, Kewpie mayo, sriracha, and sesame oil. Fold gently until coated.
- Preheat the oven to 400°F (200°C) for even cooking and to crisp the nori.
- Grease a muffin tin with cooking spray. Cut nori sheets into squares and line each muffin cup. Add sushi rice and press down, then top with salmon mixture.
- Bake in the preheated oven for about 15 minutes until salmon is cooked through and nori is crispy.
- Remove from oven, cool slightly, and garnish with sriracha, Kewpie mayo, furikake, and green onions. Serve warm.
Leave a Reply