
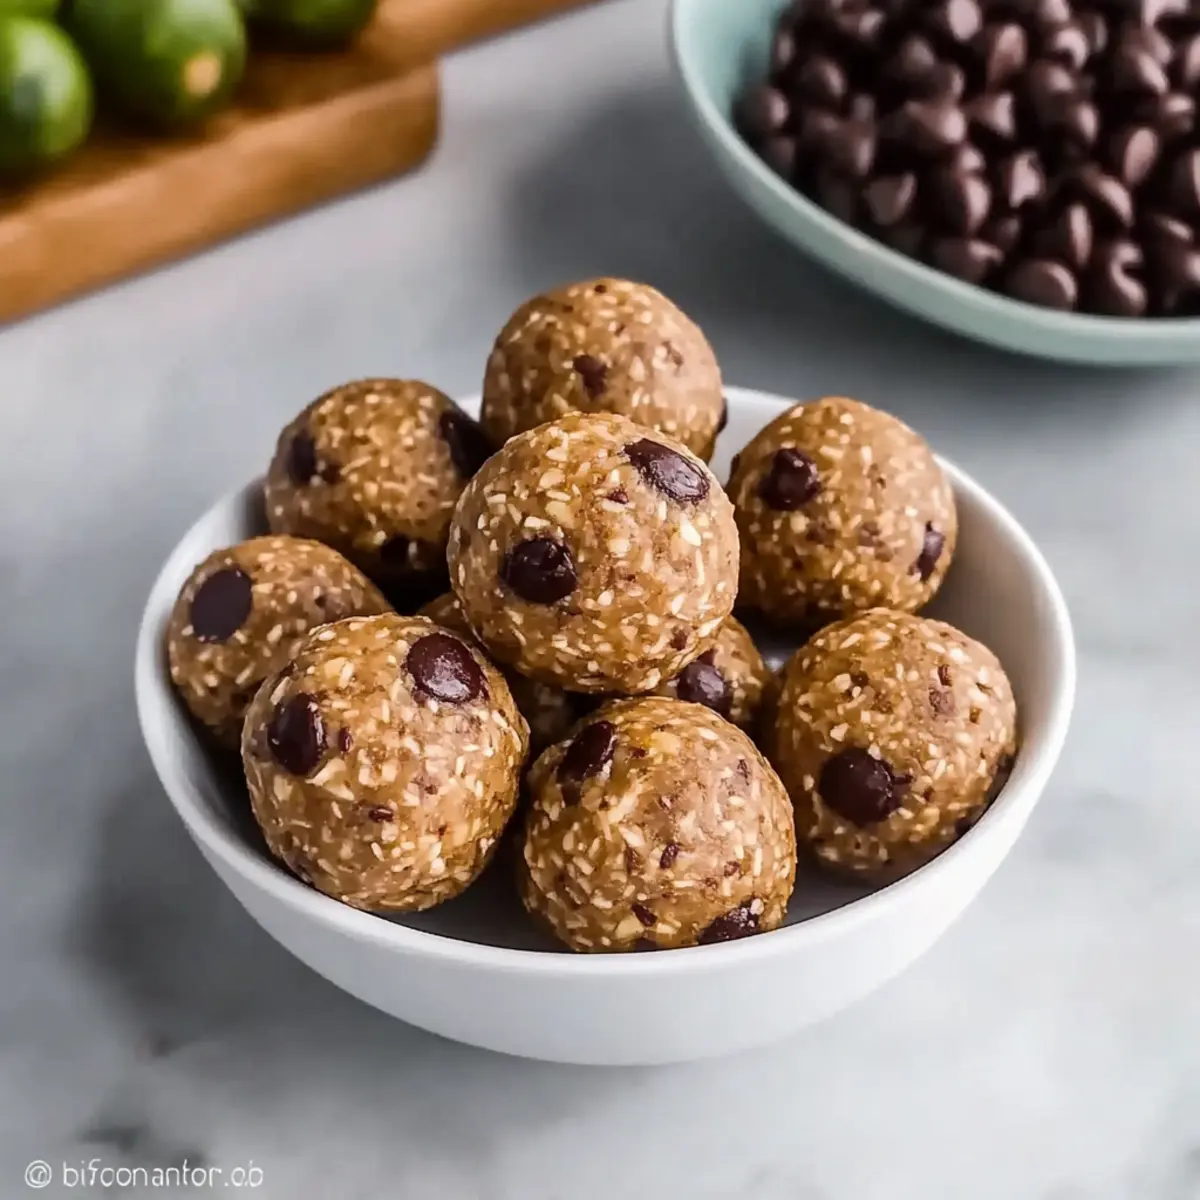
Walking through my pantry, I stumbled upon an array of ingredients just waiting to unite in a fun and nutritious snack. Enter these No Bake Protein Balls! They come together in just about 10 minutes, offering a quick, protein-packed solution for those busy days when you need a boost. Whether you’re looking for a post-workout treat or a midday pick-me-up, these customizable bites have got you covered. With their chewy texture and delightful flavor, you can mix in your favorites—think chocolate chips, dried fruits, or even a sprinkle of chia seeds. Best of all, they’re not only healthy but also a breeze to prepare. Are you ready to join me on this simple and satisfying cooking adventure?
Why are No Bake Protein Balls a must-try?
Quick, Effortless Snack: These protein balls come together in just 10 minutes, making them perfect for last-minute cravings.
Customizable Goodness: Add your favorite ingredients, like chocolate chips or dried fruits, for a personal touch.
Health Boost: Packed with protein and fiber, they’re an ideal choice for a nutritious snack or post-workout treat.
No-Bake Simplicity: Skip the oven and enjoy a hassle-free cooking experience that anyone can handle.
Store & Go: Pre-made and refrigerated, they’re the perfect grab-and-go snack, ensuring you’re never caught without a healthy option. Want more quick fixes? Check out these High Protein Pancakes or Cheese Veggie Bake for delicious meal ideas!
No Bake Protein Balls Ingredients
For the Base
• Rolled Oats – Provides structure and fiber; swap with gluten-free oats for a gluten-free version.
• Natural Peanut Butter – Adds creaminess and healthy fats; almond butter is a nut-free alternative.
• Honey or Maple Syrup – Acts as a natural sweetener; maple syrup is great for vegan options.
• Chocolate Protein Powder – Boosts protein content; vanilla protein powder can be a tasty alternative.
For the Texture and Flavor
• Mini Chocolate Chips – Adds sweetness and a treat-like quality; can be omitted or replaced with dried fruits.
• Chia Seeds – Provides omega-3 fatty acids and fiber; skipping these might reduce nutritional value but is possible.
• Ground Flaxseed – Adds nutrition and helps with binding; additional chia seeds can be swapped in if needed.
• Vanilla Extract – Enhances flavor; feel free to omit it for a simpler taste.
• Sea Salt – Balances sweetness; essential for enhancing overall flavor.
These No Bake Protein Balls are not only delicious but also incredibly easy to customize based on the ingredients you have on hand. Enjoy!
Step‑by‑Step Instructions for No Bake Protein Balls
Step 1: Mix Dry Ingredients
In a large mixing bowl, combine 2 cups of rolled oats, 1/2 cup of chocolate protein powder, 1/4 cup of chia seeds, 1/4 cup of ground flaxseed, 1/4 cup of mini chocolate chips, and a pinch of sea salt. Stir everything together with a spatula until evenly mixed, creating a dry base that forms the foundation of your No Bake Protein Balls.
Step 2: Incorporate Wet Ingredients
Next, pour in 1/2 cup of natural peanut butter and 1/3 cup of honey (or maple syrup) along with 1 teaspoon of vanilla extract. Use a spatula to fold these sticky ingredients into the dry mixture. Keep mixing until a thick, pliable dough starts to form, which should take about 2-3 minutes of stirring.
Step 3: Form the Balls
Take a tablespoon-sized scoop of the dough and roll it into a ball between your palms. Continue this process until all the dough is shaped into perfectly round protein balls. You should end up with about 15-20 balls depending on the size you prefer. Their chewy, uniform appearance is a sign you’re on the right track!
Step 4: Chill to Firm Up
Line a tray with parchment paper and place your formed protein balls on it, giving them space to breathe. Refrigerate these tasty No Bake Protein Balls for about 20 minutes to firm up. This chilling time allows the flavors to meld while making the balls easier to handle later.
Step 5: Store for Freshness
Once the protein balls are set, transfer them to an airtight container. Store the No Bake Protein Balls in the refrigerator for optimal freshness, where they will last for up to a week. Alternatively, they can be frozen for longer storage, making them a perfect grab-and-go snack anytime!
How to Store and Freeze No Bake Protein Balls
- Fridge: Keep your No Bake Protein Balls in an airtight container in the refrigerator for up to 1 week to maintain their freshness and chewy texture.
- Freezer: For longer storage, freeze the protein balls in a single layer on a baking sheet, then transfer them to a freezer-safe container. They can last up to 3 months!
- Thawing Instructions: To enjoy frozen No Bake Protein Balls, simply leave them in the fridge overnight or at room temperature for about 30 minutes before eating.
- Grab-and-Go Snack: Make these protein balls ahead of time and have them ready to grab before workouts, school, or when those mid-afternoon cravings hit!
Make Ahead Options
These No Bake Protein Balls are a fantastic option for meal prep, allowing you to enjoy a quick and nutritious snack ready at your fingertips! You can prepare the mixture up to 24 hours in advance by following the first few steps and refrigerating the dough wrapped tightly in plastic wrap. When you’re ready to enjoy them, simply scoop and roll into balls before popping them in the fridge for another 20 minutes to firm up. For longer storage, these protein balls can be frozen for up to 3 months—just make sure to place them in an airtight container to maintain their chewy texture and flavor. With these make-ahead tips, you’ll have healthy snacks on hand, saving you valuable time during busy days!
No Bake Protein Balls Variations
Feel free to play around with the recipe to create your perfect snack; your taste buds will thank you!
-
Nut-Free Delight: Swap peanut butter for sunflower seed butter to make these protein balls nut-free. This swap gives a similar creamy texture without the allergens.
-
Add Fruity Flavor: Include dried fruits like cranberries, raisins, or apricots for a burst of sweetness and chewy texture. The interplay of flavors adds a refreshing twist that’s both delightful and nutritious.
-
Choco-Coconut Bliss: Roll your protein balls in cocoa powder or shredded coconut for a fun, indulgent finish. Not only does this add a touch of chocolatey richness, but it also gives a lovely visual appeal.
-
Tasty Texture Boost: Incorporate a handful of chopped nuts or seeds for extra crunch and healthy fats. The contrast between the chewy protein balls and crispy additions will excite your palate as you bite in.
-
Flavor Swap: Use vanilla protein powder instead of chocolate to create a different flavor profile. The subtle vanilla sweetness will still provide a protein boost while offering a refreshing change.
-
Spice It Up: Add a pinch of cinnamon or nutmeg for a warm flavor twist. It’s an inviting touch that can bring comfort on a chilly day or festive cheer during the holidays.
-
Chia Pudding Version: For a unique twist, mix a bit of coconut milk and let chia seeds soak overnight to form a pudding. Then fold into the protein ball mixture for an extra creamy texture.
-
Protein Bar Form: Press the dough into a lined baking dish instead of rolling into balls for simple protein bars. Cut into squares for a quick grab-and-go snack that’s perfect for busy days.
Explore your pantry, mix and match these options, and feel free to get creative! If you enjoy trying out different flavor profiles, you might also love making some High Protein Chicken or tasty Pineapple Christmas Balls for more guilt-free treats!
Expert Tips for No Bake Protein Balls
- Perfect Mixing: Use your hands to mix the ingredients for better incorporation, especially with sticky elements like peanut butter and honey.
- Moisture Balance: If the mixture feels too dry, add a little water or more peanut butter to achieve the right consistency for your No Bake Protein Balls.
- Crumbly Dough Trick: If the dough crumbles, press it together firmly. If it holds shape when pressed, it’s ready to form into balls!
- Chilling Time: Refrigerate the formed balls as instructed to ensure they firm up nicely, making them easier to grab and enjoy later.
- Custom Add-ins: Feel free to experiment with other add-ins like nuts or seeds. Just keep the balance of dry and wet ingredients in mind!
What to Serve with No Bake Protein Balls
These delightful bites of energy are not just perfect on their own; they can be paired with wonderful sides and drinks to elevate your snacking experience.
- Fresh Fruit: Sliced apples or bananas add a sweet, juicy contrast, complementing the chewy texture perfectly.
- Greek Yogurt: A dollop of creamy yogurt makes for a satisfying combo, enhancing protein intake and adding a slight tartness.
- Nutty Smoothie: Blend together your favorite fruits with almond milk and a scoop of protein powder for a filling drink that mirrors the flavors of your protein balls.
- Trail Mix: A crunchy grab-and-go option, trail mix offers a delightful variety of textures and flavors, perfectly balancing the chewiness of the protein balls.
- Chia Seed Pudding: The smooth and creamy consistency of chia pudding pairs wonderfully, giving you a refreshing contrast while boosting nutrition.
- Coffee or Herbal Tea: A warm cup brings comfort, enhancing the experience with soothing flavors that can ground your energy boost.
- Dark Chocolate Squares: For those moments of indulgence, a piece of dark chocolate alongside your protein balls creates a heavenly match that satisfies sweet cravings without guilt.
- Granola Bars: Pairing your protein balls with a homemade granola bar adds a crunch factor, making for a delightful texture exploration in snacking.
- Vegetable Sticks with Hummus: A savory pairing that brings fresh elements and flavor diversity, balancing the sweetness of the protein balls beautifully.
- Coconut Water: Hydrating and refreshing, coconut water offers a tropical finish to your protein-packed snack adventure.
No Bake Protein Balls Recipe FAQs
What type of oats should I use for No Bake Protein Balls?
I recommend using rolled oats for the best texture and fiber content, but if you prefer a gluten-free version, be sure to select certified gluten-free oats. Quick oats can also be used, though they may create a softer ball.
How should I store No Bake Protein Balls for freshness?
Store your No Bake Protein Balls in an airtight container in the refrigerator. They will stay fresh for about 1 week. If you find you have extra, consider freezing them for longer storage!
Can I freeze No Bake Protein Balls?
Absolutely! To freeze, place the protein balls on a baking sheet in a single layer and freeze until firm. After about an hour, transfer them to a freezer-safe container. They can last for up to 3 months in the freezer. When you’re ready to enjoy one, just thaw it in the fridge overnight or at room temperature for about 30 minutes.
What if my protein ball mixture is crumbly?
If you find your mixture crumbly and hard to form into balls, don’t worry! Just add a splash of water or more peanut butter, one tablespoon at a time, until the dough holds together when pressed. Make sure to mix well after each addition to evenly distribute the moisture.
Are there any dietary considerations I should be aware of?
Yes! If you’re making No Bake Protein Balls for someone with allergies, be cautious with the nut butters. You can substitute peanut butter for sunflower seed butter to make it nut-free. Additionally, consider using agave instead of honey for a vegan option. Always check ingredient labels for allergens.
How can I customize my No Bake Protein Balls?
There are endless possibilities for customization! You can add in mini chocolate chips, dried fruits like cranberries or raisins, or even sprinkle in some nuts or seeds based on your pantry. Just remember to keep the balance between dry and wet ingredients to achieve the perfect texture!
Nutty No Bake Protein Balls for Quick Energy Boosts
Ingredients
Equipment
Method
- In a large mixing bowl, combine rolled oats, chocolate protein powder, chia seeds, ground flaxseed, mini chocolate chips, and a pinch of sea salt. Stir until evenly mixed.
- Pour in natural peanut butter and honey (or maple syrup) along with vanilla extract. Fold these into the dry mixture until a thick, pliable dough forms.
- Take a tablespoon-sized scoop of the dough and roll it into a ball. Continue this process until all the dough is shaped into balls.
- Line a tray with parchment paper and place the protein balls on it. Refrigerate for about 20 minutes to firm up.
- Transfer the protein balls to an airtight container and store in the refrigerator for up to a week.
Leave a Reply