
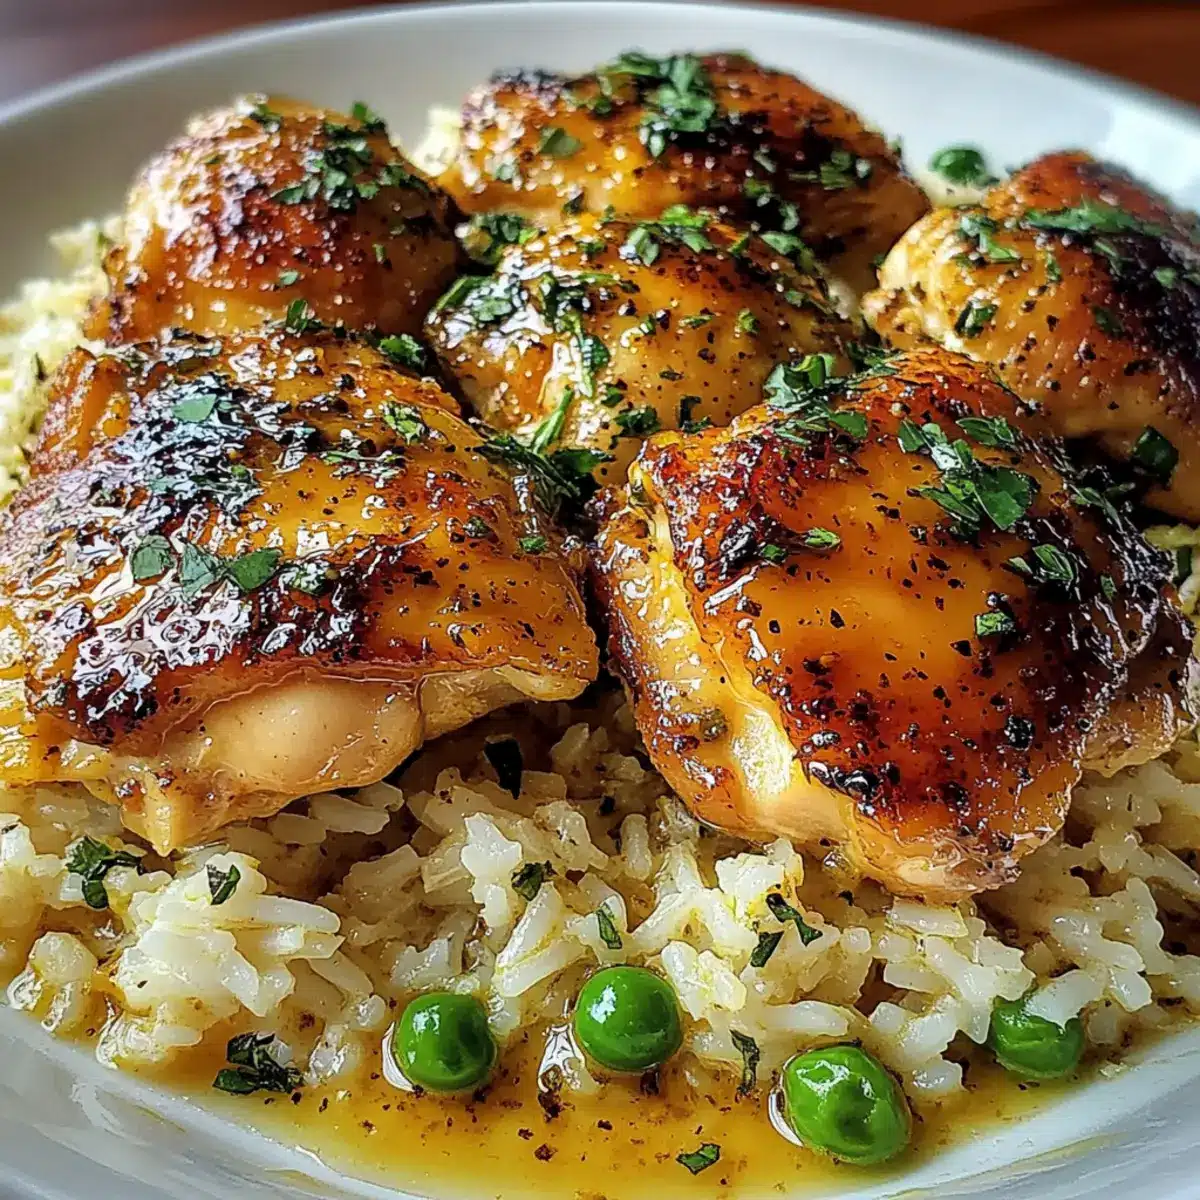
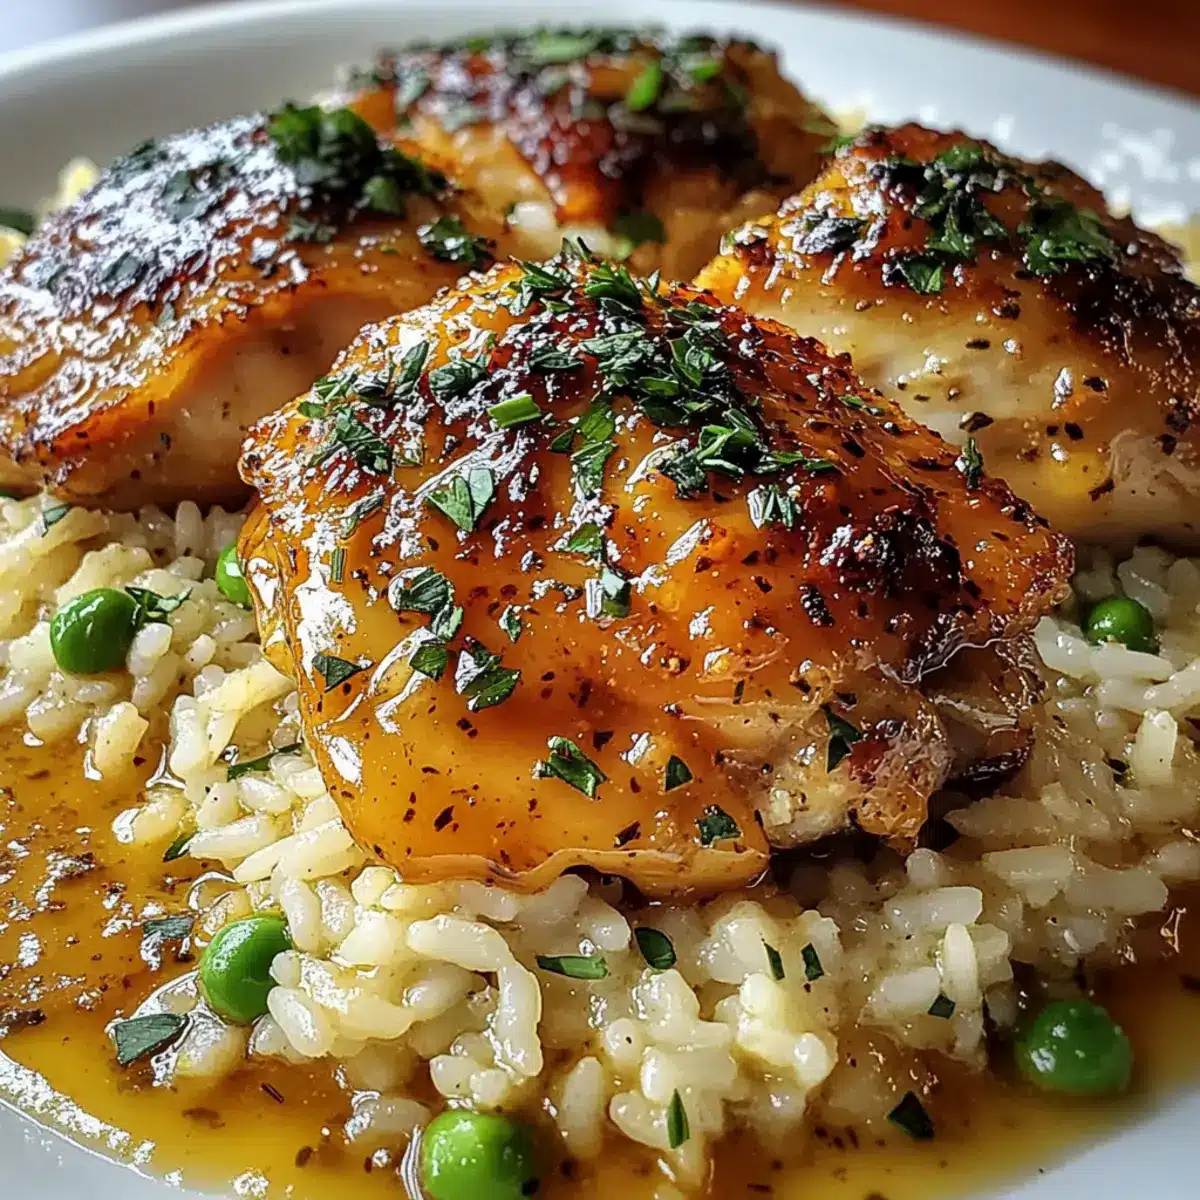
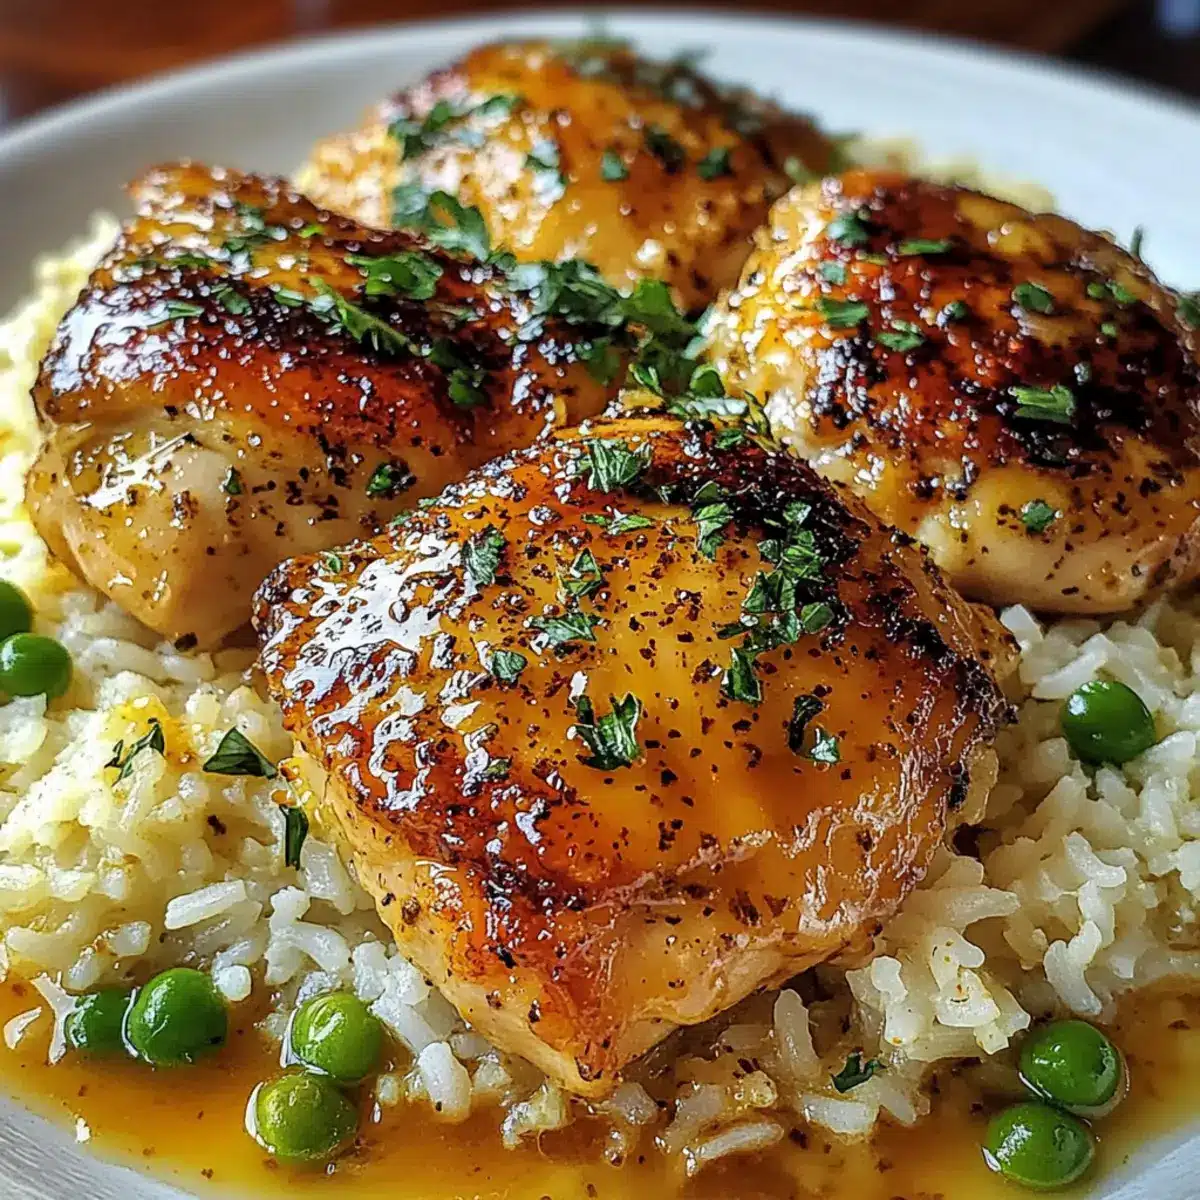
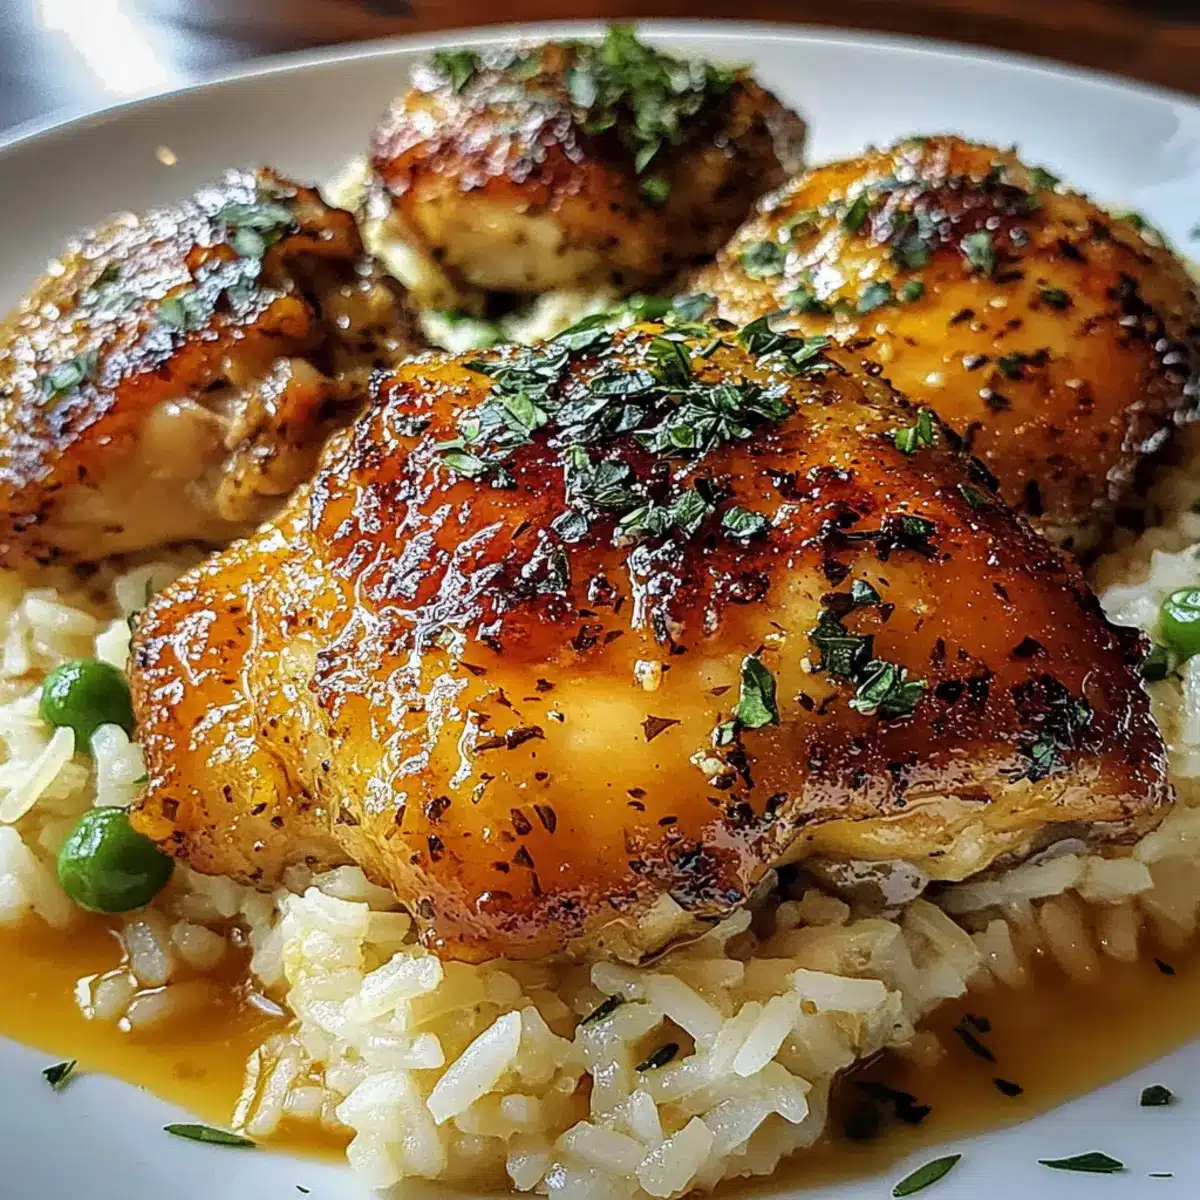
As I stood in my kitchen, the tantalizing aroma of garlic wafted through the air, instantly whisking me away to my favorite family gatherings. That’s when I decided to whip up a comforting One-Pan Honey Butter Garlic Chicken & Rice – a dish that merges sweet and savory elements effortlessly. Not only does this recipe simplify weeknight dinners, but it also offers minimal cleanup with just one skillet required. Perfectly seared chicken thighs are enveloped in a luscious honey-butter sauce, then nestled atop fluffy rice infused with thyme and smoky paprika. Trust me, this meal is the answer to your busy evenings, delivering both flavor and satisfaction without a hefty time commitment. Ready to embrace an easy dinner that transforms into a family favorite? Let’s dive in!
Why This Recipe Will Wow You
Simplicity at its finest: With just one pan, you can craft a mouthwatering dinner in under 30 minutes, making it a fantastic choice for busy weeknights.
Irresistible flavor fusion: The honey butter sauce creates a delightful balance of sweet and savory, while the garlic adds an aromatic touch.
Versatility through variations: Customize your dish! Swap in different proteins like chicken breasts or throw in seasonal veggies like broccoli for a nutritious boost.
Clean-up made easy: Say goodbye to a mountain of dirty dishes; this recipe only requires one skillet.
Crowd-pleasing delight: Whether serving your family or hosting friends, this dish is sure to impress with its appealing presentation and rich flavors. Consider pairing it with Garlic Parmesan Chicken for a delightful meal experience!
One-Pan Honey Butter Garlic Chicken & Rice Ingredients
For the Chicken
• Boneless, skinless chicken thighs – The main protein, juicy and flavorful; you can substitute chicken breasts, adjusting cooking times accordingly.
• Salt and pepper – Enhances overall flavor; adjust according to your taste preference.
• Olive oil – Used for searing, adds richness; can be swapped with avocado oil if you prefer.
For the Sauce
• Garlic (minced) – Provides aromatic flavor; using fresh garlic yields the best taste, but be careful not to burn it.
• Honey – Adds sweetness and helps glaze the chicken; maple syrup serves as a great alternative for a different flavor profile.
• Unsalted butter – Contributes creaminess to the sauce; margarine is a suitable substitute for a dairy-free option.
For the Rice
• Long-grain white rice – Acts as the base, absorbing all the delicious flavors; switch to brown rice for added nutrients, keeping in mind it needs more liquid and cooking time.
• Chicken broth – Adds richness and moisture; choose low-sodium for a heart-healthier option.
• Dried thyme – Offers herbaceous notes that elevate the dish; fresh thyme can be used for a stronger flavor.
• Smoked paprika – Provides a smoky depth; regular paprika can replace it if you prefer less heat.
Add-Ins and Garnish
• Frozen peas (optional) – Adds color and sweetness to the dish; can substitute with other vegetables like bell peppers or broccoli.
• Chopped fresh parsley – A lovely garnish that adds freshness and brightness to the presentation.
This One-Pan Honey Butter Garlic Chicken & Rice recipe is here to turn your busy weeknights into flavorful, comforting dinners with very little cleanup!
Step‑by‑Step Instructions for One-Pan Honey Butter Garlic Chicken & Rice
Step 1: Season the Chicken
Begin by seasoning the boneless, skinless chicken thighs generously with salt and pepper on both sides. This initial step enhances the flavors in your One-Pan Honey Butter Garlic Chicken & Rice. Set the seasoned chicken aside while you prep your skillet.
Step 2: Sear the Chicken
Heat a large skillet over medium-high heat and add a drizzle of olive oil. Once the oil is shimmering, nestle the chicken thighs into the pan. Sear the chicken for 5–7 minutes until they are golden brown, then flip and cook for another 5–7 minutes on the other side. The chicken should develop a crispy exterior before you remove it from the skillet and set it aside.
Step 3: Sauté the Garlic
Lower the heat to medium and add minced garlic to the skillet, allowing it to sauté for about 30 seconds. Stir constantly to avoid burning the garlic; it should become fragrant and slightly golden. This aromatic base will elevate the flavor profile of your One-Pan Honey Butter Garlic Chicken & Rice.
Step 4: Create the Honey Butter Sauce
Add honey and unsalted butter to the skillet with the garlic. Stir them together until the butter melts completely and the mixture is well combined. This luscious honey-butter sauce will glaze the chicken and infuse the rice with sweetness, creating a delightful contrast.
Step 5: Combine Rice and Broth
Stir in long-grain white rice, chicken broth, dried thyme, and smoked paprika. Mix well, ensuring that the rice is evenly coated with the flavorful liquids. Bring the mixture to a simmer, allowing the rice to soak up the savory notes from the broth and spices as you prepare to nestle the chicken back in.
Step 6: Nestle the Chicken
Carefully place the seared chicken thighs back into the skillet, pressing them slightly into the rice mixture. Cover the skillet with a lid and reduce the heat to low. Let the dish cook for 15–20 minutes, or until the rice is tender and has absorbed most of the liquid. You’ll see the rice puffing up beautifully.
Step 7: Add the Peas
During the last 5 minutes of cooking, sprinkle in the frozen peas, giving everything a gentle stir. This adds a pop of color and sweetness to your One-Pan Honey Butter Garlic Chicken & Rice. Cover the skillet again to allow the peas to warm through.
Step 8: Fluff and Serve
Once the cooking time is up, remove the skillet from heat. Fluff the rice with a fork, allowing all the flavors to mingle beautifully. Garnish your dish with chopped fresh parsley for a vibrant finish, then serve this comforting meal warm and watch it become a family favorite!
One-Pan Honey Butter Garlic Chicken & Rice Variations
Feel free to let your creativity shine as you customize this delightful dish to suit your taste preferences!
-
Chicken Breasts: Swap chicken thighs for chicken breasts for a leaner alternative, just be sure to monitor the cooking time.
-
Veggie Boost: Toss in seasonal vegetables like carrots or bell peppers while the rice cooks for added nutrition and color.
-
Dairy-Free: Replace the butter with margarine or a plant-based butter to make this dish dairy-free without sacrificing creaminess.
-
Spicy Kick: Add red pepper flakes or a drizzle of sriracha to the honey-butter sauce for an exciting burst of heat. It pairs beautifully with the sweetness!
-
Herb Varieties: Experiment with fresh herbs like rosemary or oregano in place of thyme to create a different flavor profile that’s equally delightful.
-
Rice Alternatives: Use quinoa or cauliflower rice if you want to switch things up and create a lighter, gluten-free base for your chicken.
-
Citrus Zing: Squeeze fresh lemon or lime juice over the finished dish for a zesty lift that complements the honey brilliantly.
-
Other Proteins: Try swapping the chicken for shrimp or tofu for a fun twist; just adjust cooking times accordingly to ensure everything stays tender.
By exploring these variations, you can make the One-Pan Honey Butter Garlic Chicken & Rice truly your own. Don’t hesitate to check out Garlic Butter Beef or Grilled Chicken Broccoli for more delicious options that fit your cravings!
Expert Tips for One-Pan Honey Butter Garlic Chicken & Rice
-
Control the Heat: Keep the heat at medium when sautéing garlic to prevent it from burning. Burnt garlic can turn bitter and spoil the flavor of the entire dish.
-
Perfect Rice Ratio: Ensure the rice-to-broth ratio is 1:2 to avoid mushy rice. Using too much liquid can lead to a creamy texture instead of fluffy grains.
-
Adjusting for Brown Rice: If you choose brown rice instead, use 2½ cups of broth and increase the cooking time to about 35-40 minutes for optimal texture.
-
Cooking Chicken Breasts: If using chicken breasts in your One-Pan Honey Butter Garlic Chicken & Rice, lower the heat slightly to keep them juicy and avoid drying out. Aim for an internal temperature of 165°F.
-
Adding Spice: For a spicy kick, feel free to mix in red pepper flakes or a splash of sriracha when combining the honey and butter. It elevates the sauce and adds complexity to the flavor!
Make Ahead Options
These One-Pan Honey Butter Garlic Chicken & Rice are perfect for busy home cooks looking to streamline meal prep! You can season and sear the chicken thighs up to 24 hours in advance; simply refrigerate them after cooking to maintain their moisture. Additionally, you can prepare the honey butter sauce and mix the rice with chicken broth, thyme, and paprika, storing it in an airtight container for up to 3 days. When you’re ready to enjoy this delightful dish, just nestle the prepped chicken into the skillet with the rice mixture, cover, and cook until the rice is tender. This way, you’ll have a comforting, homemade meal ready to go with minimal effort!
Storage Tips for One-Pan Honey Butter Garlic Chicken & Rice
Fridge: Store leftovers in an airtight container in the refrigerator for up to 3-4 days. This will keep the flavors intact while ensuring freshness.
Freezer: For longer storage, freeze the dish in portions for up to 2 months. Use freezer-safe containers or heavy-duty bags to prevent freezer burn.
Reheating: When reheating, add a splash of chicken broth to the skillet or microwave to keep the rice moist and the chicken tender. Heat until warmed through, aiming for at least 165°F.
Room Temperature: It’s best to avoid leaving leftovers at room temperature for more than 2 hours to ensure food safety with this One-Pan Honey Butter Garlic Chicken & Rice.
What to Serve with One-Pan Honey Butter Garlic Chicken & Rice
Picture the delightful aroma dancing through your kitchen, perfectly thickening into a cozy meal that wraps you in warmth and love.
-
Garlic Bread: This crispy, buttery bread enhances the savory sides of the chicken while providing a comforting crunch to every forkful.
-
Steamed Broccoli: Bright green and slightly crisp, steamed broccoli adds color and a subtle earthiness that balances the sweetness of the honey sauce.
-
Caesar Salad: The classic tanginess of a Caesar salad contrasts beautifully with the richness of the chicken, adding a bright, refreshing note to your plate.
-
Coleslaw: This crunchy side brings a refreshing contrast with its tangy dressing, complementing the honey and garlic flavor profile while adding delightful textures.
-
Roasted Sweet Potatoes: The natural sweetness of the roasted sweet potatoes mirrors the dish’s honey-butter notes, creating a harmony of flavors while introducing a hearty element.
-
Chilled White Wine: A crisp Sauvignon Blanc or a lively Pinot Grigio offers a refreshing sip that cuts through any richness, accompanying your meal with a touch of elegance.
-
Chocolate Mousse: End your dinner on a sweet note with a rich, velvety chocolate mousse; its decadent texture provides a delightful finale to a comforting meal.
One-Pan Honey Butter Garlic Chicken & Rice Recipe FAQs
How do I select ripe ingredients for this recipe?
Absolutely! For the best flavors, choose chicken thighs that are plump and feel firm to the touch, with a pinkish hue and no dark spots; freshness is key! For garlic, look for bulbs that are firm with dry, papery skin. If you’re adding frozen peas, check the packaging for bright, vibrant color with no ice crystals, indicating they’ve been stored correctly.
What are the storage methods and duration for leftovers?
Very good question! You can store your One-Pan Honey Butter Garlic Chicken & Rice in an airtight container in the refrigerator for 3-4 days. Just make sure it cools to room temperature before sealing to prevent moisture build-up. If you want to keep it longer, transfer it to a freezer-safe container or heavy-duty bag and store it in the freezer for up to 2 months.
How do I properly freeze and reheat this dish?
To freeze, portion your cooled dish into freezer-safe containers, making sure to leave some space for expansion. Label with the date, and consume within 2 months for the best flavor. When you’re ready to enjoy it again, thaw it in the refrigerator overnight, then reheat gently in a skillet with a splash of chicken broth over low heat until warmed through, aiming for 165°F to ensure it’s perfectly tender.
What should I do if my rice turns mushy?
If your rice ends up mushy, don’t fret! This usually happens from too much liquid. For future batches, keep a precise 1:2 rice-to-broth ratio. If it’s already cooked, you can try spreading it out on a baking sheet to cool, which can help to firm it up. Just add a few additional seasonings to balance the texture!
Are there any dietary considerations for pets or allergies?
Of course! While this dish is delicious for humans, it’s not suitable for pets, especially because of the garlic and onions, which can be harmful to dogs and cats. If you have allergies to any of the ingredients, such as gluten, you can readily substitute with gluten-free options like rice or appropriate sauces. Always check label ingredients if you’re unsure!
Can I substitute ingredients for dietary preferences?
The more the merrier with substitutions! For a gluten-free option, use gluten-free chicken broth and ensure your rice is certified gluten-free. Additionally, if you prefer a dairy-free dish, switch the butter for a plant-based margarine. You can also mix in your favorite vegetables to adapt this recipe to your kids’ tastes!
One-Pan Honey Butter Garlic Chicken & Rice for Cozy Nights
Ingredients
Equipment
Method
- Season the boneless, skinless chicken thighs generously with salt and pepper on both sides.
- Heat a large skillet over medium-high heat and add olive oil.
- Sear the chicken thighs for 5–7 minutes until golden brown, then flip and cook for another 5–7 minutes.
- Lower the heat to medium and sauté minced garlic for about 30 seconds.
- Add honey and unsalted butter to the skillet and stir until the butter melts.
- Stir in the long-grain white rice, chicken broth, dried thyme, and smoked paprika.
- Nestle the seared chicken thighs back into the skillet and cover with a lid.
- Cook for 15–20 minutes until the rice is tender and has absorbed most of the liquid.
- During the last 5 minutes, add the frozen peas to the skillet and cover.
- Fluff the rice with a fork and garnish with chopped parsley before serving.
Leave a Reply