
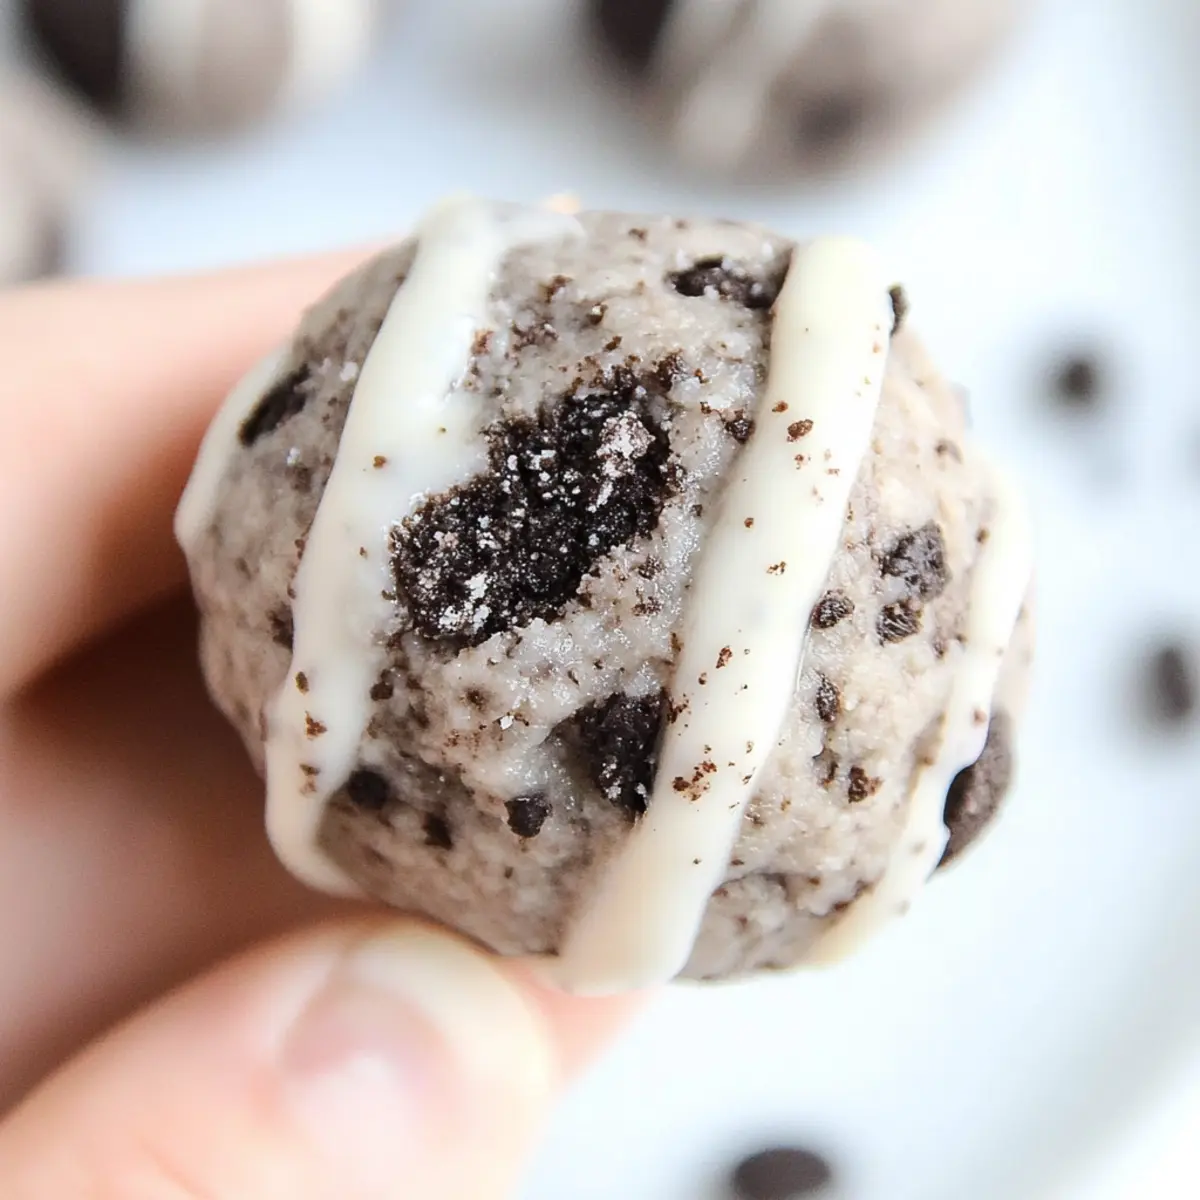
Walking through my kitchen, I often chase the delightful aroma of freshly baked treats, but sometimes I crave something a bit different—something that nourishes my body while satisfying my sweet tooth. That’s where these Oreo Protein Balls come in! Combining the fun flavors of Oreos with the muscle-loving power of protein powder, this quick, no-bake recipe is not only a crowd-pleaser but also a perfect guilt-free snack option for anyone juggling a busy lifestyle. With just six ingredients and a prep time of ten minutes, you’ll have a delicious treat that fits seamlessly into a gluten-free diet. Are you ready to indulge without the usually hefty calories? Let’s dive into how to make these irresistibly tasty bites!
Why are Oreo Protein Balls a must-try?
Satisfying your sweet tooth doesn’t have to mean compromising on health! These no-bake Oreo protein balls are the perfect blend of delicious and nutritious. Quick prep in just ten minutes makes it easy to whip up a batch for any occasion. Plus, they’re versatile—swap in your favorite protein flavor, or add nuts for a delightful crunch! Crowd-pleasers at gatherings, these bites are perfect for post-workout or a midday snack, and they store well in the fridge. For another nutritious option, check out our High Protein Chicken recipe for a savory twist!
Oreo Protein Balls Ingredients
Get ready to make these delectable treats!
For the Batter
- Vanilla Protein Powder – Provides essential protein content for recovery; swap for chocolate powder for a new flavor.
- Coconut Flour – Adds structure and moisture absorption; consider using almond flour for a softer bite.
- Monk Fruit Sweetener – Offers sweetness with minimal carbs; regular sugar can be substituted if desired.
- Cream Cheese – Binds the ingredients for a creamy texture; low-fat or vegan options work too!
- Oreo Cookies – Delivers that iconic chocolatey flavor; gluten-free varieties are available for dietary needs.
- White Chocolate Chips (optional) – Adds a delightful drizzle for extra sweetness and charm; dark chocolate chips are a great alternative for lower sugar.
Step‑by‑Step Instructions for Oreo Protein Balls
Step 1: Chop the Oreos
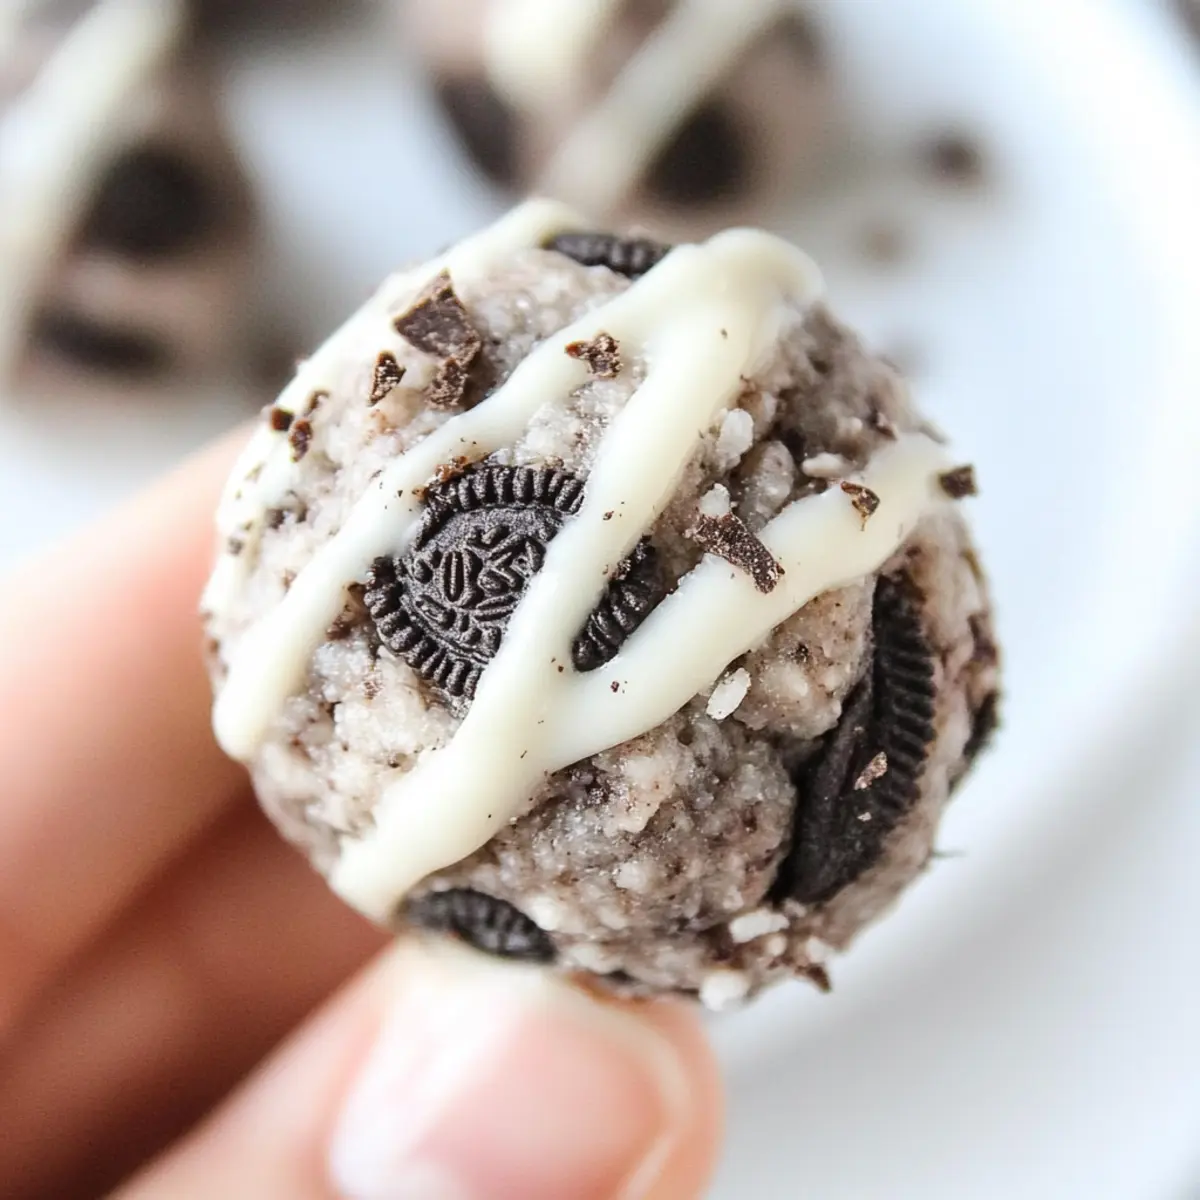
Begin by finely chopping the Oreo cookies. You can place them in a zip-top bag and crush them with a rolling pin or use a food processor for an even crumble. Aim for a mix of fine crumbs and some larger chunks to add texture to your Oreo protein balls. Set the chopped cookies aside while you prepare the other ingredients.
Step 2: Mix Dry Ingredients
In a large mixing bowl, combine the vanilla protein powder, coconut flour, and monk fruit sweetener. Use a whisk or fork to blend these dry ingredients thoroughly, ensuring there are no clumps. This step is crucial as it helps the flavors distribute evenly throughout your Oreo protein balls, creating a deliciously cohesive mixture.
Step 3: Combine Wet Ingredients
Next, add the chopped Oreos and cream cheese to the dry mixture in the bowl. Using a spatula, mix everything together until thoroughly combined. The cream cheese will help bind the ingredients, resulting in a smooth, cohesive texture. You may notice the mixture starting to come together nicely, making it easier to form into balls.
Step 4: Adjust the Texture
Check the consistency of your mixture. If it feels too thick and difficult to roll, gradually add a splash of milk or almond milk until you reach a smooth, moldable texture. If the mixture seems too soft, incorporate a bit more coconut flour. The perfect texture will roll easily into balls without falling apart—a key factor in making delicious Oreo protein balls!
Step 5: Roll the Balls
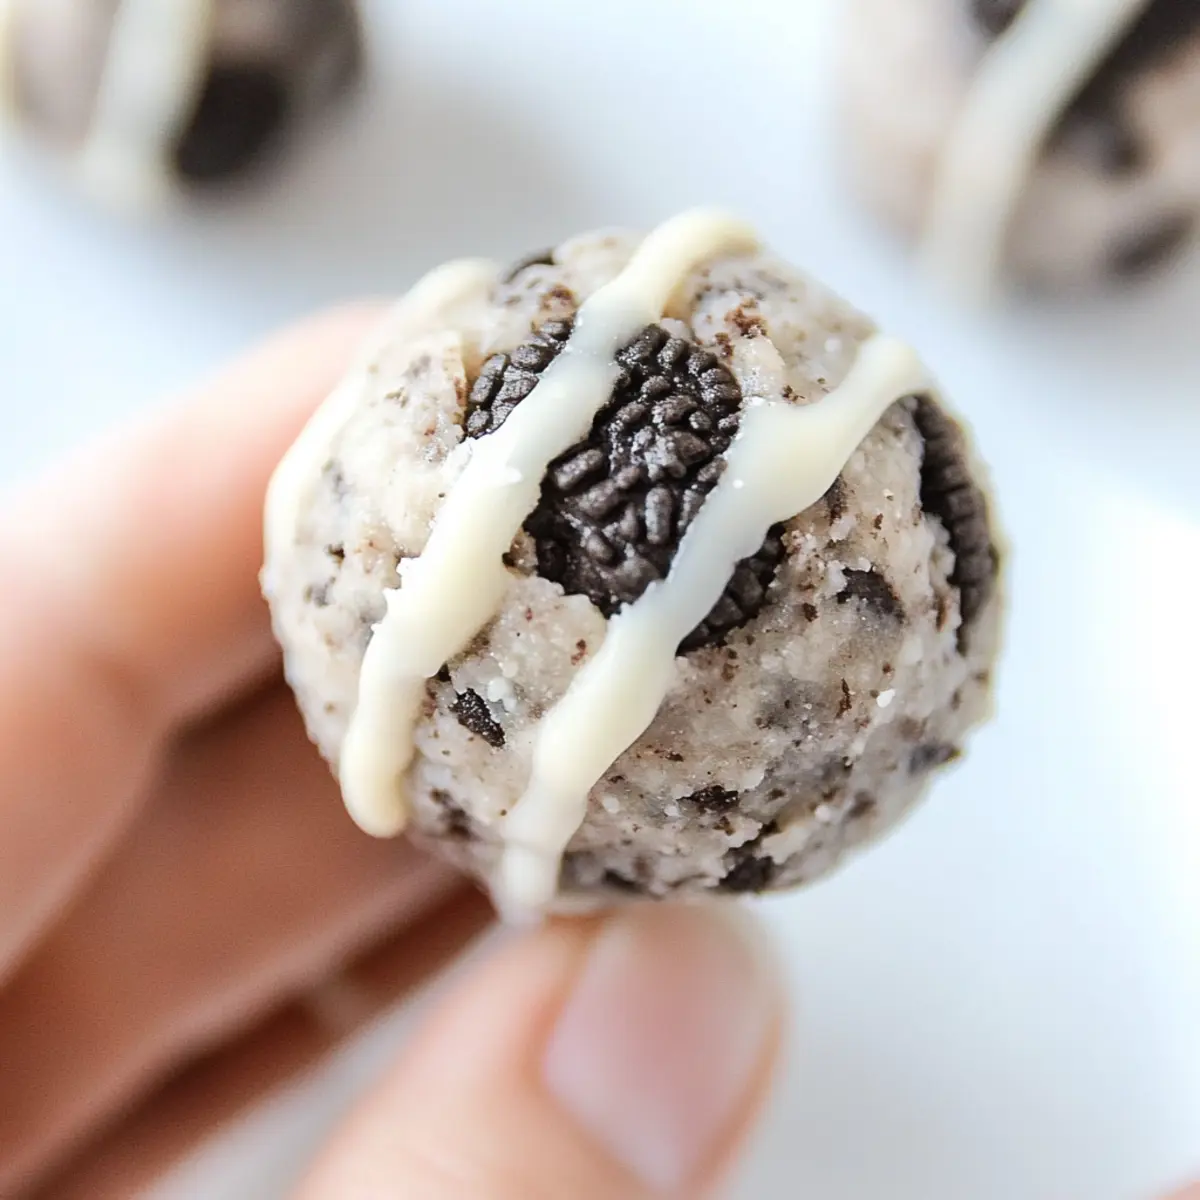
Using your hands, scoop out tablespoon-sized portions of the mixture and roll them into balls. Aim for uniform sizes so that your Oreo protein balls look appealing and are easy to grab. Place the formed balls on a parchment-lined baking sheet or plate as you continue rolling the remaining mixture.
Step 6: Optional Chocolate Drizzle
If you want to elevate your Oreo protein balls, melt some white chocolate chips in a microwave-safe bowl. Heat in 30-second intervals, stirring until smooth. Drizzle the melted chocolate over the rolled balls using a fork or a piping bag for added sweetness and a touch of elegance. This step is optional but adds a delicious finishing touch!
Step 7: Refrigerate for Firmness
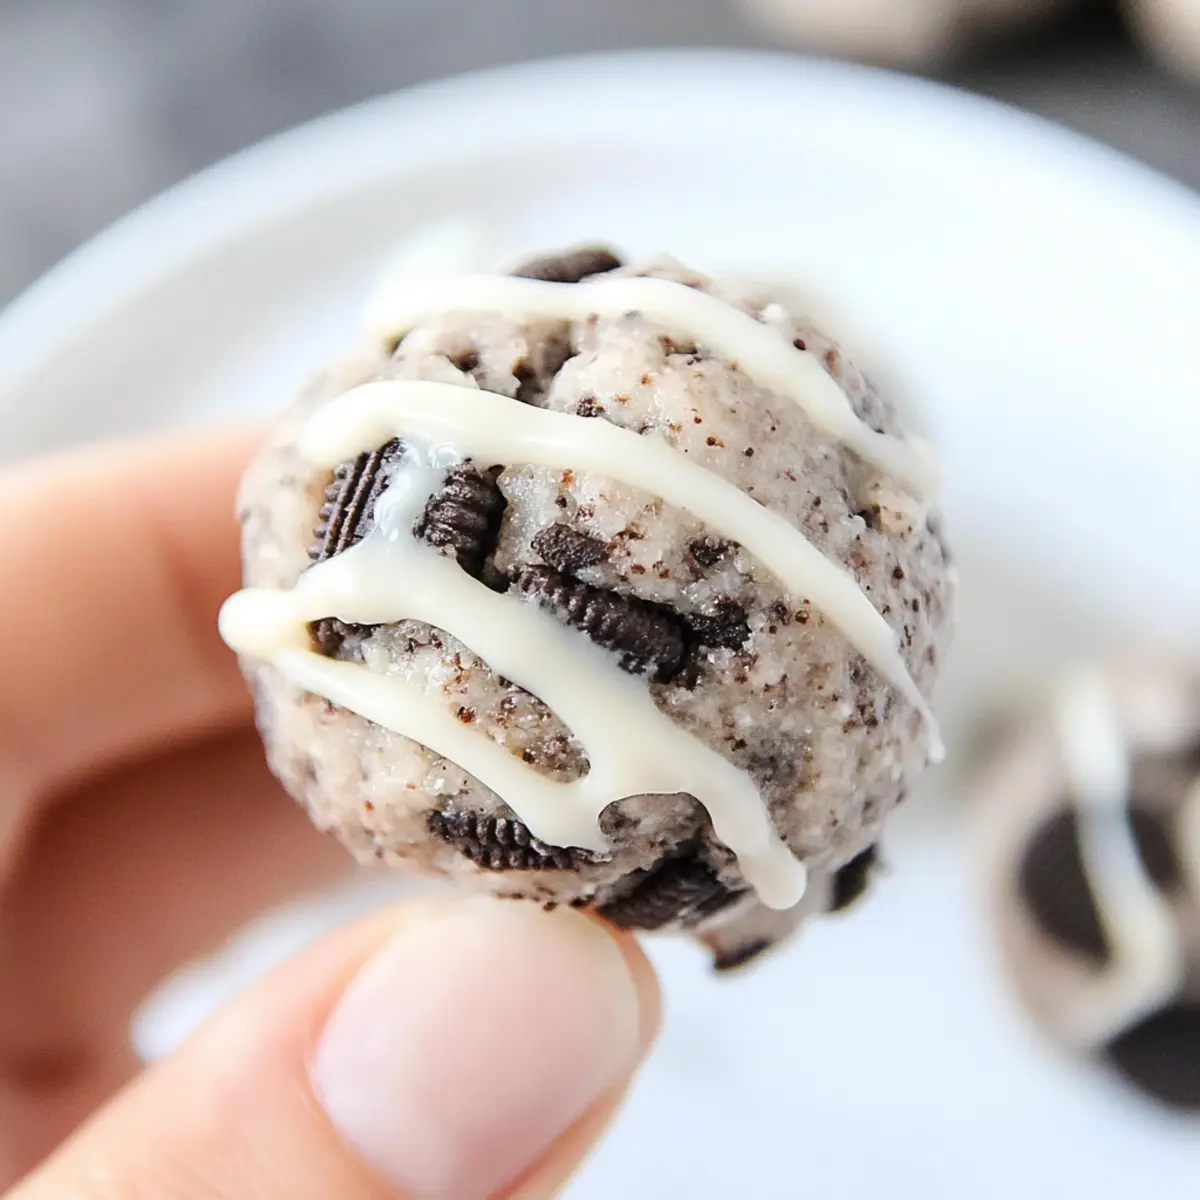
Lastly, place the assembled Oreo protein balls in the refrigerator for at least 15 minutes. This chilling time allows them to firm up, making them easier to enjoy. Once set, your no-bake treats will be ready to satisfy any sweet craving while providing a nutritious boost—perfect for a busy lifestyle!
What to Serve with Oreo Protein Balls?
Create the perfect indulgent yet healthy spread to elevate your snacking experience!
-
Fresh Fruit Medley: Serve with sliced strawberries and bananas for a refreshing contrast to the creamy protein balls. The natural sweetness of fruit balances the rich flavors beautifully.
-
Nut Butter Dipper: Pair them with a side of almond or peanut butter for deliciously creamy bites. The added protein complements the Oreo protein balls while enhancing the overall taste.
-
Greek Yogurt Parfait: Layer your Oreo protein balls with Greek yogurt and granola for a satisfying snack. The creamy texture of yogurt brings a delightful contrast, making it a wholesome treat.
-
Vanilla Smoothie: Blend up a quick vanilla smoothie with spinach or kale for a nutritious drink. This vibrant green smoothie rounds out the meal with an extra dose of vitamins and minerals.
-
Cold Brew Coffee: Enjoy with a glass of iced coffee to complement the sweet flavors. The slight bitterness of coffee pairs nicely, balancing the sweetness of the protein balls.
-
Dark Chocolate-Covered Fruit: Elevate your dessert experience by serving dark chocolate-covered strawberries alongside. This decadent combo will thrill your taste buds while keeping indulgence in check.
How to Store and Freeze Oreo Protein Balls
-
Room Temperature: These Oreo protein balls are best stored in an airtight container at room temperature for up to 24 hours if you plan to enjoy them soon after making.
-
Fridge: For optimal freshness, keep your protein balls in the refrigerator for up to 5-7 days. Make sure they are well-sealed to prevent drying out.
-
Freezer: If you’d like to store them longer, freeze the Oreo protein balls for up to 3 months. Place them in a single layer on a baking sheet until firm, then transfer to an airtight container.
-
Reheating: Thaw frozen protein balls overnight in the fridge or at room temperature for an easy snack. No need to reheat—enjoy them chilled for the best taste!
Expert Tips for Oreo Protein Balls
-
Chop Carefully: Ensure Oreos are finely chopped for a uniform texture. Larger chunks can disrupt the final consistency of your Oreo protein balls.
-
Use a Food Processor: For a quick and easy mix, consider blending your dry ingredients in a food processor. It saves time and ensures a smooth batter.
-
Adjust Texture Wisely: If your mixture is too thick, add milk gradually. If it’s too soft, incorporate extra coconut flour. Finding the right consistency is key to shape delicious Oreo protein balls!
-
Storage Tips: Store your protein balls in an airtight container in the fridge for up to a week. You can also freeze them for a longer shelf life.
-
Personalize Your Flavor: Experiment with different protein powder flavors or add-ins like nuts or dried fruit for extra taste and nutrients.
Oreo Protein Balls Variations & Substitutions
Feel free to customize your Oreo protein balls with these fun and flavorful twists!
-
Chocolate Protein Powder: Swap out vanilla for chocolate protein powder to introduce a rich, cocoa taste.
This variation will give your bites a delightful depth and enhance that indulgent dessert feel. -
Almond Flour: Use almond flour instead of coconut flour for a different texture.
Keep in mind this might create a softer ball, but the nutty taste is absolutely divine! -
Maple Syrup: Replace monk fruit sweetener with maple syrup for a natural sweetness.
Just adjust the dry ingredients accordingly to maintain the right texture and moistness. -
Nut Butters: Try adding almond or peanut butter for a protein boost and a creamy twist.
The nutty flavor complements the Oreos perfectly, creating a luscious and satisfying treat. -
Add-ins: Incorporate chopped nuts or dried fruits like cranberries for a flavor explosion.
These little bursts of texture can elevate your protein balls, making them even more enjoyable. -
Spice it Up: Add a pinch of cinnamon or a dash of peppermint extract for a unique flavor twist.
Seasonal sensations like peppermint can be especially refreshing during the holidays. -
No-Chocolate Drizzle: If you prefer a healthier version, skip the chocolate drizzle entirely.
These protein balls are still delicious on their own and save on added sugars!
And don’t forget to check out our Spinach Garlic Meatballs if you’re looking for another nutritious yet comforting treat that’s packed with flavor!
Make Ahead Options
These Oreo Protein Balls are a fantastic option for meal prep, allowing you to indulge in a healthy treat with minimal effort! You can prepare the mixture up to 24 hours in advance; simply roll the balls and store them in an airtight container in the fridge. To maintain their delightful texture, ensure they are well-chilled before serving. If you prefer, you can also freeze them for up to 3 months—just thaw them in the fridge or at room temperature before enjoying. For the best results, wait to drizzle the optional white chocolate until just before serving to keep every bite fresh and tempting. With these easy make-ahead tips, you can enjoy delicious Oreo Protein Balls whenever cravings strike!
Oreo Protein Balls Recipe FAQs
How do I know if my ingredients are fresh enough to use?
Absolutely! When selecting your ingredients, ensure your cream cheese is fresh—look for a smooth texture and no off-smell. For cookies, check that they’re well within their expiration date and free from dark spots or signs of staleness. Fresh protein powder typically has a mild, pleasant aroma; if it smells off, it’s best to discard it.
What’s the best way to store leftover Oreo protein balls?
I recommend keeping your Oreo protein balls in an airtight container in the fridge for up to 5-7 days. This helps maintain their delicious texture and flavor. If you notice them getting too firm, a quick tip is to place a slice of bread in the container to help keep them moist!
Can I freeze Oreo protein balls, and how should I do it?
Yes! You can freeze your Oreo protein balls for up to 3 months. To do this, place them in a single layer on a baking sheet until they’re firm. Then, transfer them to an airtight container or a freezer bag. Be sure to label the container for easy reference! When you’re ready to enjoy, just thaw them in the fridge overnight or at room temperature.
What if my mixture is too dry when making the protein balls?
Very! If your mixture feels dry and crumbly, add a splash of milk or almond milk gradually while mixing until it reaches a consistency that holds together. This will help you roll them into nice, smooth balls without falling apart. If you happen to overdo it, incorporating a bit more coconut flour can help balance it out too!
Are there any allergy considerations for these Oreo protein balls?
For dietary adjustments, this recipe can be made gluten-free simply by using gluten-free Oreo cookies and careful selection of your protein powder. If you have dairy allergies, opt for vegan cream cheese or a nut-based alternative. As always, check for any personal sensitivities with the ingredients when preparing these tasty snacks.
Can I use different ingredients in the Oreo protein balls?
Absolutely! Feel free to swap out vanilla protein powder for chocolate or cookies and cream flavors for a fun twist. You can also substitute coconut flour with almond flour, though it may yield a softer texture. Adding chopped nuts or dried fruits can also enhance the flavor and nutrient profile!
Decadent Oreo Protein Balls - Guilt-Free No-Bake Delight
Ingredients
Equipment
Method
- Chop the Oreos finely and set aside.
- Mix the dry ingredients: vanilla protein powder, coconut flour, and monk fruit sweetener in a large bowl.
- Add chopped Oreos and cream cheese to the dry mixture and combine thoroughly.
- Adjust the texture if necessary by adding milk or coconut flour.
- Roll tablespoon-sized portions of the mixture into balls and place on a parchment-lined baking sheet.
- Optionally, melt white chocolate chips and drizzle over the rolled balls before refrigerating.
- Refrigerate the protein balls for at least 15 minutes to firm up.
Leave a Reply