
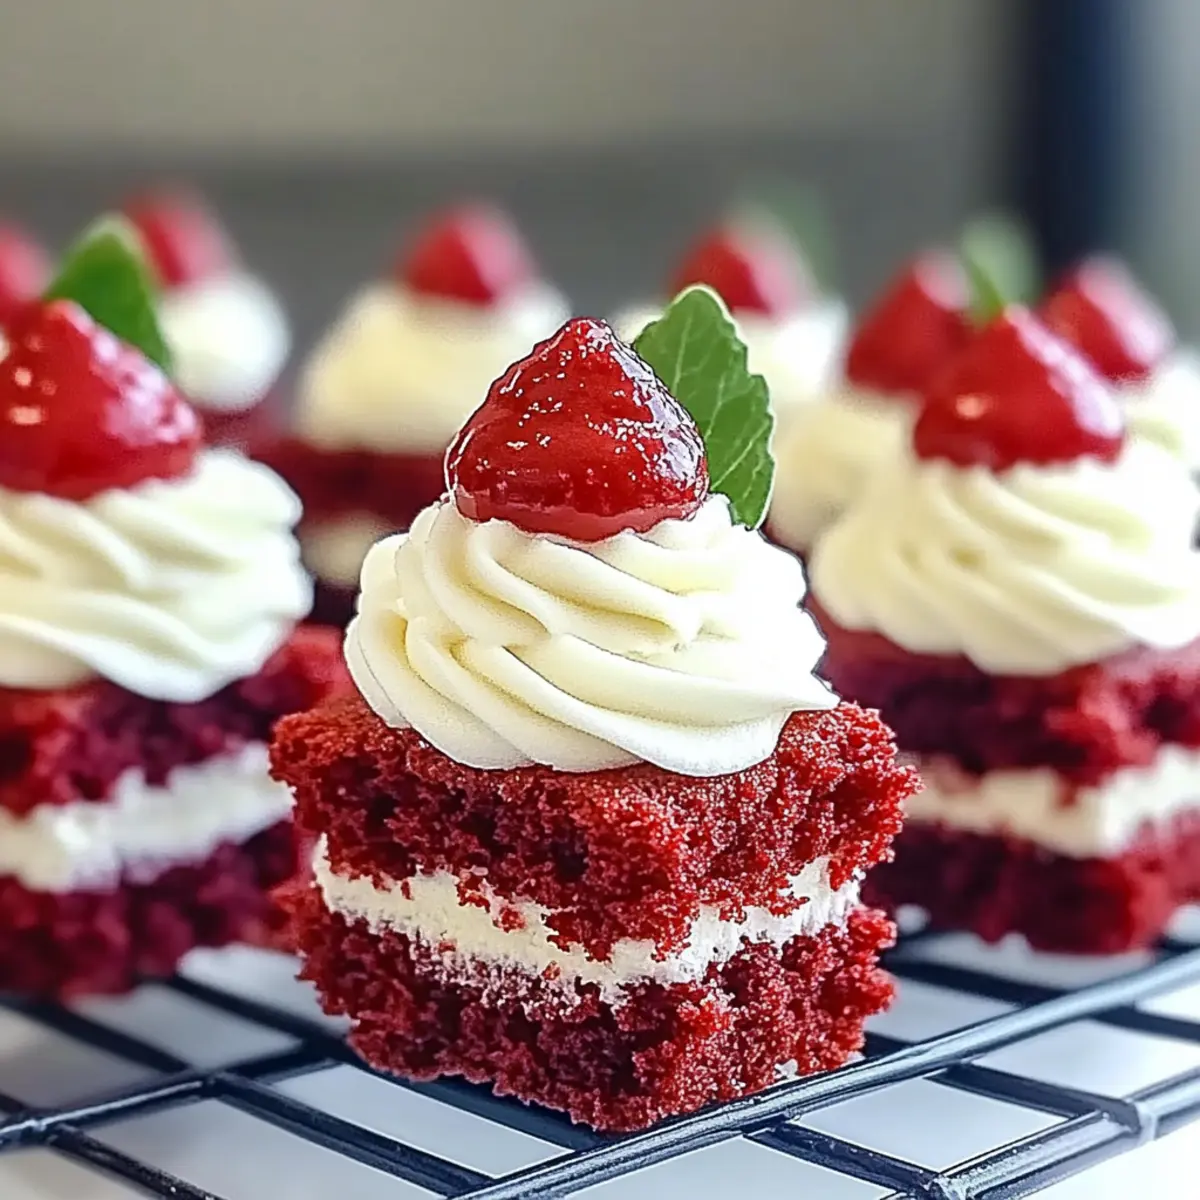
As I pulled my mini muffin tin from the oven, the irresistible aroma of rich cocoa and sweet vanilla filled my kitchen, transporting me to a cozy café on a bustling afternoon. There’s something truly magical about Red Velvet Cake Minis—these delightful, bite-sized treasures elevate any event into a celebration. Whether you’re planning a birthday bash, an anniversary feast, or simply craving a moment of indulgence, these soft, velvety wonders topped with creamy frosting offer the perfect sweet escape. Plus, they’re gluten-free adaptable! With just a bit of prep, you can whip up these treats in no time, making them a joyful addition to your dessert rotation. Ready to tempt your taste buds with these scrumptious minis? Let’s dive into the recipe!
Why Are These Cake Minis So Special?
Unique, These Red Velvet Cake Minis are a delightful twist on a classic dessert, boasting a rich cocoa flavor and a velvety texture that make them stand out at any gathering. Gluten-Free Option, Perfectly adaptable for those with dietary restrictions, you can easily swap in gluten-free flour without compromising taste. Quick to Make, With just a little prep time, these minis bake up in under 20 minutes, making them a great option for unexpected guests or last-minute celebrations. Crowd-Pleasing Treat, Whether at birthdays or casual get-togethers, they are sure to impress everyone with their vibrant color and creamy frosting. Versatile Flavors, Don’t hesitate to customize them by adding chocolate chips or substituting flavors; the possibilities are endless! If you’re on the lookout for more delightful desserts, don’t miss these Red Velvet Cinnamon rolls or a fun High Protein Pancake bowl to elevate your breakfast game!
Red Velvet Cake Minis Ingredients
• Elevate your baking game!
For the Batter
- All-purpose Flour – Provides structure; substitute with gluten-free flour for a gluten-free option.
- Cocoa Powder – Adds delicious chocolate flavor; opt for high-quality unsweetened cocoa for best results.
- Baking Soda – Essential leavening agent; check freshness for optimal rise.
- Salt – Enhances flavor; fine sea salt ensures even distribution.
- Granulated Sugar – Contributes sweetness and moisture; coconut sugar can be used for a natural alternative.
- Vegetable Oil – Adds moisture and tenderness; melted butter can replace for extra richness.
- Eggs – Essential for binding and structure; room temperature eggs blend smoothly into the batter.
- Buttermilk – Helps tenderize the cake; milk with a splash of vinegar or lemon juice works as a substitute.
- Vanilla Extract – Enhances flavor; feel free to swap for almond extract for a nutty twist.
- Red Food Coloring – Gives the iconic vivid hue; gel coloring is best for richness without altering texture.
For the Frosting
- Cream Cheese – Creates a rich, tangy base for your frosting; ensure it’s softened for easy mixing.
- Butter – Adds creaminess to the frosting; room temperature butter blends smoothly.
- Powdered Sugar – Sweetens and thickens the frosting; sift to avoid lumps.
With these ingredients, your Red Velvet Cake Minis will come to life, captivating the taste buds of everyone around!
Step‑by‑Step Instructions for Irresistible Red Velvet Cake Minis
Step 1: Preheat Oven
Begin by preheating your oven to 350°F (175°C) and prepare a mini muffin tin by greasing it lightly or lining it with paper cups. This ensures that your Red Velvet Cake Minis will release easily once baked, allowing for a perfect presentation for your delightful treats.
Step 2: Mix Dry Ingredients
In a medium bowl, whisk together 1 ½ cups of all-purpose flour, 1 tablespoon of cocoa powder, 1 teaspoon of baking soda, and a pinch of salt. Make sure your dry ingredients are well combined to ensure even flavor and texture throughout your Red Velvet Cake Minis. Set aside this mixture and get ready to bring in the wet ingredients!
Step 3: Combine Wet Ingredients
In a large mixing bowl, beat together 1 cup of granulated sugar and ½ cup of vegetable oil until smooth. Slowly add in two room temperature eggs, ½ cup of buttermilk, 1 teaspoon of vanilla extract, and 2 tablespoons of red food coloring. Mix until fully combined—this will create a lovely vibrant batter that is perfectly sweet and flavorful.
Step 4: Combine Mixtures
Gradually add the dry ingredient mixture to the wet ingredients, gently folding them together. Use a spatula to fold until just combined—being careful not to overmix, as this can lead to dense cake minis. Aim for a smooth batter with a few small lumps remaining to ensure your Red Velvet Cake Minis are wonderfully fluffy.
Step 5: Fill Muffin Tin
Carefully pour the batter into your prepared mini muffin tin, filling each cup about two-thirds full. This allows enough space for your Red Velvet Cake Minis to rise beautifully while maintaining their moist texture. Use a spoon or a small measuring cup for even distribution to ensure consistent baking.
Step 6: Bake
Place the filled muffin tin in the preheated oven and bake for 15 to 18 minutes. To check for doneness, insert a toothpick into the center of a mini; it should come out clean. The tops should look slightly domed and feel springy to the touch.
Step 7: Cool and Frost
After baking, allow the Red Velvet Cake Minis to cool in the tin for about 5 minutes. Then, carefully transfer them to a wire rack to cool completely. While they cool, prepare the frosting by beating together 8 oz of softened cream cheese and ¼ cup of softened butter, then gradually add 2 cups of powdered sugar until light and fluffy.
Step 8: Frost Each Mini
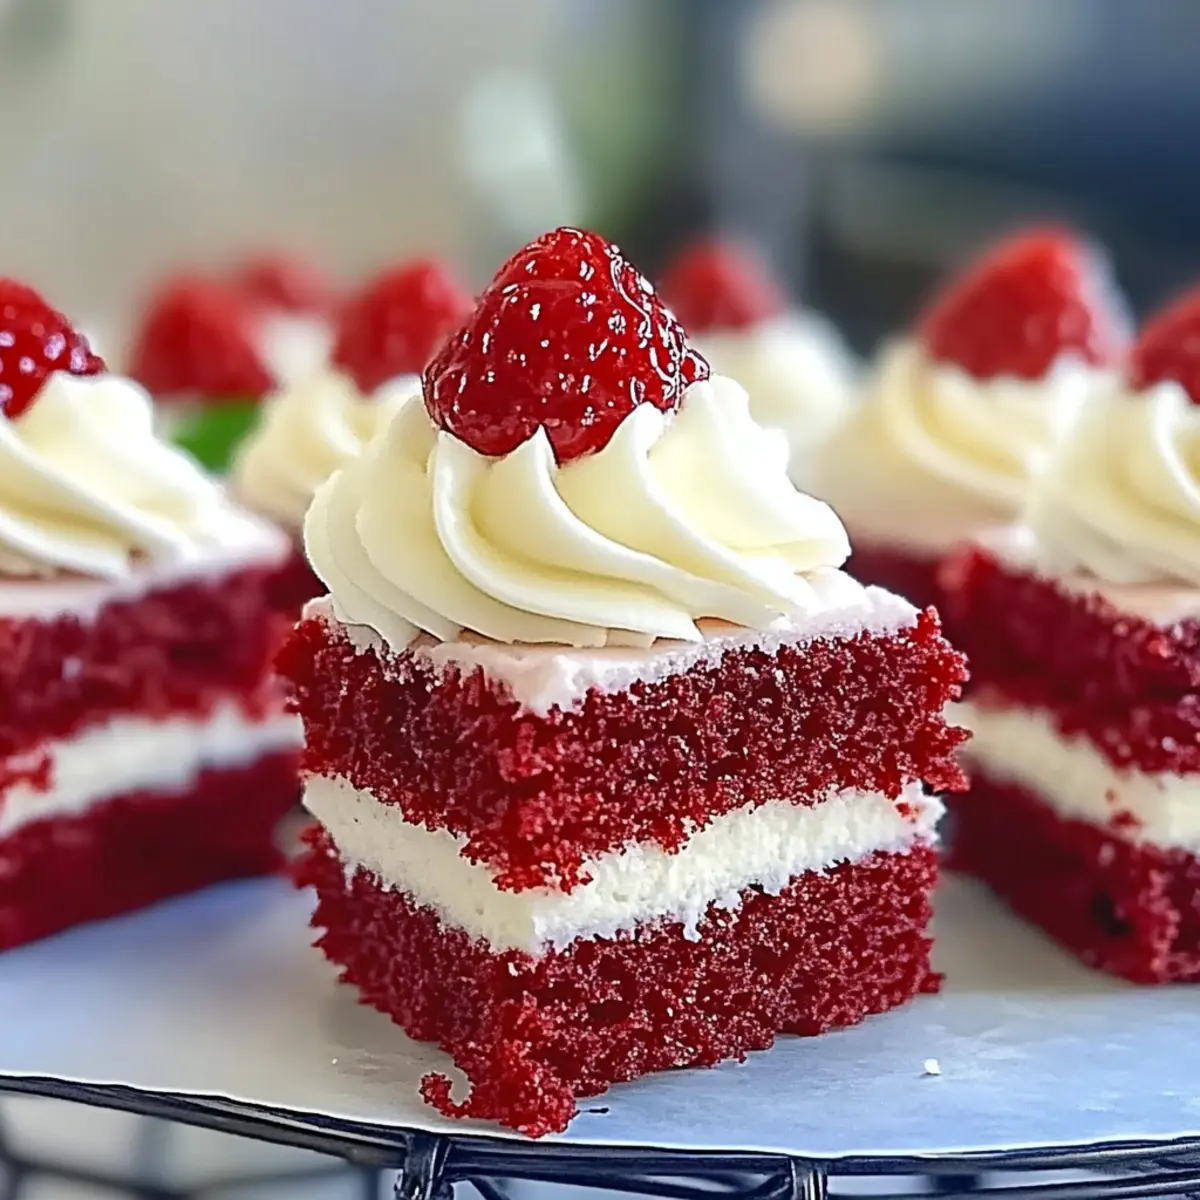
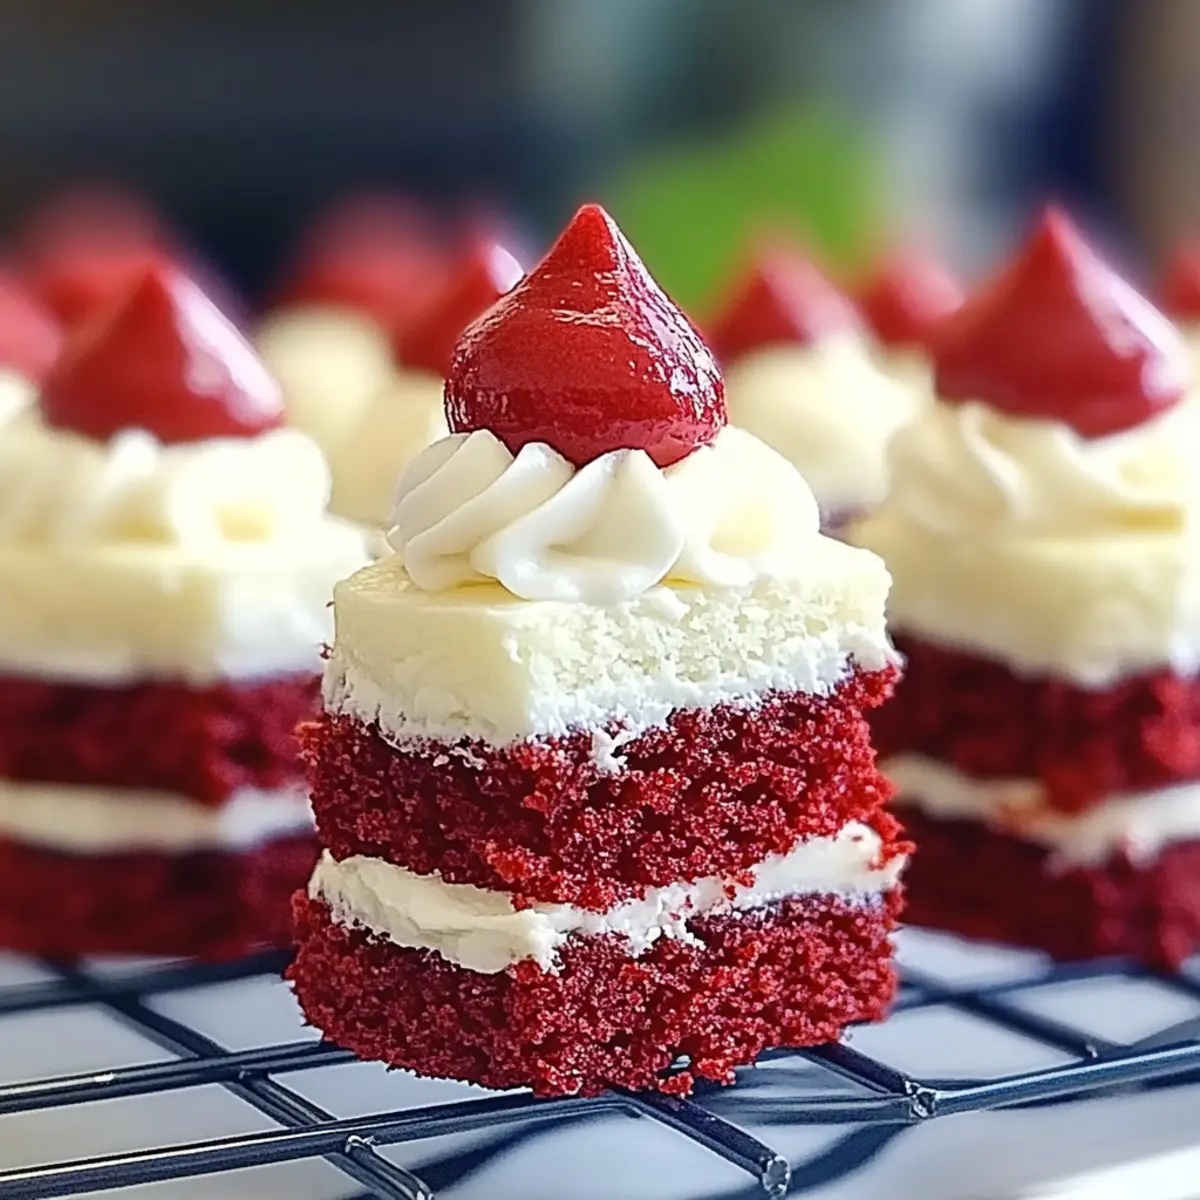
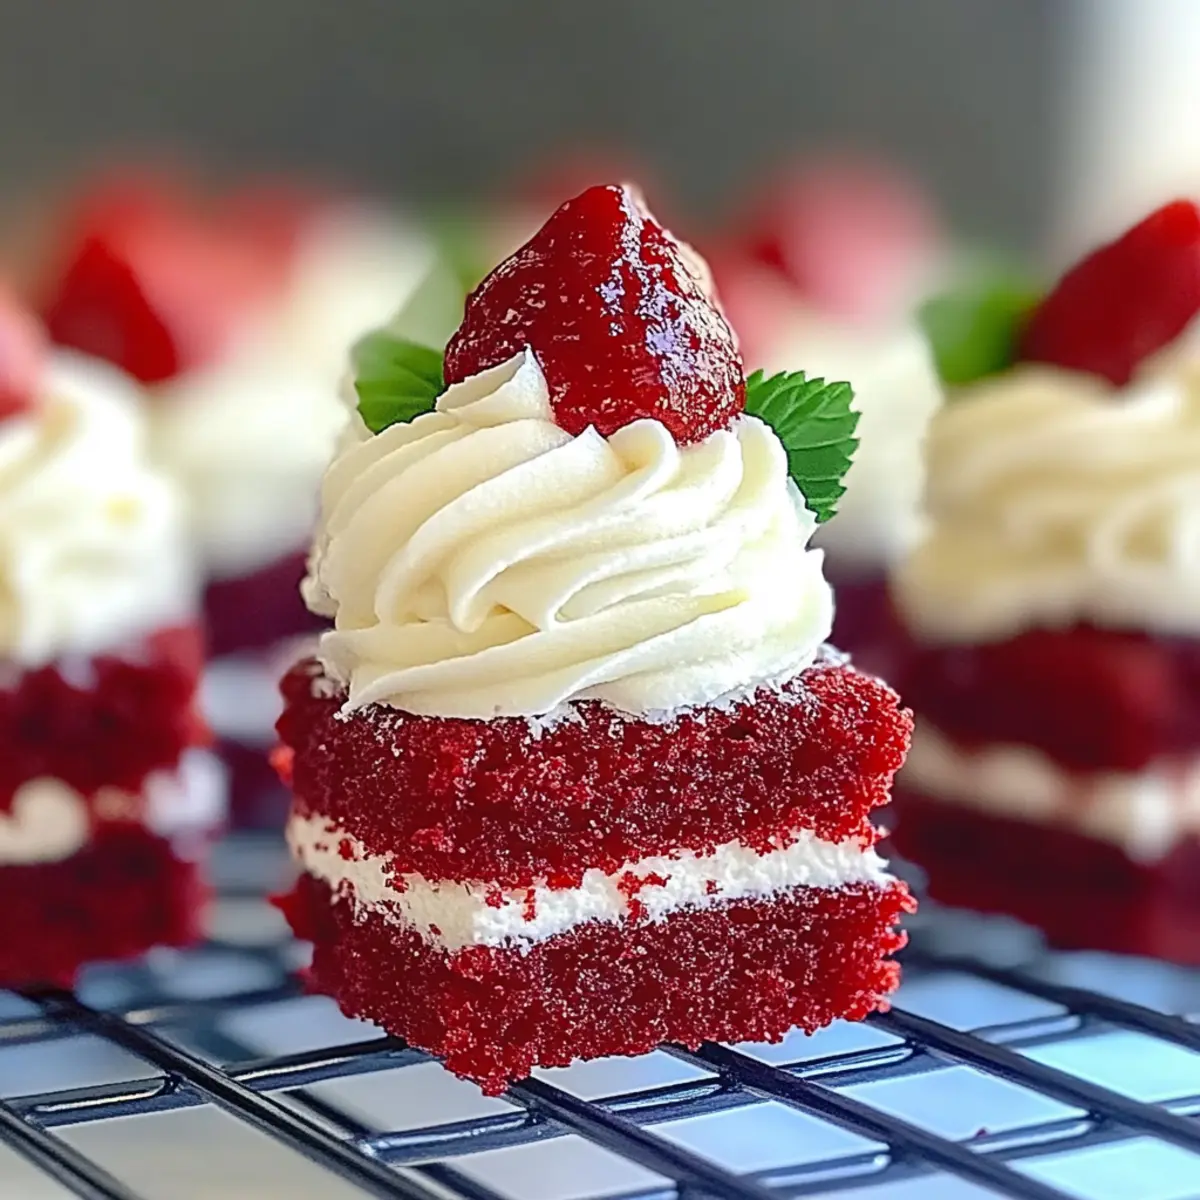
Once the minis are completely cool, generously frost the tops with your cream cheese frosting using a knife or piping bag for an elegant touch. The creamy frosting pairs perfectly with the soft texture of the Red Velvet Cake Minis, making them both a visual and flavorful delight to share or indulge in!
Red Velvet Cake Minis Variations
Feel free to let your creativity shine as you personalize these delightful Red Velvet Cake Minis!
- Gluten-Free: Use a 1:1 gluten-free flour blend to create a gluten-free version without sacrificing flavor or texture.
- Sweet Alternative: Swap granulated sugar for coconut sugar for a natural sweetness that pairs beautifully with the cocoa.
- Nutty Flavor: Replace vanilla extract with almond extract for a delightful nutty twist that elevates each mini.
- Decadent Add-Ins: Fold in mini chocolate chips or chopped nuts into the batter for an extra indulgent treat that your guests will love.
- Zesty Kick: Add a teaspoon of orange or lemon zest to the batter for a refreshing citrus note that complements the chocolate flavor.
- Festive Touch: Garnish with sprinkles, edible glitter, or seasonal decorations to make these minis a centerpiece at any celebration or holiday gathering.
- Frosting Flavor: Mix in a splash of vanilla or almond extract into your cream cheese frosting for a flavor boost that’s sure to impress.
- Fruity Fusion: Top each mini with fresh berries or a dollop of fruit preserves for a fruity contrast to the rich, creamy frosting.
If you’re interested in more delightful dessert ideas, check out these luscious Pecan Pie Dump Cake or treat yourself to a delightful Red Velvet Cinnamon roll for your next breakfast!
What to Serve with Irresistible Red Velvet Cake Minis?
These delightful mini desserts deserve a charming spread that will elevate your celebration to new heights!
-
Creamy Mashed Potatoes: Their buttery richness and smooth texture balance the sweetness of the cakes, making for a delightful contrast on your plate.
-
Fresh Fruit Salad: Bright, juicy fruits add a refreshing touch that complements the richness of the frosting, providing a satisfying crunch and sweetness.
-
Sparkling Lemonade: The tartness of this bubbly drink refreshes the palate after each sweet bite, adding a festive sparkle to your dessert table.
-
Chocolate-Covered Strawberries: Perfectly indulgent, these luscious berries provide an elegant pairing that echoes the chocolate flavor of the cake, enhancing your dessert experience.
-
Mini Cheesecakes: Their creamy texture and subtle flavor make them a wonderful counterpart to the flavorful cake minis, creating a delightful dessert duo.
-
Rich Coffee or Espresso: The deep, bold flavors of coffee enhance the cocoa notes of the cake, making each forkful even more enjoyable.
-
Whipped Cream Topping: A dollop of lightly sweetened whipped cream adds a light texture, balancing the cake’s density while enhancing the presentation.
-
Vanilla Ice Cream: A scoop of creamy vanilla ice cream melts harmoniously over the warm mini cakes, creating an indulgent and comforting dessert experience.
Expert Tips for Red Velvet Cake Minis
- Room Temperature Ingredients: Ensure all ingredients, especially eggs and butter, are at room temperature for a smoother batter and better rise in your Red Velvet Cake Minis.
- Don’t Overmix: Gently combine the wet and dry ingredients to avoid developing gluten, which can lead to dense cake minis. Aim for a few lumps in the batter.
- Fresh Baking Soda: Always check that your baking soda is fresh for optimal leavening; old baking soda won’t give your minis the perfect lift.
- Use a Toothpick: Check for doneness by inserting a toothpick in the center; it should come out clean. This prevents over-baking, ensuring moistness.
- Frost When Cool: Wait for the cake minis to cool completely before frosting; otherwise, the cream cheese frosting may melt and lose its beautiful shape.
- Customize Wisely: Feel free to add chocolate chips or substitute extracts, but remember that too many additions might affect the baking time and texture of your Red Velvet Cake Minis.
Storage Tips for Red Velvet Cake Minis
-
Room Temperature: Store your Red Velvet Cake Minis in an airtight container at room temperature for up to 3 days to maintain their softness and flavor.
-
Fridge: For prolonged freshness, refrigerate the minis in an airtight container for up to 1 week. This helps prevent any spoilage while keeping them delightfully moist.
-
Freezer: To enjoy these treats later, individually wrap each mini in plastic wrap and place them in a freezer-safe bag. They can be frozen for up to 3 months.
-
Reheating: When ready to enjoy, simply thaw them in the fridge overnight or microwave them for about 10-15 seconds to regain that freshly baked warmth.
Make Ahead Options
These Red Velvet Cake Minis are perfect for meal prep enthusiasts! You can prepare the batter up to 24 hours in advance; simply mix your wet and dry ingredients, combine them gently, and then refrigerate the batter in an airtight container to maintain its freshness. Additionally, you can bake the minis ahead of time and store them in an airtight container at room temperature for up to three days or refrigerate them for a week. For the frosting, make it in advance and keep it in the refrigerator for up to three days. When ready to serve, just frost your cooled minis, and you’ll have delicious, time-saving treats that are just as delightful as the day they were made!
Red Velvet Cake Minis Recipe FAQs
What type of flour can I use for the Red Velvet Cake Minis?
You can use all-purpose flour for the standard recipe, but if you’re looking for a gluten-free option, gluten-free all-purpose flour works wonderfully without compromising the texture or flavor. Just make sure it contains a binder like xanthan gum for the best results!
How should I store my Red Velvet Cake Minis?
Store your Red Velvet Cake Minis in an airtight container at room temperature for up to 3 days to keep them soft and flavorful. If you want to enjoy them longer, you can refrigerate them for up to 1 week.
How can I freeze Red Velvet Cake Minis?
Absolutely! To freeze your Red Velvet Cake Minis, wrap each one individually in plastic wrap and place them in a freezer-safe bag or container. They can be frozen for up to 3 months. When you’re ready to enjoy them, thaw them in the fridge overnight or microwave them for about 10-15 seconds until warmed through.
What should I do if my cake minis turn out dense?
If you find your Red Velvet Cake Minis are dense, it may be due to overmixing the batter or using cold ingredients. Always mix until just combined and ensure your eggs and buttermilk are at room temperature before starting. This helps the batter remain light and fluffy!
Can pets eat Red Velvet Cake Minis?
It’s best to keep your Red Velvet Cake Minis away from pets, especially since they often contain ingredients like sugar and cream cheese that aren’t suitable for them. Be sure to safely store any leftovers out of reach of curious furry friends!
What if I have allergies to certain ingredients?
If you have allergies, you can customize the ingredients based on your needs. Substitute eggs with a flaxseed or applesauce mixture for a vegan option, and replace the butter in the frosting with a dairy-free alternative. Always check labels to ensure all substitutes are safe for your dietary requirements!
Decadent Red Velvet Cake Minis for Any Celebration
Ingredients
Equipment
Method
- Preheat your oven to 350°F (175°C) and prepare a mini muffin tin by greasing it lightly or lining it with paper cups.
- In a medium bowl, whisk together all-purpose flour, cocoa powder, baking soda, and salt.
- In a large mixing bowl, beat together granulated sugar and vegetable oil until smooth. Then add eggs, buttermilk, vanilla extract, and red food coloring and mix until fully combined.
- Gradually add the dry ingredient mixture to the wet ingredients, gently folding them together until just combined.
- Carefully pour the batter into your prepared mini muffin tin, filling each cup about two-thirds full.
- Place the filled muffin tin in the preheated oven and bake for 15 to 18 minutes, checking for doneness with a toothpick.
- Allow the Red Velvet Cake Minis to cool in the tin for about 5 minutes, then transfer to a wire rack to cool completely.
- Prepare the frosting by beating together cream cheese and butter, then gradually add powdered sugar until fluffy.
- Frost the top of each cooled mini with your cream cheese frosting.
Leave a Reply