
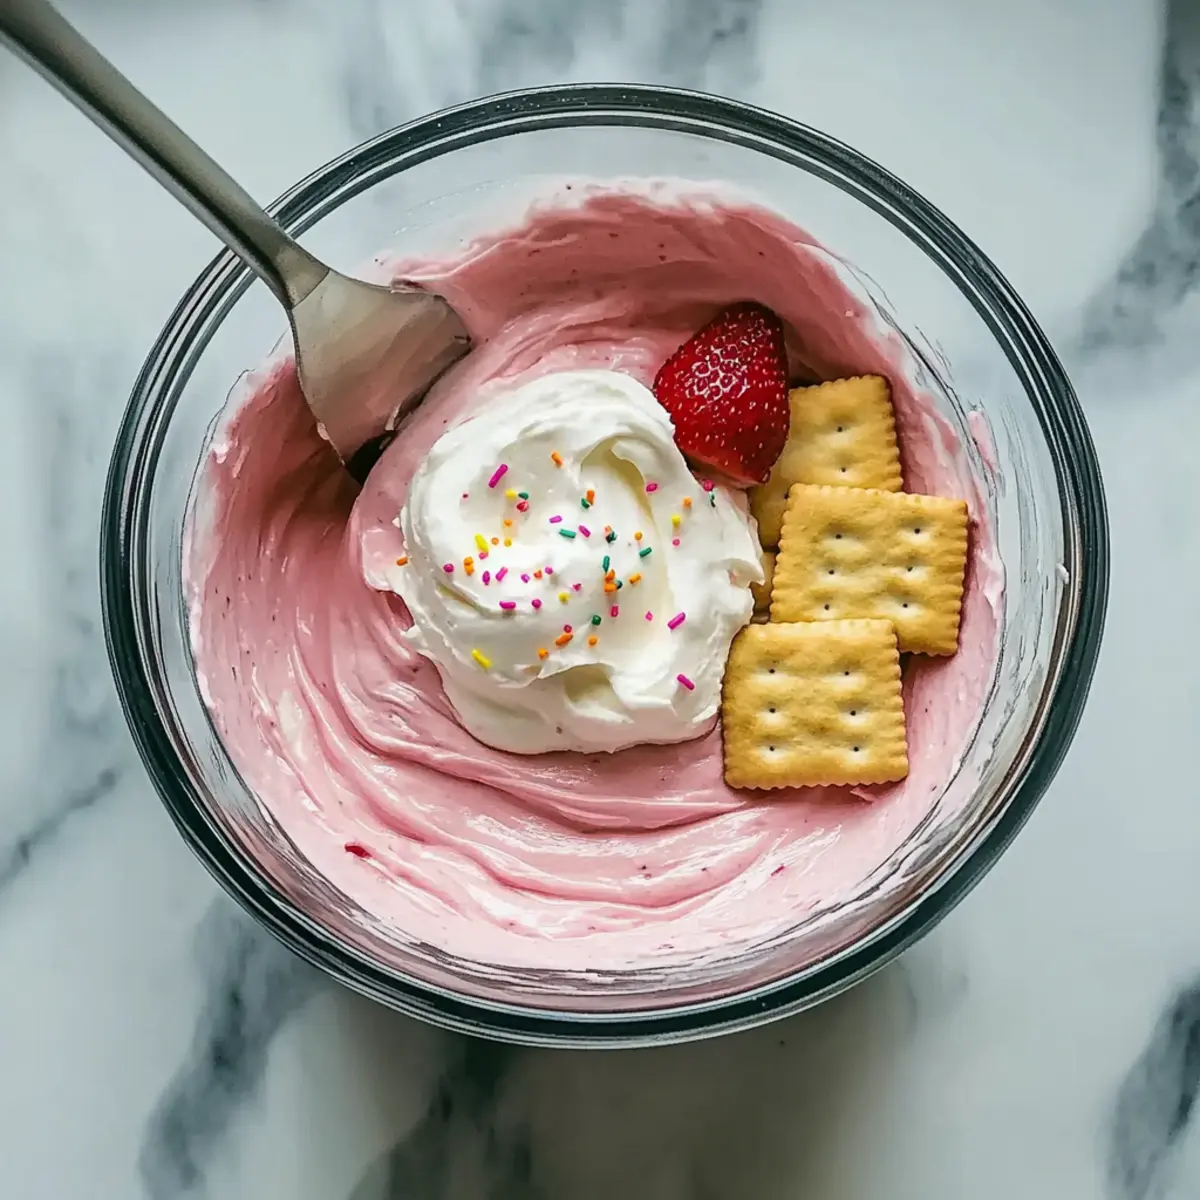
As spring arrives, so do the delightful gatherings filled with laughter, color, and, of course, delicious food. I can’t help but get excited thinking about my Simple Easter Dip, which effortlessly brings joy to any festive table. This no-bake treat features a luscious blend of cream cheese, powdered sugar, and a hint of vanilla, resulting in a creamy delight that invites everyone to dive in. Not only is it customizable to fit any palate, but it’s also gluten-free and can easily be made vegan for those with dietary preferences. The pastel colors and playful sprinkles make it a true centerpiece that sparks creativity and fun at your spring celebrations. Are you ready to whip up a sweet treat that will have everyone asking for the recipe? Let’s get started!
Why is this Easter Dip a must-try?
Simplicity: This no-bake recipe requires minimal effort, making it perfect for busy hosts.
Customizable: With easy variations, you can tailor the flavors and toppings to suit any occasion or dietary need.
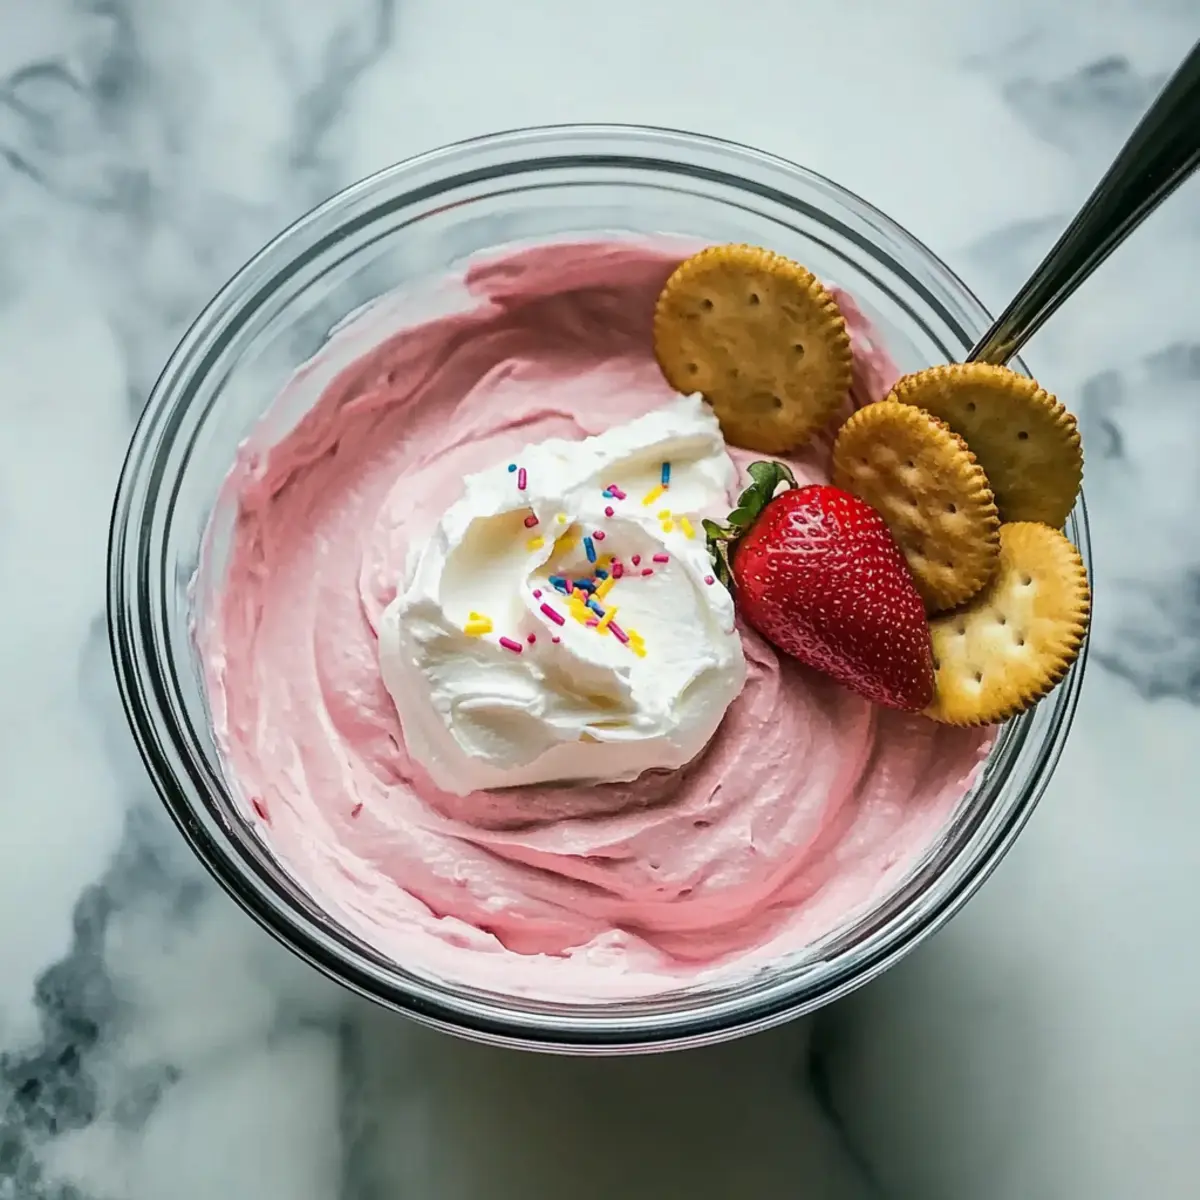
Festive Appeal: The vibrant pastel colors and delightful sprinkles instantly elevate the ambiance of your spring gatherings.
Crowd Pleaser: Whether served with fresh strawberries or crunchy graham crackers, it’s guaranteed to be a hit with guests of all ages.
If you’re looking for more delicious dip ideas, don’t miss my Buffalo Chicken Dip or check out the creamy goodness of my Crockpot Buffalo Chicken Dip.
Simple Easter Dip Ingredients
For the Dip Base
• Cream Cheese – Provides creamy texture and tang; ensure it’s softened for easy mixing.
• Powdered Sugar – Sweetens the dip while keeping it smooth; essential for that delightful flavor.
• Vanilla Extract – Infuses warmth into the flavor profile; use high-quality for the best taste.
• Whipped Topping – Adds lightness and airiness to the dip, making it irresistible.
For the Color and Fun
• Food Coloring (Pink) – Creates a festive pastel hue; adjust as needed for your preferred color.
• Sprinkles or Mini Candies – Use pastel-colored varieties for a cheerful presentation; perfect for a simple Easter dip.
Optional Mix-Ins
• Marshmallow Fluff – Provides extra creaminess; optional but takes the dip to the next level.
• Lemon Zest – Adds a bright, citrusy note; great for those who love a bit of zing.
• Crushed Cookies or Shredded Coconut – Adds texture and flavor variations; great for personalization.
Step‑by‑Step Instructions for Simple Easter Dip
Step 1: Beat the Cream Cheese
Start by placing your softened cream cheese into a large mixing bowl. Using an electric mixer, beat the cream cheese on medium speed for about 2-3 minutes until it’s smooth and creamy, with no lumps remaining. This step is vital for achieving that silky texture in your Simple Easter Dip.
Step 2: Add Sugar and Vanilla
Gradually incorporate the powdered sugar and vanilla extract into the cream cheese mixture. Continue to mix on low speed for about 2 minutes until fully combined and creamy. The sweetness from the powdered sugar will brighten the dip’s flavor, while the vanilla adds warmth—perfect for your festive gathering.
Step 3: Fold in the Whipped Topping
Next, gently fold in the whipped topping with a spatula, being careful not to deflate the mixture. Perform this step until everything is well integrated, which should take about 1-2 minutes. This addition gives your Simple Easter Dip a fluffy and airy texture, making it even more delightful.
Step 4: Mix in the Food Coloring
Add a few drops of pink food coloring to the dip and mix gently until you achieve your desired pastel hue. This should take just 30 seconds to 1 minute of folding. The beautiful color will make your dip eye-catching as it brings a festive cheer to any spring table setting.
Step 5: Add Sprinkles or Mini Candies
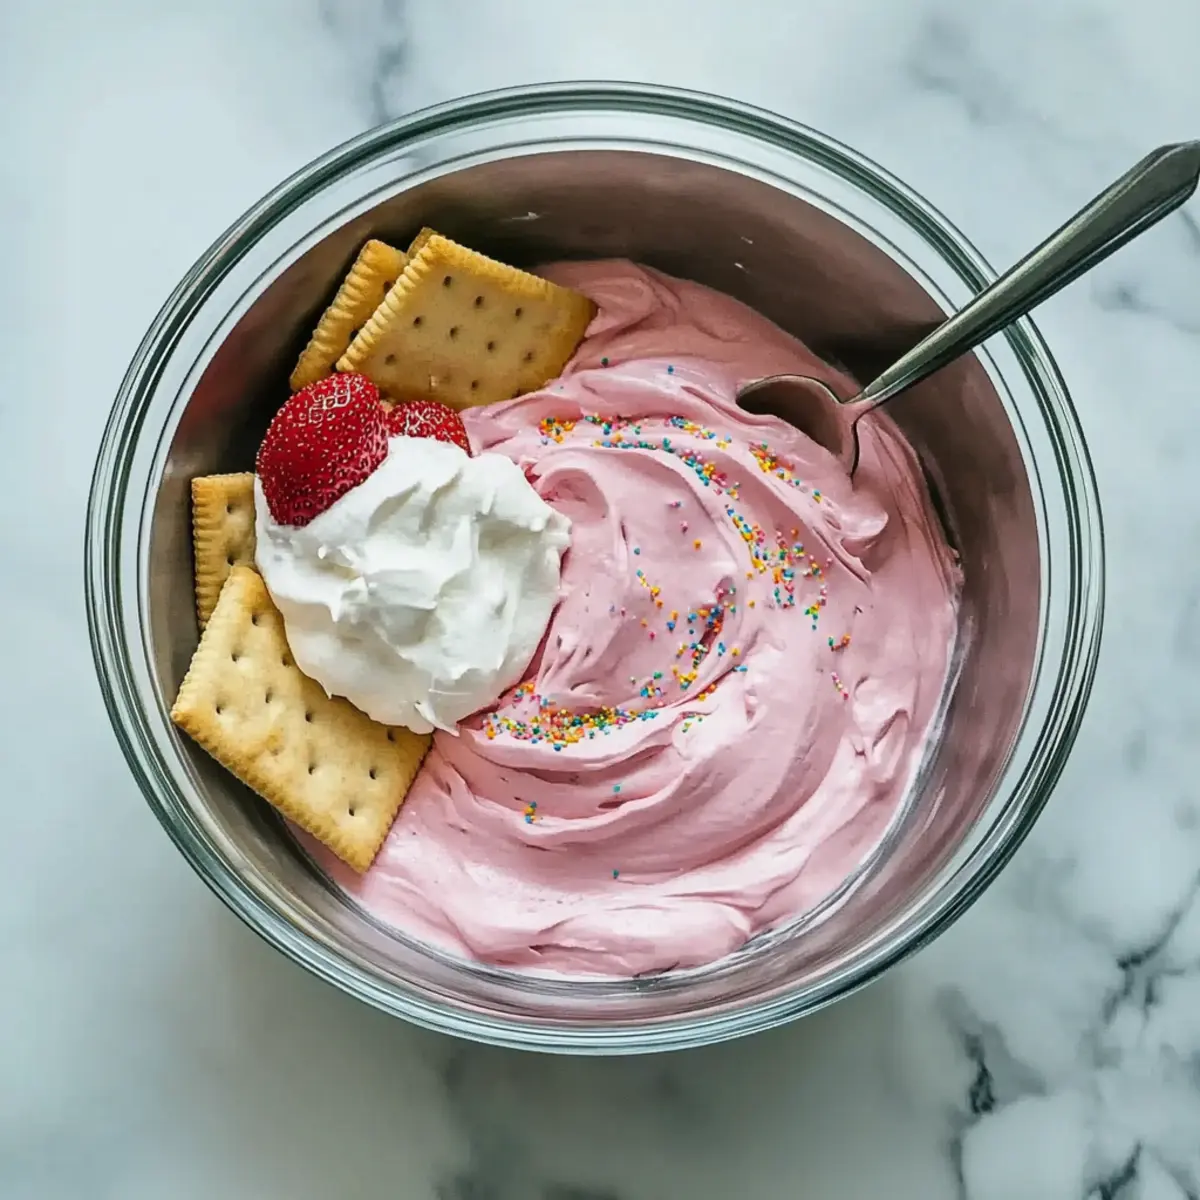
Carefully fold in half of your sprinkles or mini candies, ensuring they are evenly distributed throughout the dip. Reserve some for topping later. This step should take about 1 minute and will add both flavor and a playful element to your Simple Easter Dip.
Step 6: Chill the Dip
Transfer the mixture to a serving bowl and cover it with plastic wrap. Place it in the refrigerator to chill for at least 30 minutes. This chilling time allows the flavors to meld beautifully and helps firm up the dip, ensuring a creamy yet stable texture when served.
Step 7: Serve with Assorted Dippers
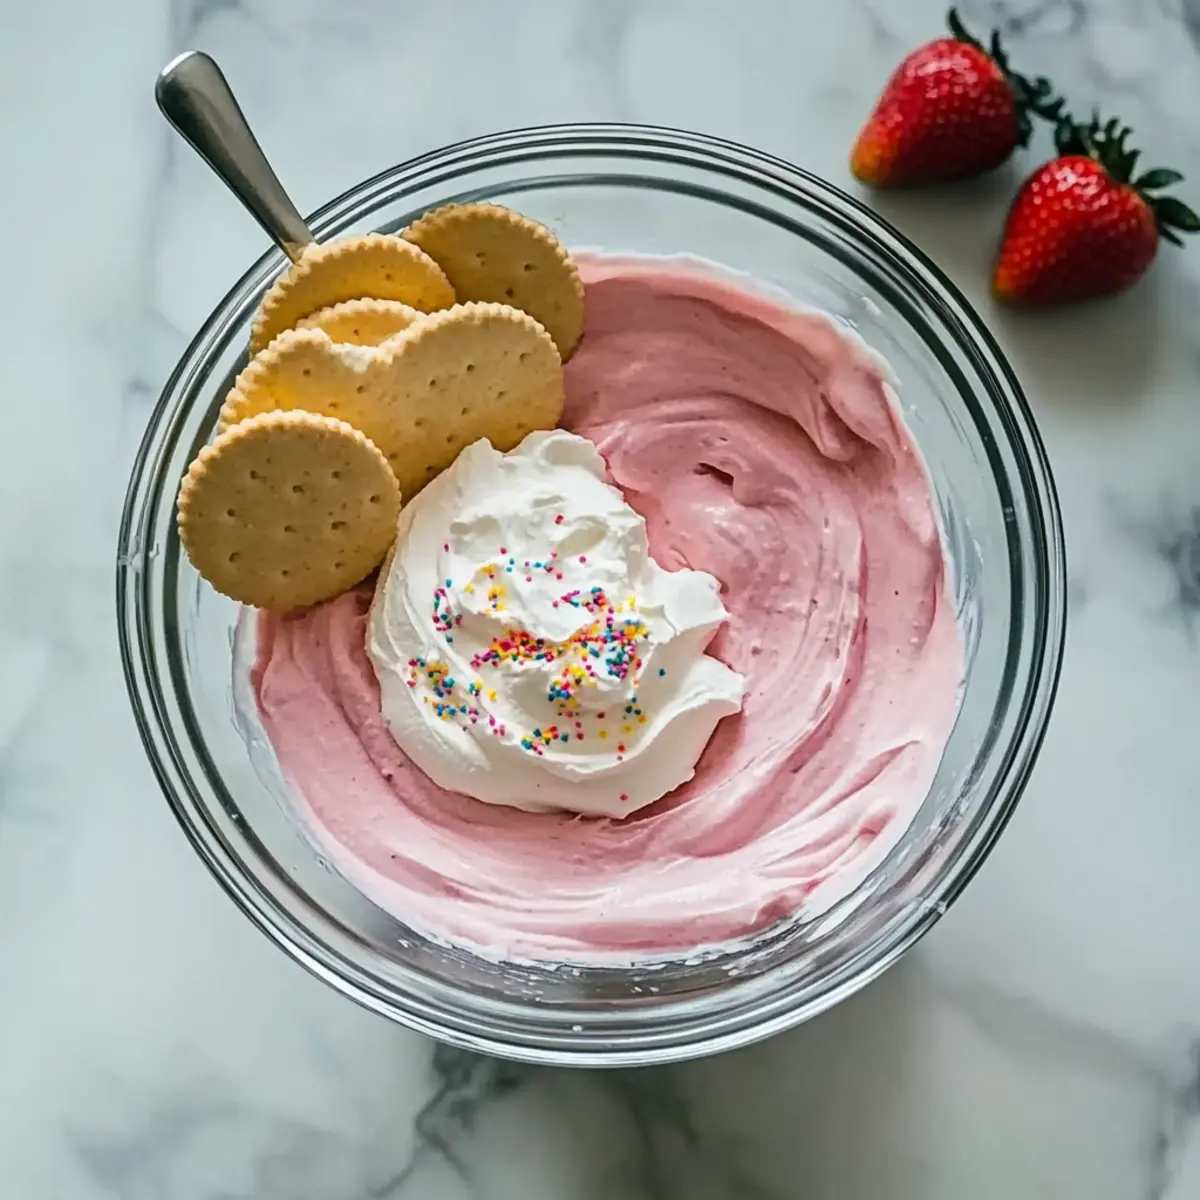
Once chilled, remove the dip from the refrigerator and top it with the reserved sprinkles or candies for that extra festive touch. Serve it alongside a variety of dippers such as graham crackers, pretzels, and fresh strawberries. Your Simple Easter Dip is now ready to impress your guests!
What to Serve with Simple Easter Dip
This delightful Easter Dip invites a burst of flavors and textures, ensuring your spring celebration is a feast for the senses.
- Fresh Strawberries: Their sweetness and juiciness create a perfect contrast to the creamy dip, making every bite a delightful experience.
- Graham Crackers: Offering a crunchy texture, these are ideal for dipping and lend a slight nuttiness that complements the sweetness.
- Mini Pretzels: The salty crunch of pretzels balances the rich flavors of the dip, enhancing the overall palate experience.
- Marshmallow Fluff: As an extra treat, serving alongside fluff allows for a unique, s’mores-inspired twist to your dipping options.
- Fruit Skewers: Fresh fruit skewers with melons and kiwis add a colorful touch and freshness that lightens the dessert experience.
- Chocolate Drizzle: A light drizzle of melted chocolate over the dip can elevate the sweetness, adding richness and an extra layer of flavor.
- Cheesecake Bites: These decadent bites harmonize beautifully with the dip’s flavors, creating a luxurious pairing for dessert lovers.
- Cookies: Offer a selection of cookies like snickerdoodles or sugar cookies to bring in a variety of flavors and textures that pair wonderfully with the dip.
- Sparkling Lemonade: A refreshing drink to cleanse the palate, sparkling lemonade adds a zesty touch that matches the festive vibes of your gathering.
Simple Easter Dip Variations
Customize this delightful Easter Dip to suit your taste and dietary desires, making every gathering even more special!
-
Vegan Option: Substitute cream cheese with a dairy-free alternative, such as cashew or coconut cream cheese, ensuring everyone can enjoy this festive treat.
-
Flavor Boost: Incorporate flavored whipped toppings like chocolate or strawberry for an unexpected twist that’ll tantalize your taste buds. The added flavor will complement the sweet base beautifully!
-
Texture Twists: Swap sprinkles for crushed cookies or mini marshmallows, providing a fun crunch or a chewy surprise in each bite. This makes every dip even more exciting and gives it a homemade touch.
-
Chocolate Drizzle: Drizzle with melted chocolate or chocolate syrup right before serving for a decadent touch that enhances both flavor and presentation. The rich chocolate adds a luxurious finish that is irresistible!
-
Citrus Zing: Add lemon or orange zest to provide a fresh, tangy flavor that beautifully contrasts the sweetness of the dip. It’s a bright burst that elevates this simple recipe into a refreshing delight!
-
Fruit Fusion: Fold in finely chopped fresh fruits like strawberries or blueberries for natural sweetness and a colorful aesthetic—perfectly complementing the creamy base.
If you’re on the lookout for more ingenious dip ideas, try my delightful Buffalo Chicken Dip or the slow-cooked goodness of my Crockpot Buffalo Chicken Dip.
Make Ahead Options
These Simple Easter Dip preparations are a game changer for busy hosts! You can make the dip base up to 24 hours in advance by following all the initial steps (mixing the cream cheese, powdered sugar, and vanilla, then folding in the whipped topping and food coloring). Store it in an airtight container in the refrigerator to keep it fresh and flavorful. Just remember to add the sprinkles right before serving, as this ensures they retain their vibrant colors and crunchy texture. When you’re ready to enjoy, simply take it out of the fridge, top with the sprinkles, and serve with your favorite dippers. This way, you can spend more time with your guests and less time in the kitchen!
Expert Tips for Simple Easter Dip
-
Soften Cream Cheese: Ensure your cream cheese is fully softened at room temperature for a smooth, lump-free dip consistency.
-
Gentle Mixing: Fold in the whipped topping and sprinkles carefully to maintain the dip’s airy texture; avoid over-mixing.
-
Chill Time: Don’t skip the chilling step! Allowing at least 30 minutes for the flavors to meld ensures a firmer, more enjoyable dip.
-
Color Variance: Adjust food coloring according to your theme—feel free to experiment with pastel shades for seasonal flair!
-
Flavor Twists: Consider adding a hint of lemon zest or flavored whipped topping to personalize your Simple Easter Dip beyond the basic recipe.
How to Store and Freeze Simple Easter Dip
Fridge: Store any leftover Simple Easter Dip in an airtight container in the refrigerator, where it will stay fresh for up to 2 days.
Freezer: For longer storage, freeze the dip in a freezer-safe container for up to 2 months. Thaw in the fridge overnight before serving.
Reheating: This dip is best served chilled or at room temperature, so avoid reheating. Just allow it to come back to temp after freezing for optimal texture.
Make-Ahead: Prepare the dip a day in advance and store in the fridge to let the flavors meld, making it perfect for stress-free entertaining!
Simple Easter Dip Recipe FAQs
How do I select ripe ingredients for my Simple Easter Dip?
Absolutely! The key to a delicious Simple Easter Dip starts with choosing fresh, high-quality ingredients. For the cream cheese, look for blocks that are soft and not overly cold. If you’re using fresh toppings like strawberries, choose ones that are bright red with no dark spots or mushiness. For sprinkles, ensure they are fresh and vibrant in color, as this contributes to the festive presentation.
How should I store leftovers of my Simple Easter Dip?
Very easy! Store any remaining Simple Easter Dip in an airtight container in the refrigerator. It can stay fresh for up to 2 days. For the best flavor and texture, I suggest consuming it within the first 24 hours after making it.
Can I freeze my Simple Easter Dip?
Certainly! If you want to make the dip ahead of time, you can freeze it in a freezer-safe container for up to 2 months. To freeze, ensure it’s well sealed to avoid freezer burn. When you’re ready to enjoy it, simply transfer it to the fridge to thaw overnight. Let it come to room temperature before serving to restore its creamy texture.
What if my dip is too thick or lumpy?
Don’t worry, it happens! If your Simple Easter Dip is thicker than you’d like, you can add a splash of milk or cream to loosen it up. Just a tablespoon at a time, mixing it in will help achieve that perfect consistency. If lumps persist, re-beat the dip with an electric mixer to smooth it out before serving.
Are there any dietary considerations I should keep in mind when making this dip?
Absolutely! This recipe can easily cater to various dietary needs. For a vegan option, substitute the cream cheese with a plant-based alternative and use a non-dairy whipped topping. Always check the packaging of any ingredients for potential allergens like gluten or nuts, especially if serving guests with specific dietary restrictions.
Sweet and Simple Easter Dip That Everyone Will Love
Ingredients
Equipment
Method
- Beat the cream cheese in a large mixing bowl until smooth and creamy, about 2-3 minutes.
- Gradually add the powdered sugar and vanilla extract, mixing on low speed for about 2 minutes.
- Fold in the whipped topping gently until well integrated, about 1-2 minutes.
- Mix in the food coloring until you achieve the desired pastel hue, about 30 seconds to 1 minute.
- Carefully fold in half of the sprinkles or mini candies, reserving some for topping.
- Transfer to a serving bowl, cover with plastic wrap, and chill for at least 30 minutes.
- Serve with assorted dippers like graham crackers, pretzels, and fresh strawberries.
Leave a Reply