
You won’t believe how easily you can satisfy your sushi cravings without the hassle of rolling and slicing. This Easy Sushi Bake transforms all the delicious elements of traditional sushi into a cozy, family-friendly casserole that’s perfect for any gathering. With a base of seasoned sushi rice and a creamy fish mixture, it’s both comforting and customizable, letting everyone tailor it to their tastes. Whether your loved ones prefer classic canned salmon or want to give imitation crab a whirl, this recipe has everyone covered. Plus, it’s a fantastic way to bring the joy of homemade sushi to your kitchen in under an hour. Are you ready to elevate your dinner routine with a dish that’s sure to be a crowd-pleaser?
Why Is This Sushi Bake a Must-Try?
Family-Friendly: This dish is a game-changer for busy weeknights, providing all the sushi flavors in a hassle-free format that kids and adults will love.
Customizable Toppings: Let everyone join in on the fun by tweaking their personal portions with their favorite ingredients, just like a sushi bar at home!
Quick Prep Time: Whip this up in under an hour, making it the perfect solution for inviting friends over or satisfying your own cravings without the long wait.
Savory and Creamy: The balance of creamy fish and flavorful rice creates a comforting dish that’s as inviting as it is delicious.
Leftover-Friendly: Not enough for a second serving? Not to worry! Leftovers can be easily stored and reheated, retaining that delightful texture and taste.
Enjoy this recipe alongside other crowd favorites like the Cheese Veggie Bake or the Baked Italian Sub for a well-rounded meal!
Sushi Bake Ingredients
For the Rice Base
• Sushi Rice – Use short-grain sushi rice for the best stickiness; long-grain works in a pinch but won’t hold as well.
• Rice Vinegar – Essential for seasoning; no substitutes recommended for authentic flavor.
• Sugar – Balances the acidity of the vinegar; honey or maple syrup can be used as alternatives if preferred.
• Salt – Enhances overall flavor; either sea salt or table salt works great here.
For the Fish Mixture
• Canned Salmon – The main protein source; feel free to swap in imitation crab for a milder taste.
• Cream Cheese – Adds creaminess and binds the mixture; opt for low-fat if you want a lighter option.
• Mayonnaise – Improves texture and creaminess; Japanese mayo is ideal for authenticity but regular works too.
• Sriracha Sauce – Gives it a spicy kick; adjust the quantity according to your spice preference, or use chili paste if you like.
• Soy Sauce – Brings umami depth; Tamari can be used as a gluten-free substitute.
• Mirin – Elevates the flavor, though it’s optional; omitting it is fine, but you’ll miss out on some depth.
For the Toppings
• Nori Sheets – Adds traditional sushi flavor; seaweed snacks can be a suitable alternative if nori isn’t available.
• Avocado – Used for creaminess in toppings; sliced cucumber or radishes can provide a nice crunch instead.
• Cucumber – Brings a fresh, crisp texture; zucchini or bell pepper are great substitutes if you prefer.
• Green Onions – Offers mild onion flavor and garnish; shallots or chives can be great substitutes as well.
• Sesame Seeds – Adds visual appeal and a slight crunch; you can use untoasted nuts as a substitute.
For the Finishing Touch
• Spicy Mayo – A customizable drizzle made by mixing mayonnaise with sriracha; adjust based on your spice level desire.
Bring all the delicious layers together in this delightful sushi bake for a cozy family meal everyone will love!
Step‑by‑Step Instructions for Sushi Bake
Step 1: Cook the Rice
Begin by rinsing 2 cups of sushi rice under cold water until the water runs clear, then transfer it to a rice cooker. Add the appropriate amount of water (generally 2 cups), and cook according to the rice cooker instructions. Alternatively, use a pot on the stovetop; bring the rice and water to a boil, then reduce the heat and simmer covered for about 18 minutes until tender and sticky.
Step 2: Season the Rice
Once the rice is cooked, transfer it to a large bowl while it’s still hot. Gently mix in 1/4 cup of rice vinegar, 2 tablespoons of sugar, and 1 teaspoon of salt. Allow it to rest for 10 minutes, covered with a clean kitchen towel, to absorb the flavors. The sushi rice should look shiny and have a slightly sticky texture, making it perfect for the sushi bake.
Step 3: Prepare Fish Mixture
In a separate bowl, combine the drained canned salmon or imitation crab, 8 ounces of cream cheese, 1/4 cup of mayonnaise, 2 tablespoons of soy sauce, and 1 tablespoon of sriracha. Mix thoroughly until all ingredients are well blended and creamy. This fish mixture will add richness and flavor to the sushi bake, creating a delightful contrast with the seasoned rice.
Step 4: Layer Ingredients
Preheat your oven to 375°F (190°C). In a 9×13 inch baking dish, layer the prepared sushi rice evenly across the bottom. Then, spread the fish mixture over the rice, smoothing it out with a spatula for an even layer. The rice acts as a base, and this combination gives a beautiful layered appearance to your sushi bake.
Step 5: Bake
Place the baking dish in the preheated oven and bake for approximately 20 minutes, or until the edges start to bubble and the top turns slightly golden. This baking process warms through the layers and melds the flavors perfectly, ensuring your sushi bake is deliciously comforting and gooey.
Step 6: Add Toppings
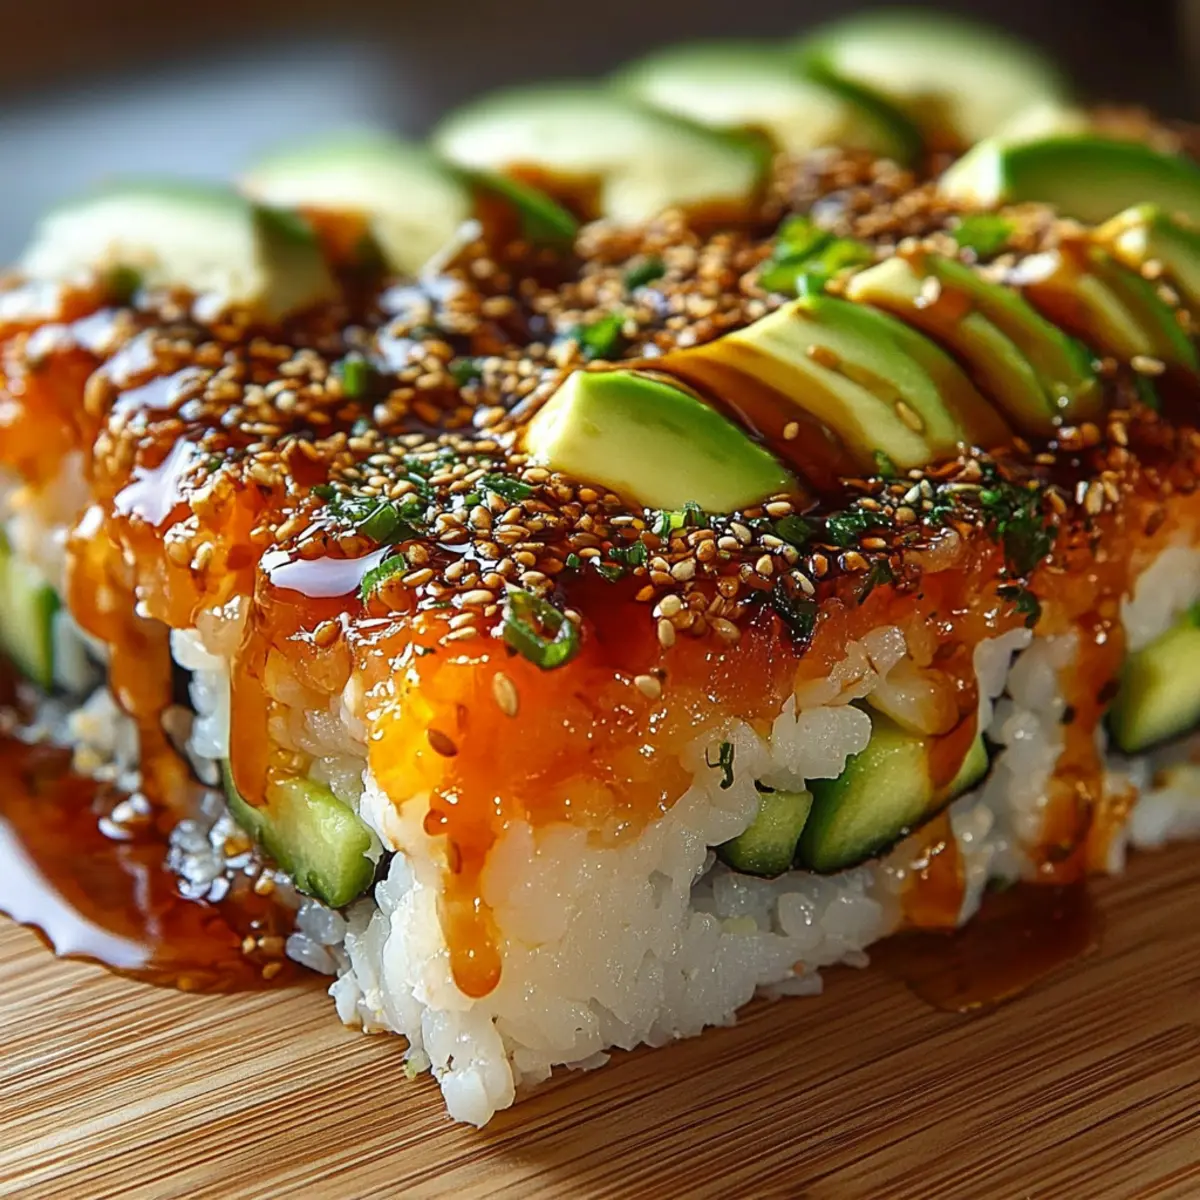
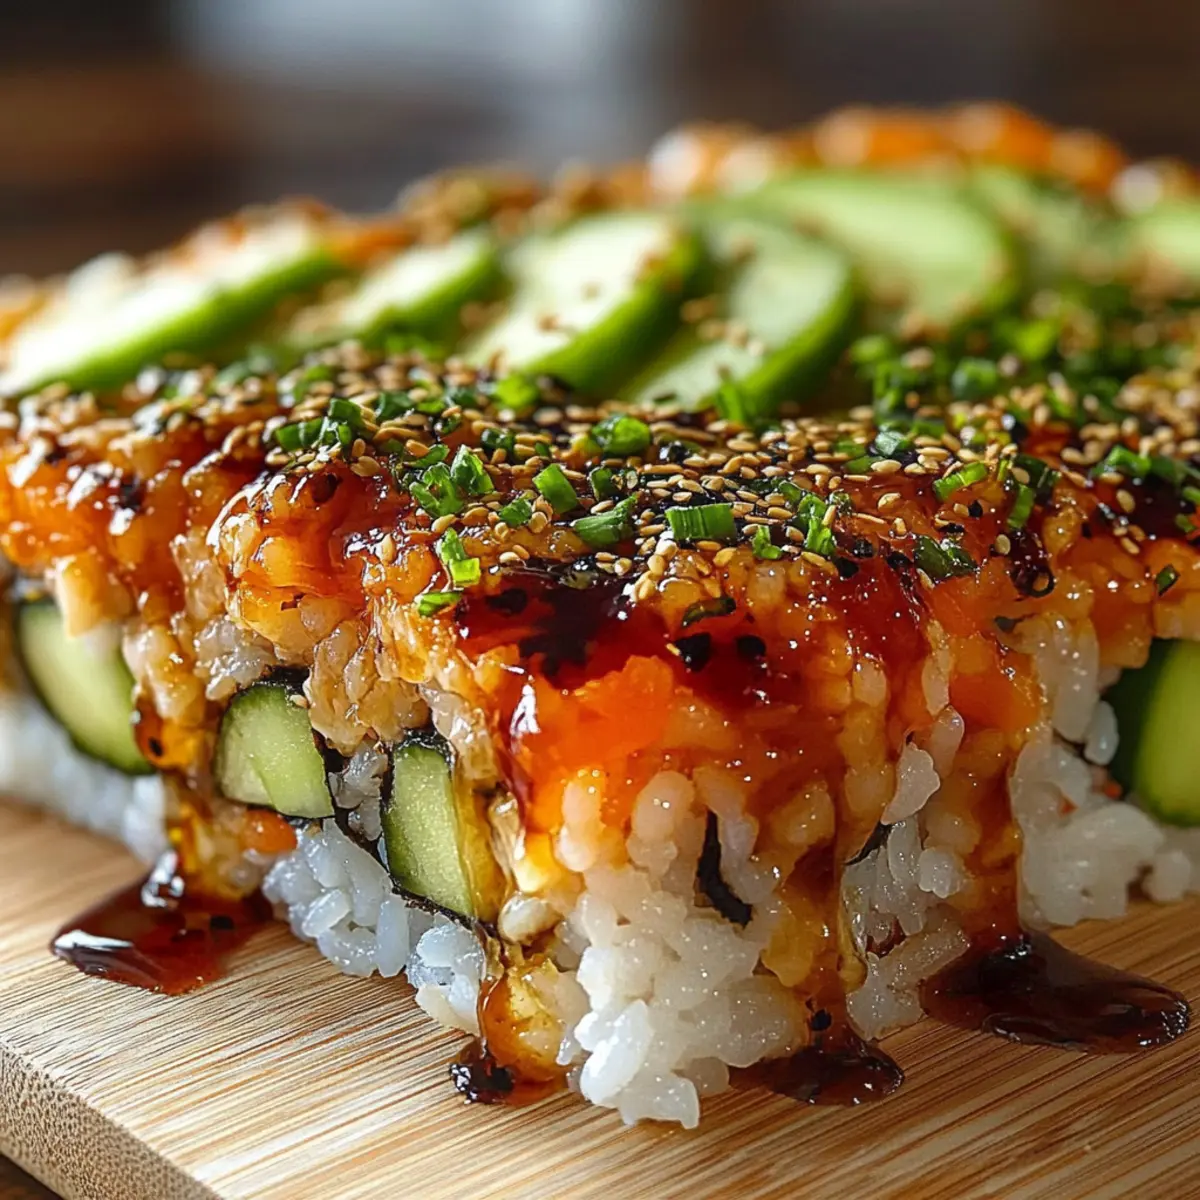
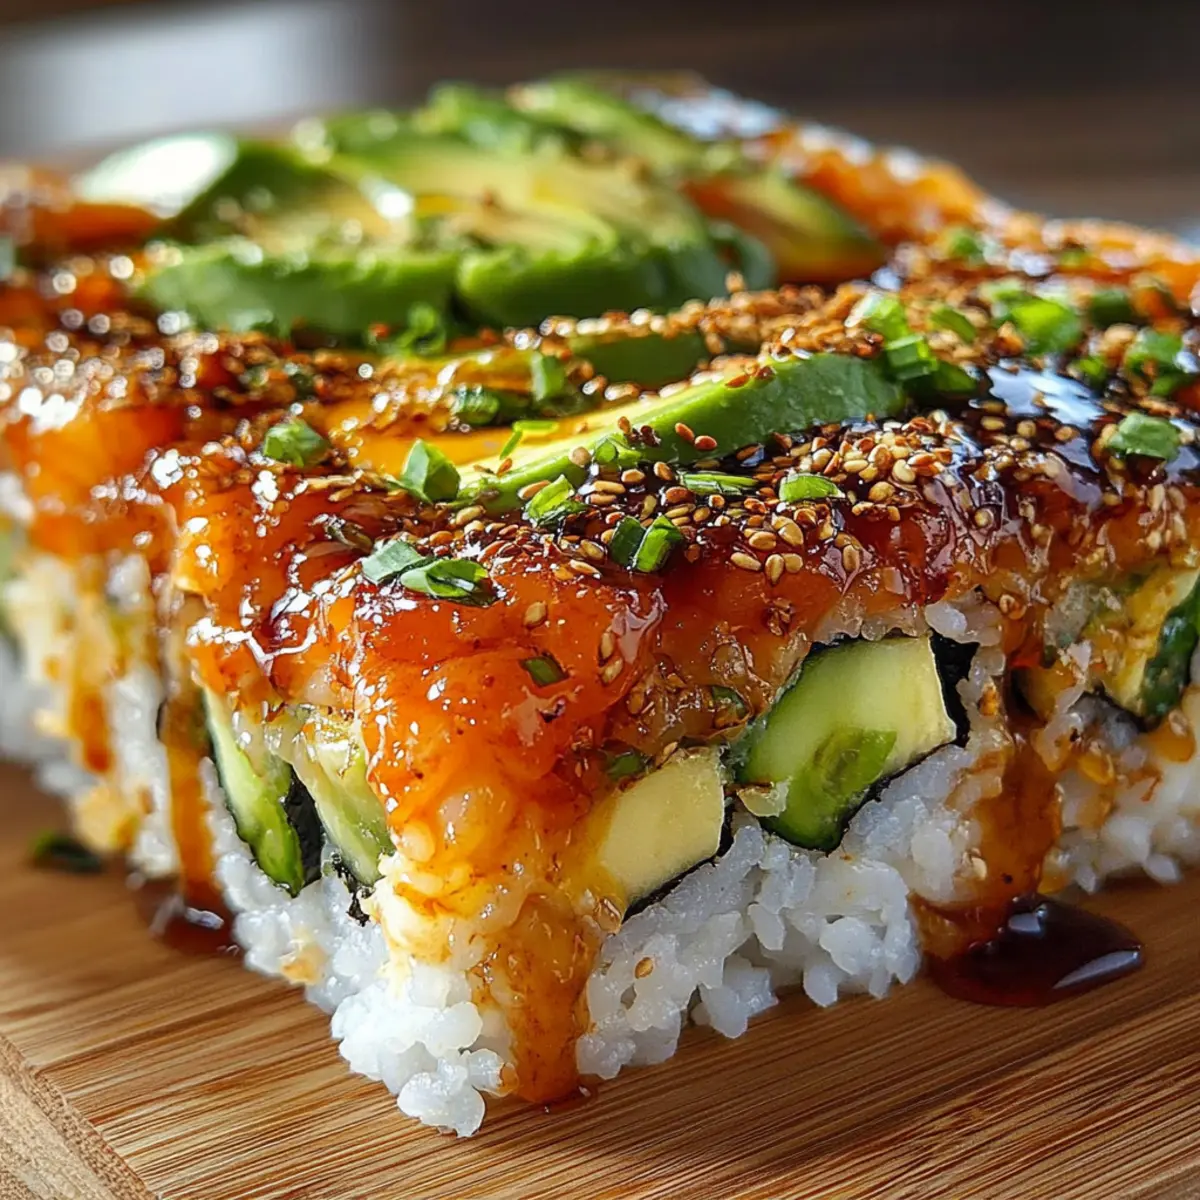
After removing the sushi bake from the oven, top it with the sliced avocado, cucumber, and your choice of additional toppings, such as green onions and sesame seeds. Drizzle the spicy mayo over the top for a final touch. These fresh toppings add vibrant color and texture, making your sushi bake not only flavorful but visually appealing as well.

Storage Tips for Sushi Bake
Fridge: Keep leftovers in an airtight container for up to 3 days; this helps maintain freshness while preserving the delightful flavors of the sushi bake.
Freezer: For longer storage, place the cooled sushi bake in a freezer-safe container; it can be frozen for up to 2 months.
Reheating: When ready to enjoy, thaw in the fridge overnight and reheat in a preheated oven at 350°F (175°C) for about 15–20 minutes until heated through.
Serving Cold: Enjoy leftover sushi bake cold as a delicious snack or quick meal the next day; a sprinkle of sesame seeds can add a nice finishing touch!
Sushi Bake Variations & Substitutions
Feel free to let your creativity shine by customizing this delicious sushi bake recipe to suit your preferences and dietary needs!
-
Seafood Swap: Replace canned salmon with shredded cooked chicken or tofu for a lighter, non-seafood option. This twist still delivers on flavor while offering a different protein base.
-
Vegetarian Delight: Use a mix of sautéed mushrooms and zucchini instead of seafood for a hearty vegetarian alternative. The vegetables add a lovely umami flavor that complements the rice beautifully.
-
Flavor Boost: Add crispy tempura flakes on top for an extra crunch and a burst of flavor. This simple addition transforms your sushi bake into a delightful textural experience!
-
Extra Creamy: For those who love a richer sauce, blend in some cream cheese and avocado into the fish mixture. It adds creaminess that elevates the dish even more.
-
Heat It Up: Increase the spice level by adding more sriracha or including fresh chopped jalapeños in the fish mixture. This gives your sushi bake a lovely heat that will thrill any spice lover.
-
Miso Magic: Stir in a spoonful of miso paste to the fish mixture for an umami explosion. It’s a great way to enhance the flavor profile, providing depth that’s incredibly rewarding.
-
Crunchy Toppings: Experiment with different toppings like crushed seaweed snacks or pickled ginger for a fun flavor accent. Each adds a unique twist and elevates the visual appeal.
-
Sushi Style: If you want to enjoy the classic sushi experience, serve your sushi bake alongside soy sauce, wasabi, and pickled ginger as dipping options. It makes for an interactive meal!
For even more comforting recipes, consider trying the Cheese Veggie Bake or the Baked Italian Sub, both perfect for your next family gathering!
What to Serve with Easy Sushi Bake
Creating a memorable meal is all about the right accompaniments, and these suggestions will elevate your sushi bake experience to new heights.
- Miso Soup: This warm, umami-rich soup pairs perfectly with sushi, complementing the flavors and enhancing the meal’s comfort.
- Seaweed Salad: Crisp and refreshing, this salad exists as a light, tangy counterpoint to the rich, creamy sushi bake, adding texture and nutrients.
- Pickled Ginger: Offering a zingy contrast, pickled ginger cleanses the palate between bites, enhancing your enjoyment of the sushi flavors.
- Crispy Tempura Vegetables: The light, crunchy texture of tempura provides a delightful contrast to the gooey layers of the sushi bake, for a fun, multi-textured meal.
- Sushi Rolls: Complete the feast! Serve simple cucumber or California rolls alongside for a dose of traditional sushi experience. They add beautiful color and flavor harmony.
- Chilled Sake: This traditional Japanese rice wine serves as a lovely beverage pairing, enhancing the meal with its smooth and aromatic profile.
- Sweet Matcha Dessert: End on a sweet note. Delicate green tea-flavored sweets offer a treat that resonates with the exotic flavors of your sushi bake, making every bite memorable.
- Asian Cucumber Salad: This fresh, crunch-infused salad will get your taste buds dancing, while balancing out the richness of the sushi bake with its bright vinaigrette.
- Homemade Lemonade: Keep it refreshing and light! A zesty lemonade quenches thirst while offering a bright complement to your savory meal.
Expert Tips for the Best Sushi Bake
• Rice Resting Time: Allow the rice to rest for 10 minutes after seasoning; this crucial step ensures maximum flavor absorption for a better sushi bake.
• Use Hot Rice: Incorporate hot sushi rice when layering. It helps everything stick together beautifully and enhances the overall texture.
• Topping Variety: Customize your toppings based on family preferences, avoiding ingredient clashes. Having everyone choose their favorites makes the experience more enjoyable!
• Avoid Overbaking: Keep an eye on your sushi bake; overbaking can lead to a dry texture. Look for bubbly edges and a slight golden top for the best result.
• Storage Know-How: If you have leftovers, store them in an airtight container in the fridge, and reheat in the oven to maintain that delicious gooey goodness.
• Experiment Wisely: Don’t be afraid to mix things up with different proteins or toppings. Just remember, the balance of flavors is key to a successful sushi bake!
Make Ahead Options
These Easy Sushi Bake preparations are perfect for busy home cooks looking to save time during the week! You can prepare the seasoned sushi rice and the creamy fish mixture up to 24 hours in advance. Simply cook and season the rice, then store it in an airtight container in the refrigerator. Combine the fish mixture and keep it in another container. When you’re ready to assemble and bake, layer the rice and fish mixture in your baking dish, then place it in a preheated oven at 375°F for about 20 minutes. This ensures that your sushi bake is just as delicious without the last-minute rush!
Sushi Bake Recipe FAQs
How do I choose the best sushi rice for my sushi bake?
Absolutely! Use short-grain sushi rice for the best stickiness and texture. It absorbs flavors better and holds up well when layered. If you’re in a pinch, long-grain rice can work, but it won’t have the same consistency.
What’s the best way to store leftovers of the sushi bake?
You can store your sushi bake in an airtight container in the refrigerator for up to 3 days. Make sure it’s cooled completely before sealing it up to maintain freshness and flavor! When ready to eat, reheat in a 350°F oven for about 15-20 minutes for the best texture.
Can I freeze the sushi bake?
Yes, indeed! To freeze, allow the sushi bake to cool completely and then transfer it to a freezer-safe container. It can be frozen for up to 2 months. When you’re ready to enjoy it, thaw in the fridge overnight and reheat in the oven at 350°F for 15-20 minutes until heated through. It’s a great way to meal prep!
What if I don’t have mirin?
No problem at all! Mirin adds a lovely depth of flavor, but if you don’t have it on hand, you can omit it without any issues. For a small substitute, you can mix a little sugar with rice vinegar to mimic the sweetness of mirin. Just remember, it won’t taste exactly the same.
Are there any dietary considerations I should be aware of?
Yes, definitely! This sushi bake includes fish, so check for seafood allergies before serving. For a vegetarian adaptation, use tofu or vegetables instead of canned salmon. Additionally, if anyone is gluten-sensitive, opt for tamari instead of soy sauce, and make sure your mayo is gluten-free.
How can I adjust the spice level of the sushi bake?
You can easily modify the heat level! Start with a smaller amount of sriracha and mix it into the fish mixture. Taste, and add more as needed until you reach your desired spice level. You can also serve it with extra spicy mayo on the side for those who love an extra kick!
Sushi Bake Delight: A Family-Friendly Twist on Tradition
Ingredients
Equipment
Method
- Rinse sushi rice under cold water until clear, then cook with water according to rice cooker instructions or simmer on stovetop for 18 minutes.
- Transfer cooked rice to a bowl, mix in rice vinegar, sugar, and salt, then let rest covered for 10 minutes.
- In a bowl, combine salmon, cream cheese, mayonnaise, soy sauce, and sriracha, mixing until creamy.
- Preheat oven to 375°F (190°C), layer sushi rice in baking dish, then spread fish mixture over.
- Bake for 20 minutes until bubbly and golden on top.
- Add avocado, cucumber, and desired toppings, then drizzle with spicy mayo.
Leave a Reply