
As the enticing aroma of roast chicken fills the kitchen, I can’t help but feel transported back to those cozy family dinners, where every meal felt like a hug for the soul. Today, I’m excited to share my Garlic Butter Baked Chicken Thighs recipe, a weeknight favorite that infuses a subtle richness with each bite. With just a handful of ingredients and a mere 45 minutes on the clock, this dish ensures that busy evenings still end with a satisfying, homemade feast. The best part? It’s not only juicy and tender but also wonderfully gluten-free, inviting everyone at the table to indulge. Are you ready to elevate your weeknight meals with this easy, scrumptious recipe? Let’s dive in!
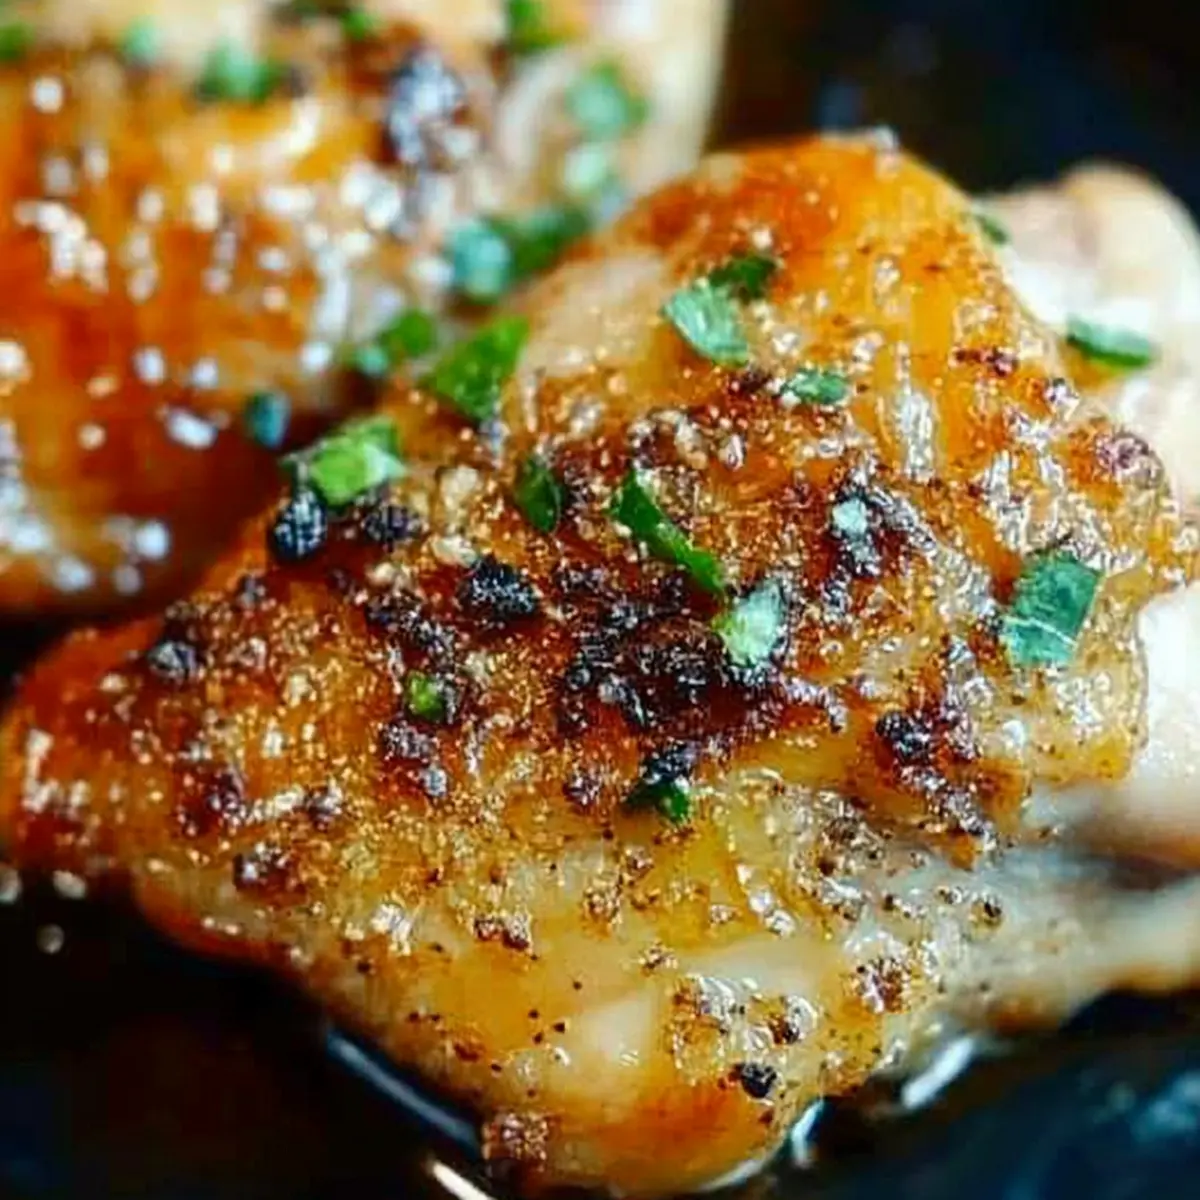
Why are Baked Chicken Thighs a Family Favorite?
Simplicity at its Best: This recipe is incredibly easy to follow, perfect for both novice and seasoned home chefs wanting to whip up a delightful meal without the stress.
Flavor Explosion: The combination of garlic and butter melds together beautifully, providing a rich sauce that seeps into the juicy chicken, leaving no bite untouched.
Versatile Options: Whether you use bone-in, skin-on thighs or opt for boneless cuts, this recipe adapts effortlessly. Try pairing it with creamy mashed potatoes or parmesan green beans for an unforgettable meal.
Quick Cooking Time: In just 45 minutes, you can serve a wholesome, homemade dinner that will impress even the pickiest eaters in your family.
Crowd-Pleasing Appeal: Easy to prepare and packed with flavor, Garlic Butter Baked Chicken Thighs are bound to be a hit at any dinner table, making them a staple in your recipe collection!
Baked Chicken Thighs Ingredients
For the Chicken
• Chicken Thighs – Bone-in, skin-on is recommended for ultimate juiciness and flavor; boneless thighs can be used with adjusted cooking time.
For the Seasoning
• Salt – Essential for enhancing the chicken’s flavor; feel free to adjust based on preference.
• Black Pepper – Adds depth to the dish; freshly cracked is best for maximum taste.
For Searing and Sauce
• Olive Oil – Used for searing, ensuring a crispy skin without burning.
• Butter – Unsalted is preferred for a richer garlic sauce; reduce salt if using salted butter.
• Garlic – Fresh cloves deliver vibrant flavor; avoid pre-minced garlic as it can burn easily.
For Garnish
• Fresh Parsley – Brightens the dish and adds a pop of color for that appealing finish.
Step‑by‑Step Instructions for Garlic Butter Baked Chicken Thighs
Step 1: Preheat and Prepare
Begin by preheating your oven to 400°F (200°C). While the oven heats up, take your bone-in, skin-on chicken thighs and pat them dry with paper towels. This step is crucial for achieving that beautifully crispy skin. Once dry, season both sides generously with salt and black pepper, ensuring that each piece is well-coated for maximum flavor.
Step 2: Sear the Chicken
In a 10-inch cast iron skillet, heat a drizzle of olive oil over medium-high heat until shimmering. Carefully place the seasoned chicken thighs skin-side down in the skillet, ensuring they are not overcrowded. Allow them to sear for about 5 minutes until the skin turns golden brown and crispy. Now is the time to refrain from moving the chicken, as that will help maintain the crispy texture.
Step 3: Make the Garlic Butter Sauce
Once the chicken is nicely seared, turn the thighs over and reduce the heat to medium. If there’s excess fat in the pan, spoon it out, leaving just a tablespoon. Add unsalted butter and freshly crushed garlic to the skillet, stirring gently for about 30 seconds as the butter melts and the garlic becomes fragrant. The delightful aroma of garlic butter will begin to fill your kitchen.
Step 4: Bake the Chicken
Carefully transfer the skillet to the preheated oven, and let it bake for 30 minutes. Use a meat thermometer to check for doneness; the internal temperature of the chicken thighs should reach 165°F (75°C). Keep an eye on the skin—if it darkens too quickly, gently tent the chicken with aluminum foil to prevent burning while it finishes cooking.
Step 5: Rest and Serve
After baking, remove the skillet from the oven and spoon the luscious garlic butter sauce over the chicken thighs. Let them rest for about 5 minutes; this ensures the juices redistribute, making every bite juicy and tender. Finally, garnish with freshly chopped parsley for a pop of color and added freshness before serving up your delicious Garlic Butter Baked Chicken Thighs to your eagerly awaiting family!
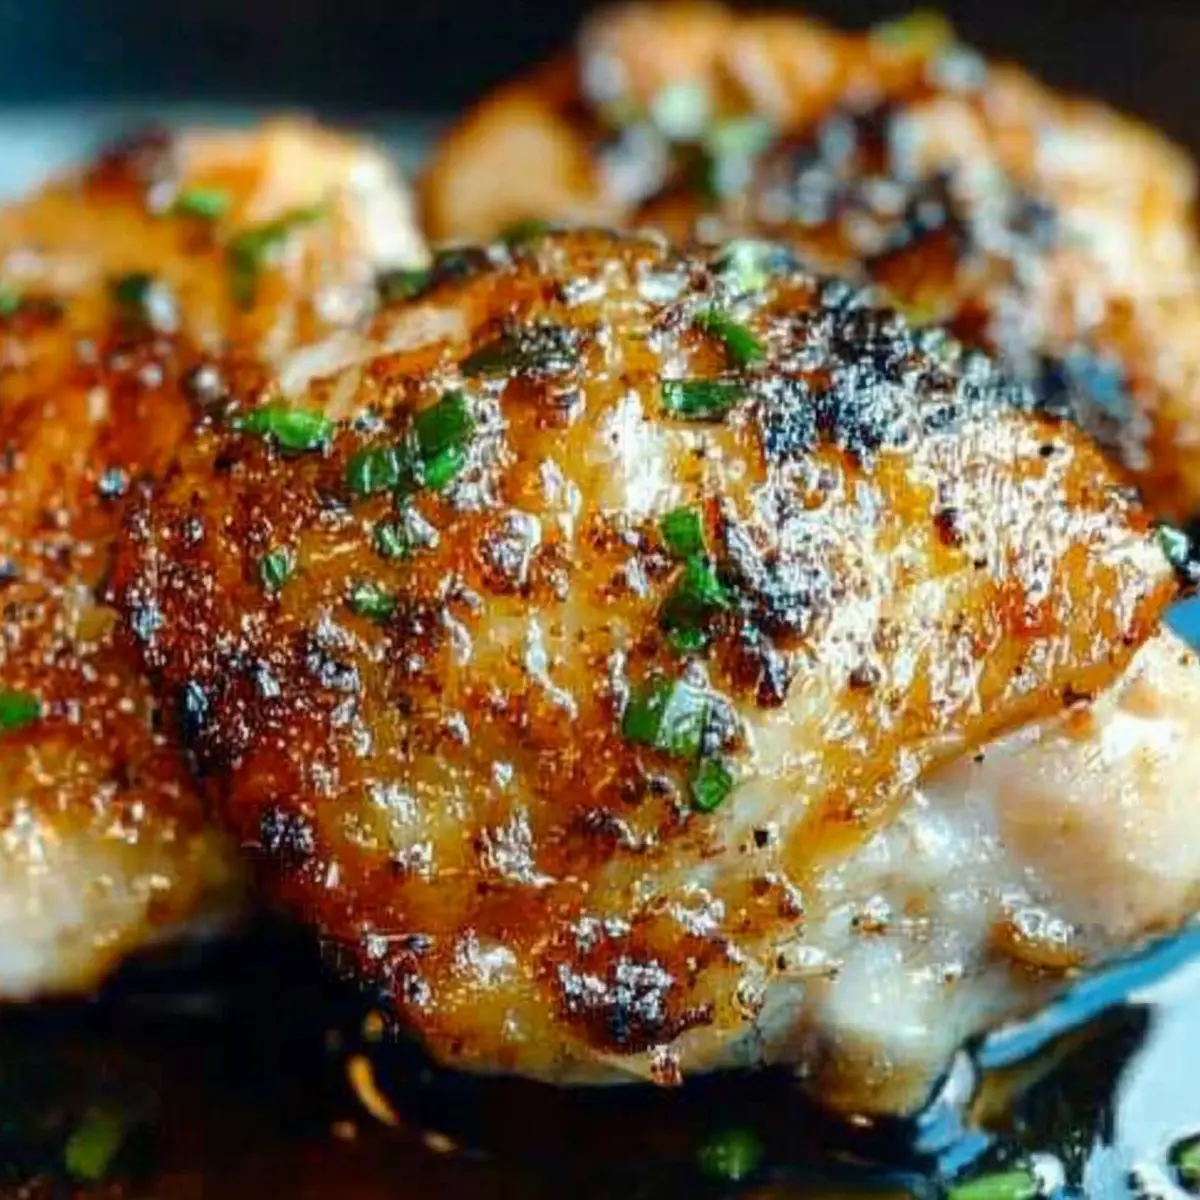
What to Serve with Garlic Butter Baked Chicken Thighs
As you savor the aroma of baked chicken wafting through the kitchen, it’s time to consider the perfect side dishes to complete your meal.
-
Creamy Mashed Potatoes: These rich potatoes act as a perfect canvas for the velvety garlic butter sauce, soaking up every drop of flavor. Their silky texture complements the crispy chicken beautifully.
-
Parmesan Green Beans: Fresh green beans lightly tossed with parmesan create a delightful crunch, balancing the dish’s richness while adding a pop of color to your plate.
-
Roasted Vegetables: A medley of seasonal vegetables roasted to caramelized perfection enhances the meal’s vibrancy, bringing fantastic flavors and nutrients to the table.
-
Cauliflower Rice: Offering a light, gluten-free option, fluffy cauliflower rice allows the chicken’s savory flavors to shine while adding a healthy touch.
-
Garlic Bread: Crunchy on the outside, soft on the inside with just enough garlic flavor, this is a fun and indulgent way to mop up that delicious buttery sauce!
-
Crisp Salad: A refreshing salad with citrusy dressing cuts through the richness of the chicken, awakening your palate with every bite.
-
Chardonnay: A glass of chilled Chardonnay pairs beautifully with the buttery flavors of the chicken, enhancing your overall dining experience.
-
Apple Crisp: End your meal on a sweet note with a warm apple crisp. Its comforting warmth offers the perfect contrast to the savory chicken, leaving your taste buds joyfully satisfied.
Make Ahead Options
These Garlic Butter Baked Chicken Thighs are perfect for meal prep enthusiasts! You can season the chicken and refrigerate it for up to 24 hours in advance, allowing the flavors to deepen (just remember to keep it covered with plastic wrap). You can also prepare the garlic butter sauce ahead of time; simply combine the melted butter and minced garlic and store it in an airtight container for up to 3 days in the refrigerator. When you’re ready to cook, simply follow the instructions to sear and bake the chicken; reheat the sauce in a small pot before drizzling it over the baked thighs. This prep approach saves you time on busy evenings while still delivering delicious, restaurant-quality results!
How to Store and Freeze Baked Chicken Thighs
Fridge: Store leftover baked chicken thighs in an airtight container for up to 4 days. Make sure they are completely cooled to retain freshness.
Freezer: For longer storage, freeze the baked chicken thighs in a freezer-safe container for up to 3 months. This preserves the juicy, tender meat for later enjoyment.
Thawing: To enjoy frozen baked chicken thighs, thaw them overnight in the refrigerator before reheating. This maintains quality and flavor.
Reheating: For best results, reheat in the oven at 350°F until heated through, ensuring the skin remains crispy and delicious.
Expert Tips for Baked Chicken Thighs
• Pat Dry: Ensuring the chicken thighs are dry is key for achieving that coveted crispy skin. Moisture leads to steaming!
• Sear Smart: Resist the urge to move the chicken while searing. This allows the skin to develop a beautiful, golden crust without losing its texture.
• Fat Management: Spoon out excess fat after searing to prevent frying the skin when adding the garlic butter, which enhances flavor without sogginess.
• Rest for Juiciness: Letting the chicken rest after baking is crucial. This step allows the juices to redistribute, ensuring juicy and tender baked chicken thighs every time.
• Reheat Properly: If you have leftovers, reheat in the oven at 350°F for the best texture. Avoid microwaving, which can make the chicken rubbery.
Baked Chicken Thighs Variations
Customize your meal and let your creativity shine as you explore these delightful twists!
-
Dairy-Free: Swap butter for dairy-free margarine or olive oil to keep the rich flavor without the dairy.
-
Herb Infusion: Use fresh thyme or rosemary instead of parsley for a fragrant herbal touch that elevates the dish.
-
Zesty Lemon: Add a splash of fresh lemon juice or some zest for a bright, citrusy contrast that balances the richness of the chicken.
-
Spicy Kick: Incorporate red pepper flakes or a dash of hot sauce into the garlic butter sauce for a delightful heat that tantalizes the taste buds.
-
Bone-In Delight: Stick with bone-in, skin-on thighs for ultimate juiciness; however, if short on time, boneless thighs can be used, just reduce the baking time accordingly.
-
Sweet Twist: Consider adding a tablespoon of honey or maple syrup to the garlic butter; it brings a lovely sweetness that pairs beautifully with the savory elements.
-
Crunchy Topping: For an extra layer of texture, sprinkle a mix of panko breadcrumbs and Parmesan cheese over the thighs before baking for a deliciously crunchy topping.
Explore these variations to make your Garlic Butter Baked Chicken Thighs experience uniquely yours, and don’t forget to pair it with sides like creamy mashed potatoes or parmesan green beans for a well-rounded feast!
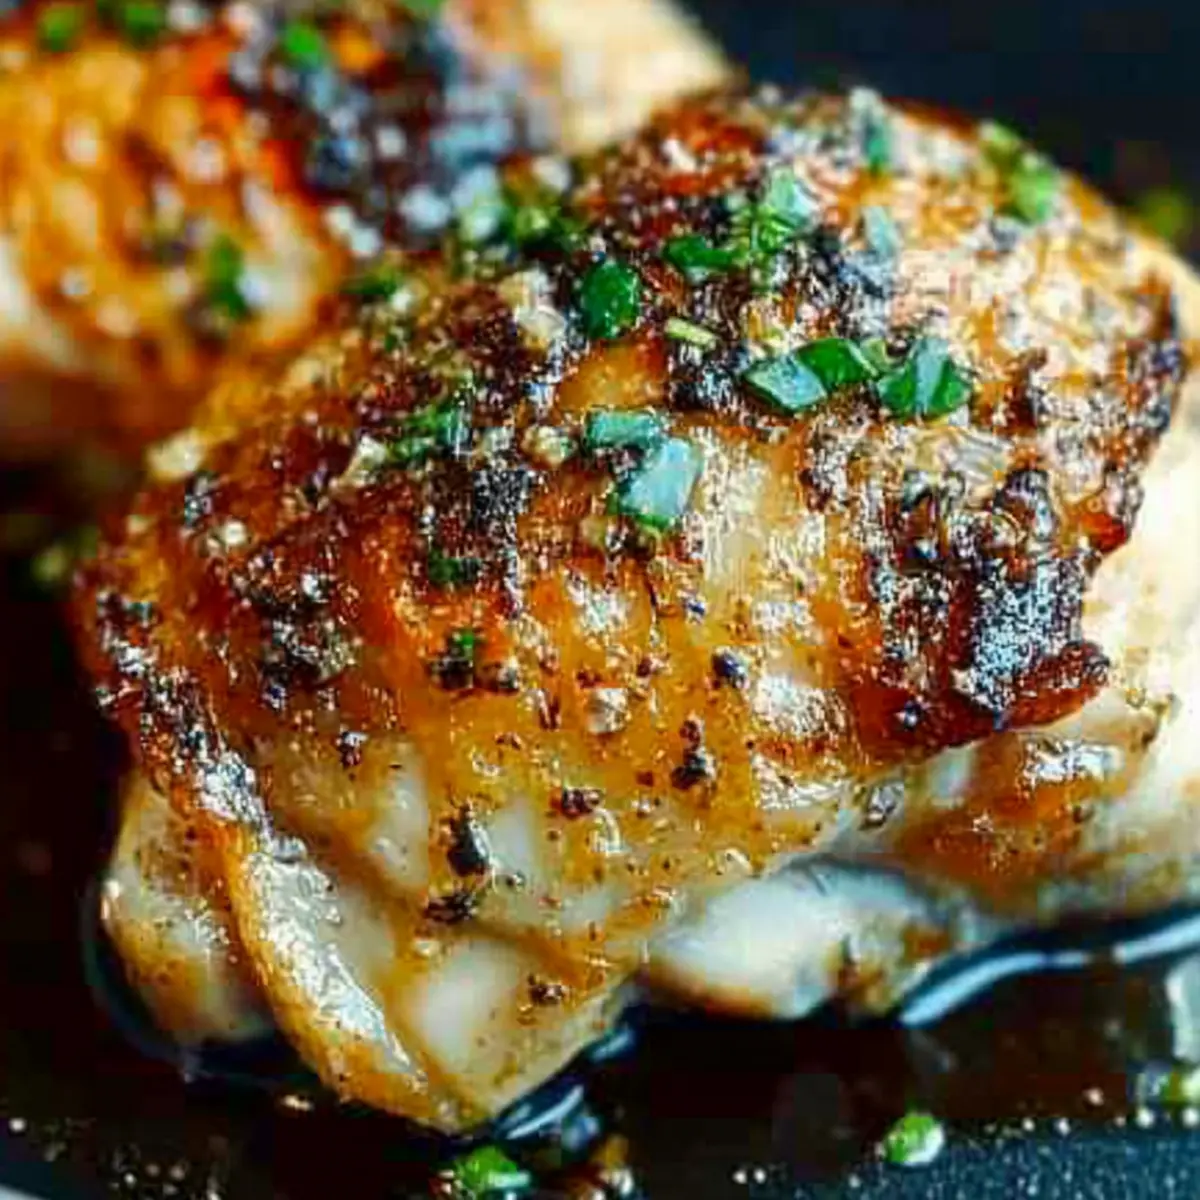
Garlic Butter Baked Chicken Thighs Recipe FAQs
How do I choose the best chicken thighs?
When selecting chicken thighs, look for those that are plump and have a rich, pink color without any dark spots or bruising. Bone-in, skin-on thighs are recommended for maximum juiciness and flavor. If you’re opting for boneless, ensure they feel firm and fresh to the touch.
How can I store leftover baked chicken thighs?
Allow the baked chicken thighs to cool completely before placing them in an airtight container. They can be refrigerated for up to 4 days. Just make sure to keep them sealed to maintain moisture and flavor, ensuring you enjoy that delicious juiciness every time!
Can I freeze baked chicken thighs?
Absolutely! Freeze your baked chicken thighs in a freezer-safe container or wrap them tightly in aluminum foil or plastic wrap for up to 3 months. For best results, let them cool completely before freezing to preserve texture. When you’re ready to enjoy, thaw them overnight in the refrigerator.
What should I do if my chicken thighs aren’t crispy?
If you find your chicken thighs aren’t crispy, it could be due to excess moisture before searing, or they may have been overcrowded in the skillet. Always pat them dry thoroughly and give them room to sear without crowding. If necessary, you can place them under the broiler for a few minutes at the end of cooking to enhance crispiness.
Are there any dietary considerations for baked chicken thighs?
This recipe is gluten-free, making it suitable for those with gluten sensitivities or celiac disease. However, if you’re cooking for pets or have allergies, ensure that no harmful ingredients are included in the garlic butter sauce, such as certain seasonings or additives. Always opt for fresh garlic, as pre-minced garlic can sometimes contain preservatives.
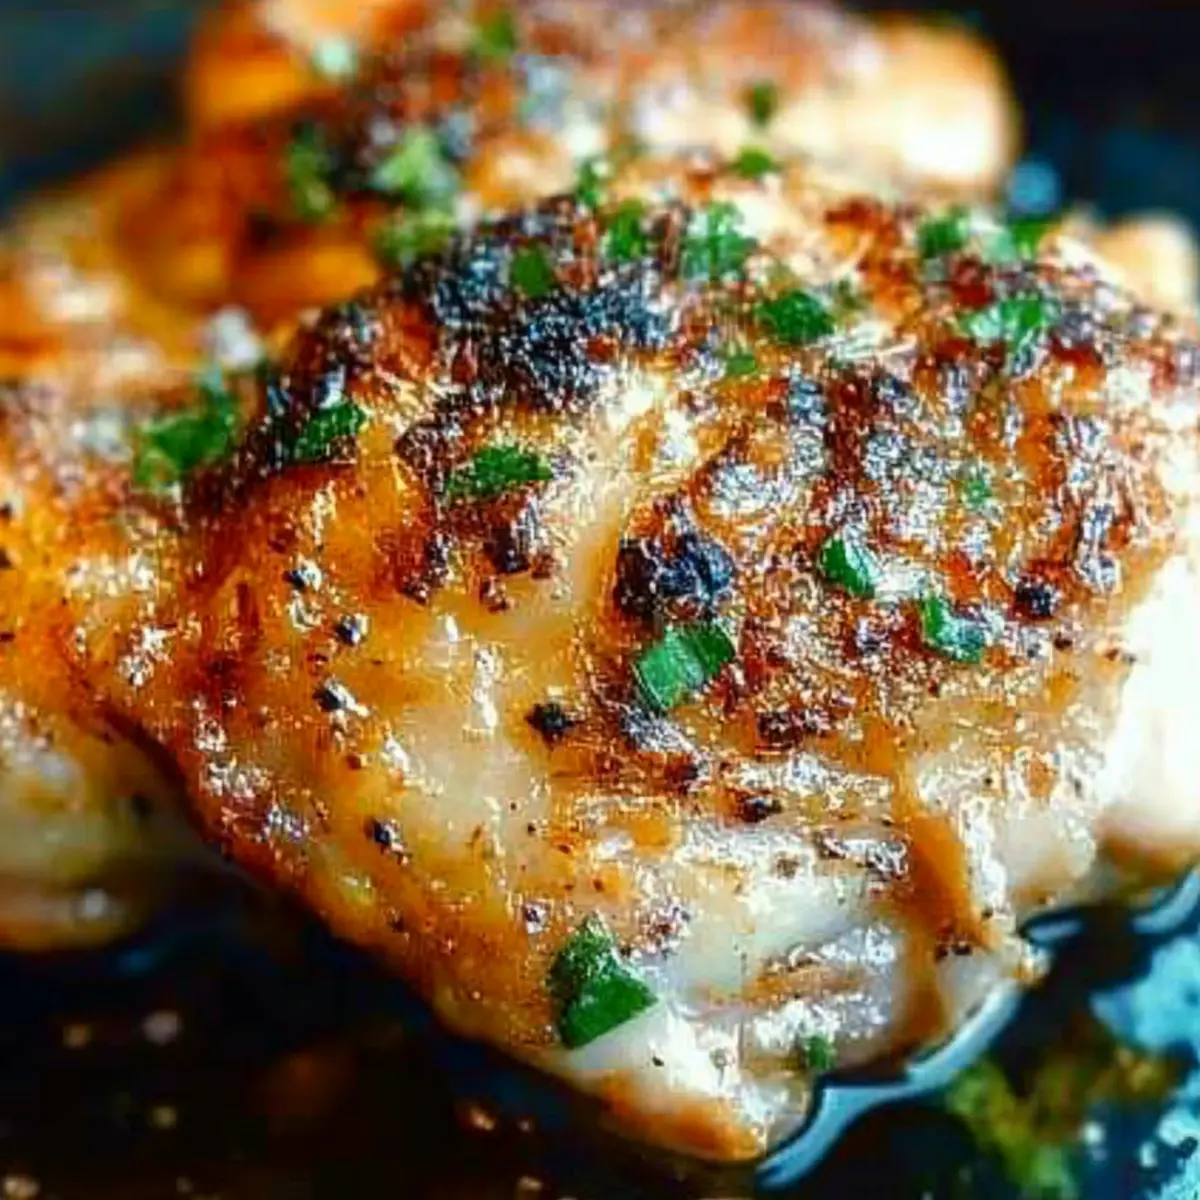
Garlic Butter Baked Chicken Thighs That Everyone Craves
Ingredients
Equipment
Method
- Preheat your oven to 400°F (200°C) and pat the chicken thighs dry. Season generously with salt and pepper.
- In a skillet, heat olive oil over medium-high heat. Sear chicken thighs skin-side down for 5 minutes until golden brown.
- Flip the chicken, add butter and garlic, and stir for 30 seconds until fragrant.
- Transfer the skillet to the oven and bake for 30 minutes, checking for doneness at 165°F (75°C).
- Remove from oven, rest for 5 minutes, and garnish with parsley before serving.
Leave a Reply