
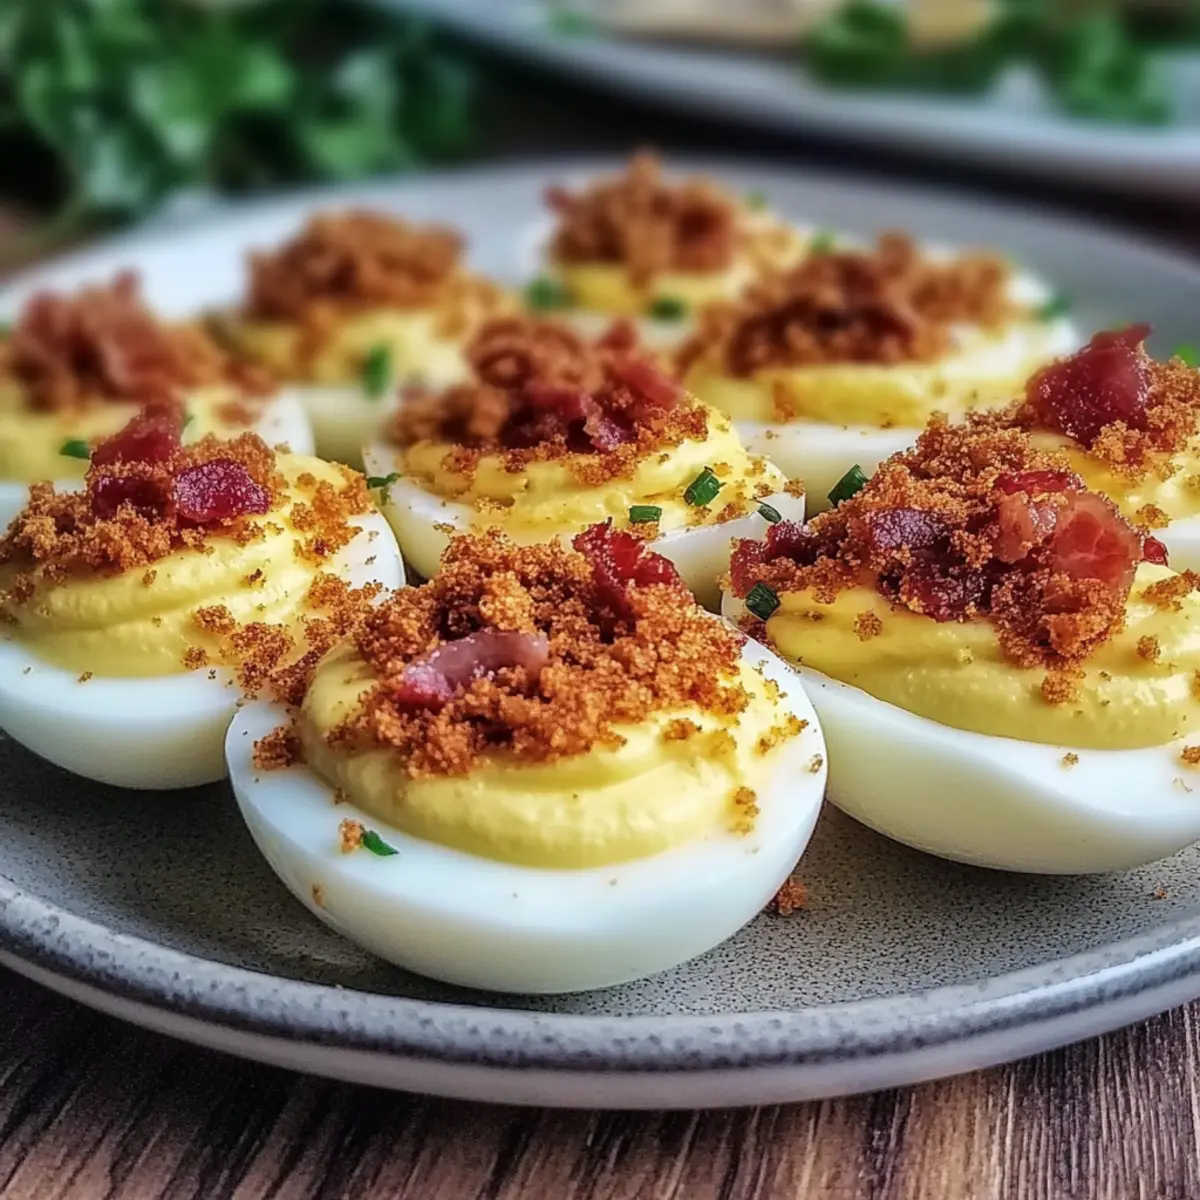
As I stood in my kitchen with a mixing bowl in hand, a tantalizing aroma of crispy bacon filled the air, instantly transporting me to summertime celebrations. There’s something special about Classic Deviled Eggs with Crispy Bacon that makes them the star of any gathering, especially for those long-awaited 4th of July barbecues. These delightful morsels marry a creamy, tangy yolk filling with a satisfyingly crunchy bacon crumble—an irresistible contrast that will keep your guests coming back for seconds! What makes them even better is their quick prep time, allowing you to make them ahead of time and revel in the festivities stress-free. Are you ready to elevate your appetizer game and bring this crowd-pleaser to your next summer gathering? Let’s dive in!
Why Are Deviled Eggs So Popular?
Classic Deviled Eggs are the ultimate crowd-pleaser! Their creamy, tangy filling pairs perfectly with a smoky, crispy bacon crumble, making for a delightful bite. Quick to prepare, you can whip these up in no time, ensuring you have more moments to chat with guests and enjoy your gathering. Perfect for any summer event, these versatile appetizers can easily adapt to personal tastes—try adding a hint of spice or swapping the bacon for a vegetarian alternative! With their beautiful presentation and easy storage, you can make them ahead of time, leaving you stress-free for your celebration, whether it’s a backyard barbecue or a festive party.
Classic Deviled Eggs Ingredients
For the Filling
• Eggs – Use older eggs for easier peeling, ensuring a smoother finished product.
• Mayonnaise – Adds a luscious creaminess; consider using homemade mayo for an extra flavor boost.
• Dijon Mustard – Provides tanginess that beautifully complements the yolks; yellow mustard works as a substitute.
For the Topping
• Crispy Bacon – Fry until crispy for a crunchy texture and smoky flavor that enhances every bite.
• Paprika – Sprinkle this for a pop of color and a hint of smokiness; it’s optional but highly recommended!
These components come together to create irresistible Classic Deviled Eggs with Crispy Bacon that will be a hit at your next summer gathering!
Step‑by‑Step Instructions for Classic Deviled Eggs with Crispy Bacon
Step 1: Boil the Eggs
Begin by placing your eggs in a saucepan and covering them with cold water, ensuring they are submerged by at least an inch. Bring the water to a gentle boil over medium heat, then cover the pot, reduce the heat to low, and simmer for 10-12 minutes. As they cook, prepare an ice bath in a bowl filled with cold water and ice cubes to quickly halt the cooking process.
Step 2: Cool and Peel the Eggs
Once the eggs have simmered for the designated time, promptly transfer them to the ice bath using a slotted spoon. Allow the eggs to chill for about 5-10 minutes until cool to the touch. This technique helps prevent the formation of greenish yolks. Carefully tap each egg on a hard surface and peel under running water for easier removal of the shells.
Step 3: Slice and Scoop the Yolks
With the eggs peeled, gently slice them in half lengthwise, placing the egg whites on a serving platter. Use a small spoon or the tip of a knife to carefully scoop the yolks into a mixing bowl. Make sure to keep the whites intact for a beautiful presentation. This process sets the stage for creating the creamy filling of the classic deviled eggs.
Step 4: Prepare the Yolk Filling
In the bowl with the yolks, add mayonnaise and Dijon mustard, whisking until the mixture is smooth and creamy. Feel free to adjust the amounts according to your taste preference. For a zestier flavor, you can add salt and pepper to taste. This luscious filling fulfills the classic deviled eggs recipe that everyone loves, ready for the next step.
Step 5: Fill the Egg Whites
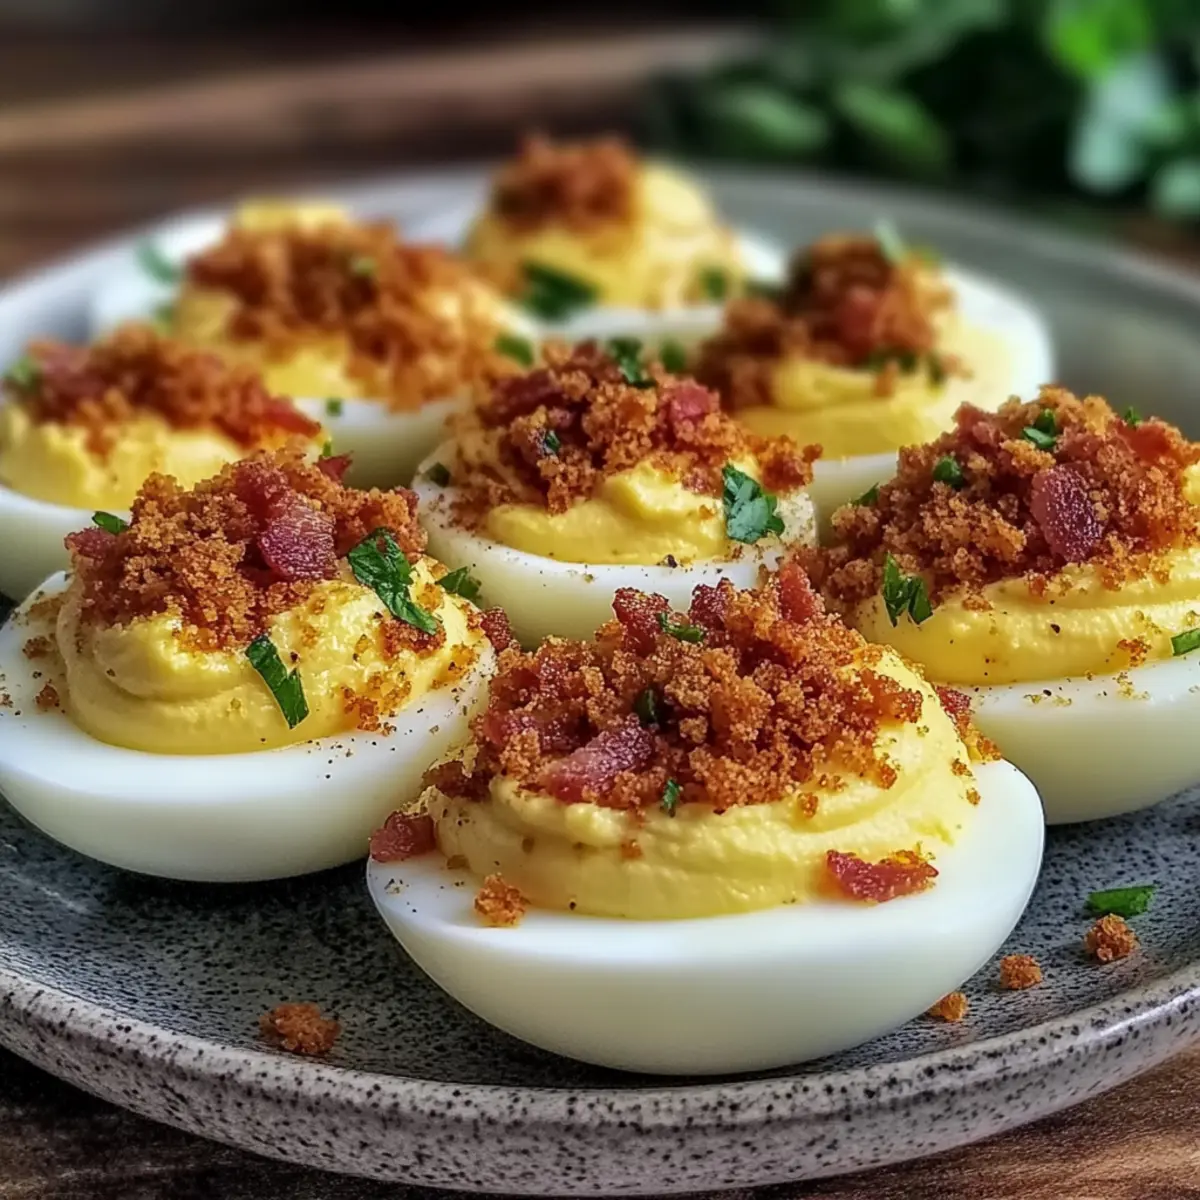
Using a piping bag or a spoon, generously fill each egg white half with the yolk mixture, creating a smooth, rounded mound on top. This is where you can get creative—aim for a rustic look or a more refined presentation, depending on your style. Take a moment to admire the vibrant color of your classic deviled eggs before moving on to the finishing touch.
Step 6: Add Crispy Bacon and Garnish
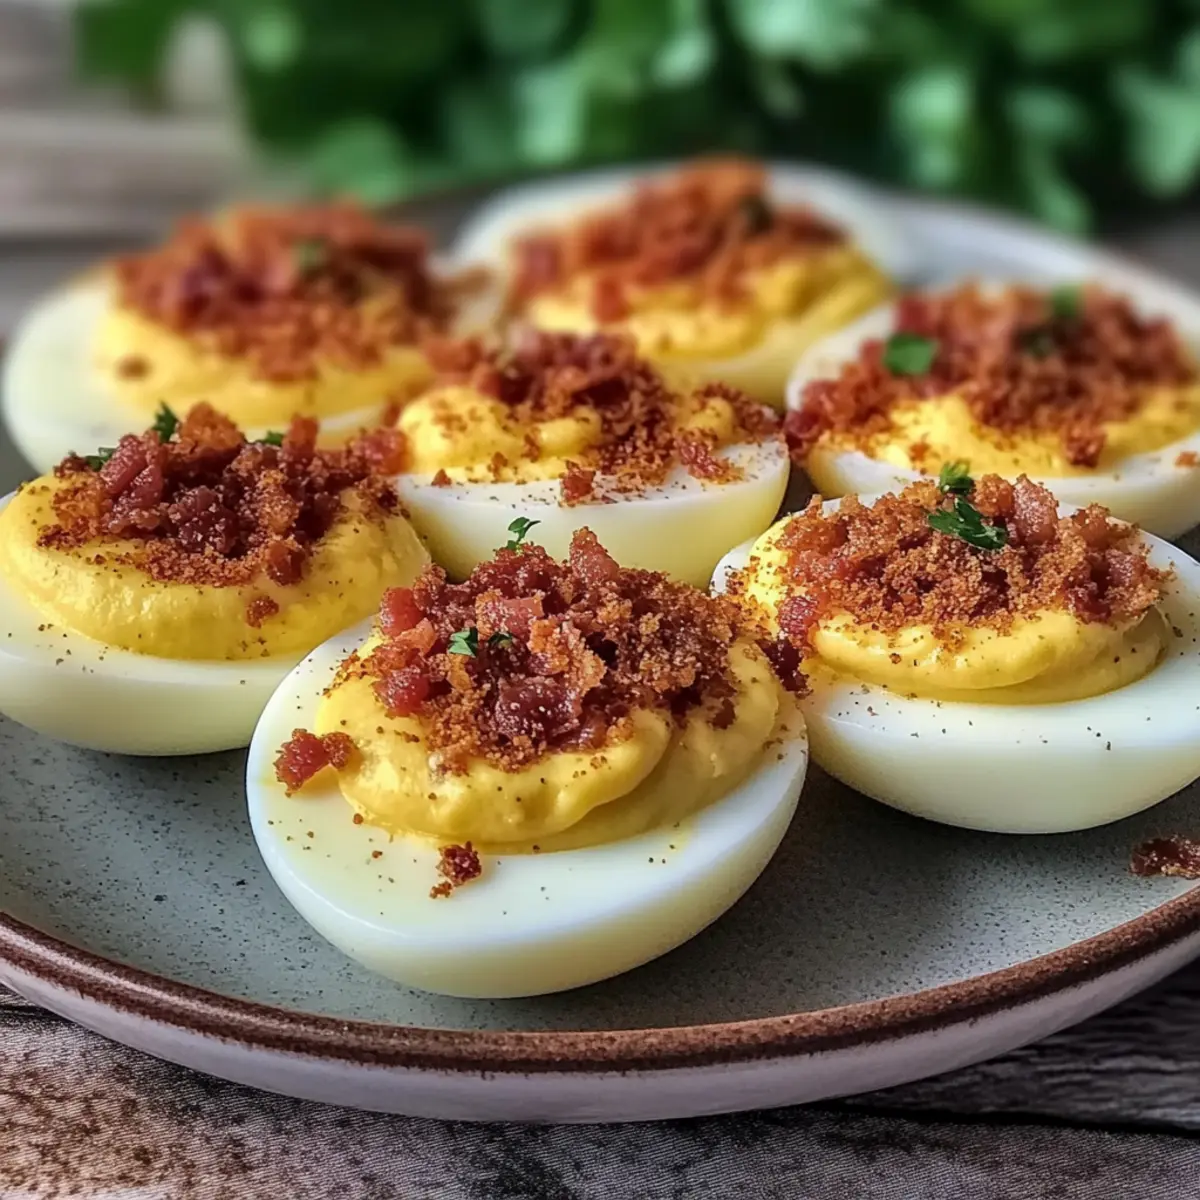
For that delicious contrast, fry bacon strips in a skillet over medium heat until crispy, about 5-7 minutes. Drain on paper towels to remove excess grease, then chop into small bits. Sprinkle the bacon crumble generously atop each filled egg, adding a delightful crunch. For an extra pop of color, consider dusting with paprika if desired, enhancing the appetizing visuals of your classic deviled eggs.
Step 7: Serve or Store
Your classic deviled eggs with crispy bacon are now ready to impress at any gathering! Serve them immediately for the best texture, or cover and refrigerate them until you’re ready to serve. If preparing in advance, store the filled eggs without bacon and add it just before serving to maintain its crispiness. Enjoy the compliments from your friends and family!

How to Store and Freeze Classic Deviled Eggs
Fridge: Store deviled eggs in an airtight container for up to 3 days, ensuring they are covered to prevent drying out. Make sure the crispy bacon is added just before serving to maintain its crunch.
Make-Ahead: You can prepare and peel the eggs a day in advance. Store the yolks and bacon separately to keep everything fresh until it’s time for assembly.
Freezer: It’s not recommended to freeze classic deviled eggs, as the texture of the filling and egg whites can alter. Enjoy them fresh for the best experience!
Reheating: Deviled eggs are best served cold or at room temperature, so there’s no need to reheat them. Just place them on a platter and get ready for compliments!
Expert Tips for Classic Deviled Eggs
• Ice Bath Importance: An ice bath immediately after boiling helps prevent greenish yolks, ensuring a vibrant filling.
• Ingredient Quality: Use high-quality mayonnaise and crispy bacon for the best flavor in your classic deviled eggs. It makes a noticeable difference!
• Filling Consistency: Ensure the yolk mixture is smooth to avoid a lumpy filling. Whisk thoroughly to blend the mayonnaise and mustard perfectly.
• Assemble Right Before Serving: To maintain the bacon’s crunch, only sprinkle it on the eggs just before serving. This keeps every bite delightful!
• Storage Wisdom: If making ahead, store egg whites and the filling separately for optimal freshness. Combine them just a few hours prior to serving.
Make Ahead Options
These Classic Deviled Eggs with Crispy Bacon are perfect for meal prep, making your gatherings stress-free! You can boil and peel the eggs up to 24 hours in advance, storing them in an airtight container in the refrigerator. The yolk mixture can also be prepared ahead of time and stored for up to 3 days, ensuring it’s ready when you are. Just remember to keep the crispy bacon crumble separate until right before serving to maintain its delightful crunch. When it’s time for the party, simply fill the egg whites with the yolk mixture, sprinkle with bacon, and watch your guests enjoy these perfectly creamy, tangy bites!
Classic Deviled Eggs with Crispy Bacon Variations
Feel free to transform these delightful deviled eggs into your own signature dish with these handy variations!
-
Bacon-Free: Replace bacon with toasted breadcrumbs for a delightful crunch without the meat. This gives them a lighter, satisfying texture while preserving that crispy element.
-
Mustard Madness: Try different mustards for a unique flavor twist! Use spicy brown for more heat or honey mustard for a sweet bite; let your taste buds decide!
-
Veggie Delight: For a vegetarian version, substitute bacon with finely chopped roasted red peppers. They bring a beautiful color and sweet flavor that complements the creamy yolk filling.
-
Spicy Kick: Add a pinch of cayenne pepper or a few dashes of hot sauce to the yolk mixture for a delightful kick. This variation can transform your classic deviled eggs into spicy bites that tantalize the senses.
-
Herbal Infusion: Mix in fresh herbs like dill or chives into the yolk filling for a refreshing twist. These fragrant additions can elevate the dish and offer an aromatic experience that enchants your guests.
-
Cheesy Goodness: Incorporate shredded cheese, like sharp cheddar or crumbled feta, into the filling for a cheesy indulgence. This will add creaminess and flavor depth, echoing the rich bacon taste.
-
Savory Tomato: For a surprising twist, top your filled eggs with chopped sun-dried tomatoes instead of bacon. Their tangy sweetness provides a lovely contrast to the creamy yolk.
-
Flavorful Dust: Dust the top with a sprinkle of smoked paprika or everything bagel seasoning for an enticing garnish. These additions not only enhance the visual appeal but also infuse a delightful flavor explosion.
Feeling inspired? These variations can make your classic deviled eggs truly shine on your summer table. And while you’re at it, check out other delicious options like Chili Garlic Deviled or try Feta Fried Eggs for a tasty breakfast twist!
What to Serve with Classic Deviled Eggs with Crispy Bacon?
Elevate your summer gathering with delightful pairings that will complement these creamy, crunchy bites perfectly!
- Crunchy Vegetable Platter: Fresh veggies like carrots, celery, and bell peppers add a crisp contrast, perfect for dipping in a light yogurt dip.
- Vinegar Cucumber Salad: A refreshing twist, this bright salad balances the rich flavors of the deviled eggs, bringing a burst of freshness.
- Garlic Breadsticks: Soft and buttery, these make for a great side, offering a different texture that enhances the overall meal experience.
- Classic Potato Salad: Creamy, hearty, and full of flavor, this salad complements the bacon crumble beautifully for a nostalgic picnic vibe.
- Chilled White Wine: A crisp Sauvignon Blanc pairs nicely, cutting through the richness of the eggs while enhancing their flavors.
- Lemonade or Iced Tea: Refreshing, sweet drinks keep the summer vibe alive, making for a delightful pairing that guests will love.
- Watermelon Feta Salad: Sweet, juicy watermelon juxtaposes the savory deviled eggs, offering a refreshing cleanse between bites.
- Chocolate Chip Cookies: A sweet finish to your meal, these classic cookies appeal to all ages and create a delightful dessert experience!
Classic Deviled Eggs with Crispy Bacon Recipe FAQs
How do I select the best eggs for deviled eggs?
Absolutely use older eggs! They are typically easier to peel compared to fresher ones. Look for eggs that are about a week old for the best peeling results. Fresh eggs tend to stick to the shell, making the process frustrating!
How should I store leftover deviled eggs?
Store your classic deviled eggs in an airtight container in the fridge for up to 3 days. Make sure they are covered to keep them from drying out. If you have leftover bacon, store it separately to maintain its crispy goodness until you’re ready to serve again!
Can I make deviled eggs ahead of time?
Yes, you can! Prepare and peel the eggs a day in advance. Store the yolks mixed with mayonnaise and mustard in an airtight container, and keep the crispy bacon crumble stored separately. Just before serving, assemble the eggs for a fresh taste!
Is it okay to freeze classic deviled eggs?
It’s not recommended to freeze classic deviled eggs. Freezing changes the texture of the filling and egg whites, impacting their creaminess and overall enjoyment. They are best enjoyed fresh, keeping those delightful flavors intact!
What should I do if my filling is too runny?
If your yolk mixture is too runny, try adding a little more mayonnaise or crushed yolk until you achieve a thicker consistency. Alternatively, you can include some finely crushed crackers or breadcrumbs to absorb excess moisture and help with texture.
Are classic deviled eggs safe for pets?
While eggs are generally safe for dogs in moderation, avoid giving them any deviled eggs that contain mayonnaise or mustard, as these can upset their stomach. Always better to stick to plain boiled egg whites if you want to treat your furry friend!
Classic Deviled Eggs with Crispy Bacon for Your Summer Bash
Ingredients
Equipment
Method
- Begin by placing your eggs in a saucepan and covering them with cold water. Bring to a boil, cover, reduce heat and simmer for 10-12 minutes.
- Transfer the eggs to an ice bath using a slotted spoon and allow to chill for 5-10 minutes.
- Gently slice the eggs in half lengthwise and scoop the yolks into a mixing bowl.
- Add mayonnaise and Dijon mustard to the yolks and whisk until smooth.
- Fill each egg white half with the yolk mixture using a piping bag or spoon.
- Fry bacon strips until crispy, chop, and sprinkle atop each filled egg. Optionally dust with paprika.
- Serve immediately or refrigerate until ready to serve, adding bacon just before serving to maintain crunch.
Leave a Reply