
As I stood in my kitchen, the warm sunlight streaming through the window, I couldn’t help but smile at the sight of my latest creation: mouthwatering No-Bake Peanut Butter Chocolate Chip Granola Bars. You know that feeling when a simple combination of ingredients transforms into something extraordinary? That’s exactly what happens here. These bars are not only quick to whip up but also pack in a delightful mix of crunch and chewiness, making them the perfect healthy snack for busy days or a hit in lunchboxes. Plus, they’re gluten-free, so everyone can enjoy this tasty treat without worrying about dietary restrictions. Ready to indulge in a quick and nutritious homemade snack that your taste buds (and your friends) will thank you for? Let’s dive into the recipe!
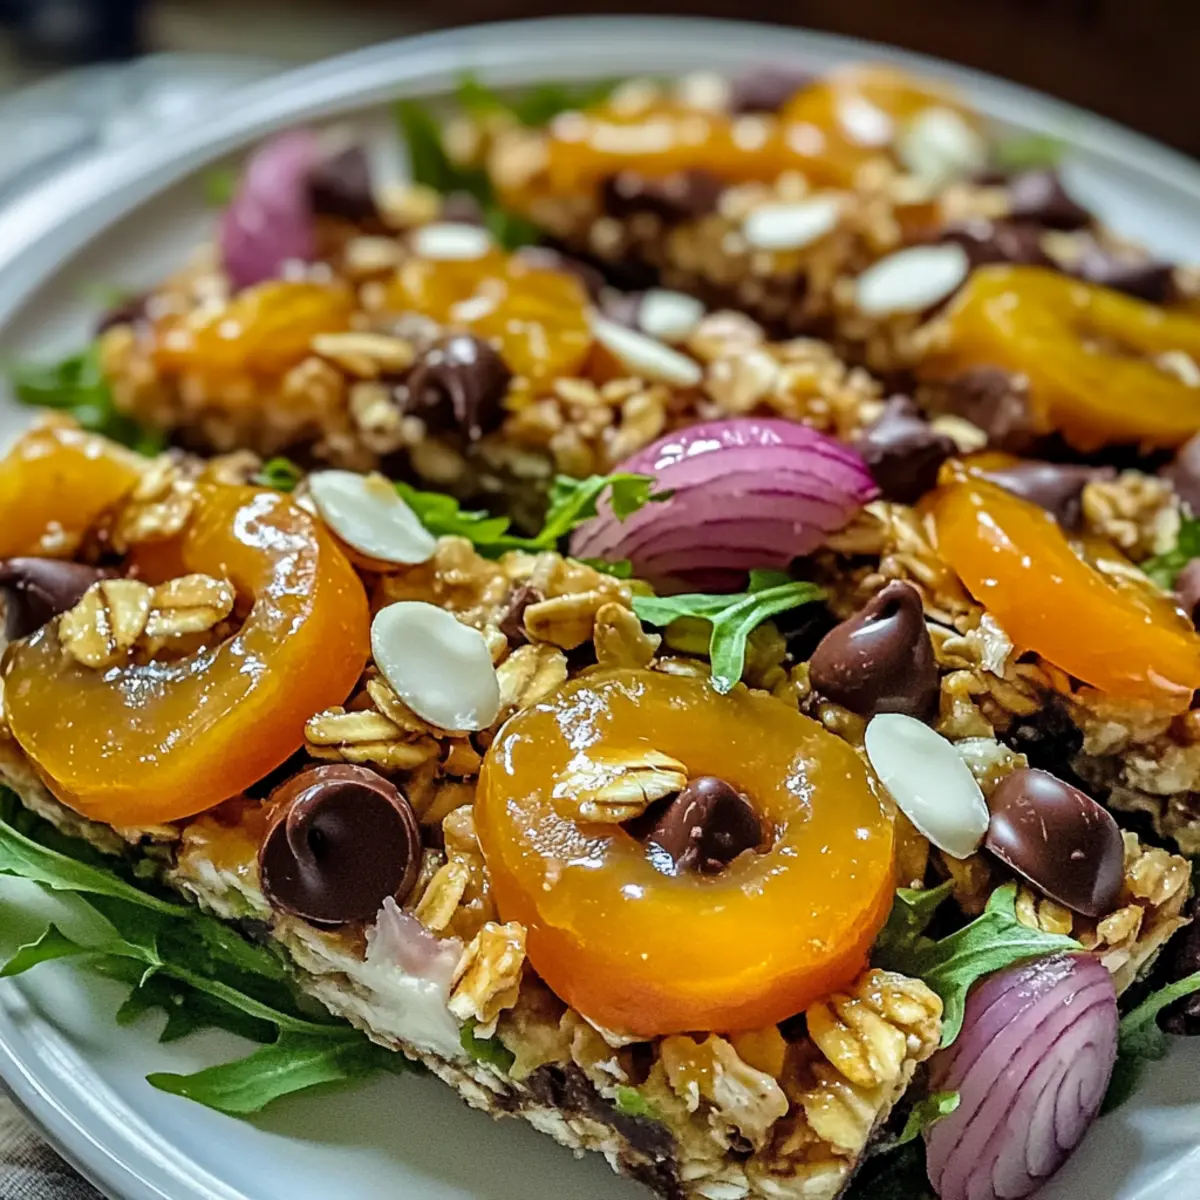
Why Make No-Bake Granola Bars?
Quick Preparation: These bars come together in minutes, making them perfect for busy schedules.
Customizable Options: Tailor them to your taste by adding your favorite nuts, seeds, or even dried fruits, just like in my delicious Street Corn Salad.
Nutritious Snack: Packed with fiber and protein, they provide a healthy alternative to store-bought snacks.
Family-Friendly: Whether for breakfast or an after-school treat, these granola bars are sure to be a crowd-pleaser!
Versatile Storage: Keep them in the fridge for up to two weeks or freeze them for those unplanned snacking cravings. Try serving with yogurt, or for more scrumptious ideas, check out my Salami Mozzarella Salad for a full meal!
No-Bake Granola Bar Ingredients
Unleash your creativity with these delightful bars!
For the Base
• Oats – The foundation for structure and texture; choose rolled oats for a chewier bite.
• Peanut Butter – Adds a rich flavor and binds ingredients; swap in almond or sunflower butter if needed.
• Honey (or Maple Syrup) – This natural sweetener keeps bars moist; agave syrup works for a vegan alternative.
For the Sweetness
• Chocolate Chips – These add sweetness and delicious flavor; dark chocolate or carob chips can offer a healthier twist.
• Salt – Enhances all the flavors; just a pinch will do!
For the Crunch
• Nuts/Seeds (optional) – Ensure extra crunch and nutrition; opt for almonds, walnuts, or pumpkin seeds based on your preference.
This flavorful no-bake granola bar recipe is perfect for creating quick, tasty snacks that effortlessly brighten your day!
Step‑by‑Step Instructions for No-Bake Peanut Butter Chocolate Chip Granola Bars
Step 1: Combine Dry Ingredients
In a large mixing bowl, combine 2 cups of rolled oats with any optional nuts or seeds you choose. Use a spatula to mix them together for an even distribution, ensuring you see those hearty oats blending with the crunchy bits. This takes about 2 minutes and sets a solid foundation for your no-bake peanut butter chocolate chip granola bars.
Step 2: Mix Wet Ingredients
In a separate medium bowl, stir together 1 cup of peanut butter, 1/2 cup of honey, and a pinch of salt. Use a whisk or fork to blend the ingredients until the mixture is smooth and creamy. This should take about 3-4 minutes, and you want to ensure there are no clumps remaining so that the flavors meld perfectly when combined with the dry ingredients.
Step 3: Combine
Pour the smooth wet mixture over the dry ingredients in the large bowl. Using a spatula, mix until all the oats and any additional nuts or seeds are completely coated, achieving a sticky consistency. It should take about 2-3 minutes of thorough mixing to ensure that every bit of dry mix is well incorporated into the wet ingredients.
Step 4: Press into Pan
Prepare an 8×8 inch baking dish by lining it with parchment paper. Pour the granola mixture into the lined dish and use your hands or a spatula to press it down firmly. Aim for an even layer that’s about 1-2 inches thick. This important step takes about 5 minutes and ensures that your no-bake granola bars will hold together beautifully once set.
Step 5: Chill
Place the baking dish in the refrigerator and allow it to chill for at least 1 hour. This period helps the mixture firm up, making it easier to cut into bars later. You’ll know it’s ready when it feels solid to the touch, which should take about 60 minutes.
Step 6: Slice and Serve
Once your no-bake peanut butter chocolate chip granola bars are firm, remove the dish from the fridge and lift them out using the parchment paper. Use a sharp knife to cut them into rectangular bars. Aim for about 12 bars, depending on your desired size. These bars are now ready to be enjoyed—perfect for snacking or a portable breakfast!
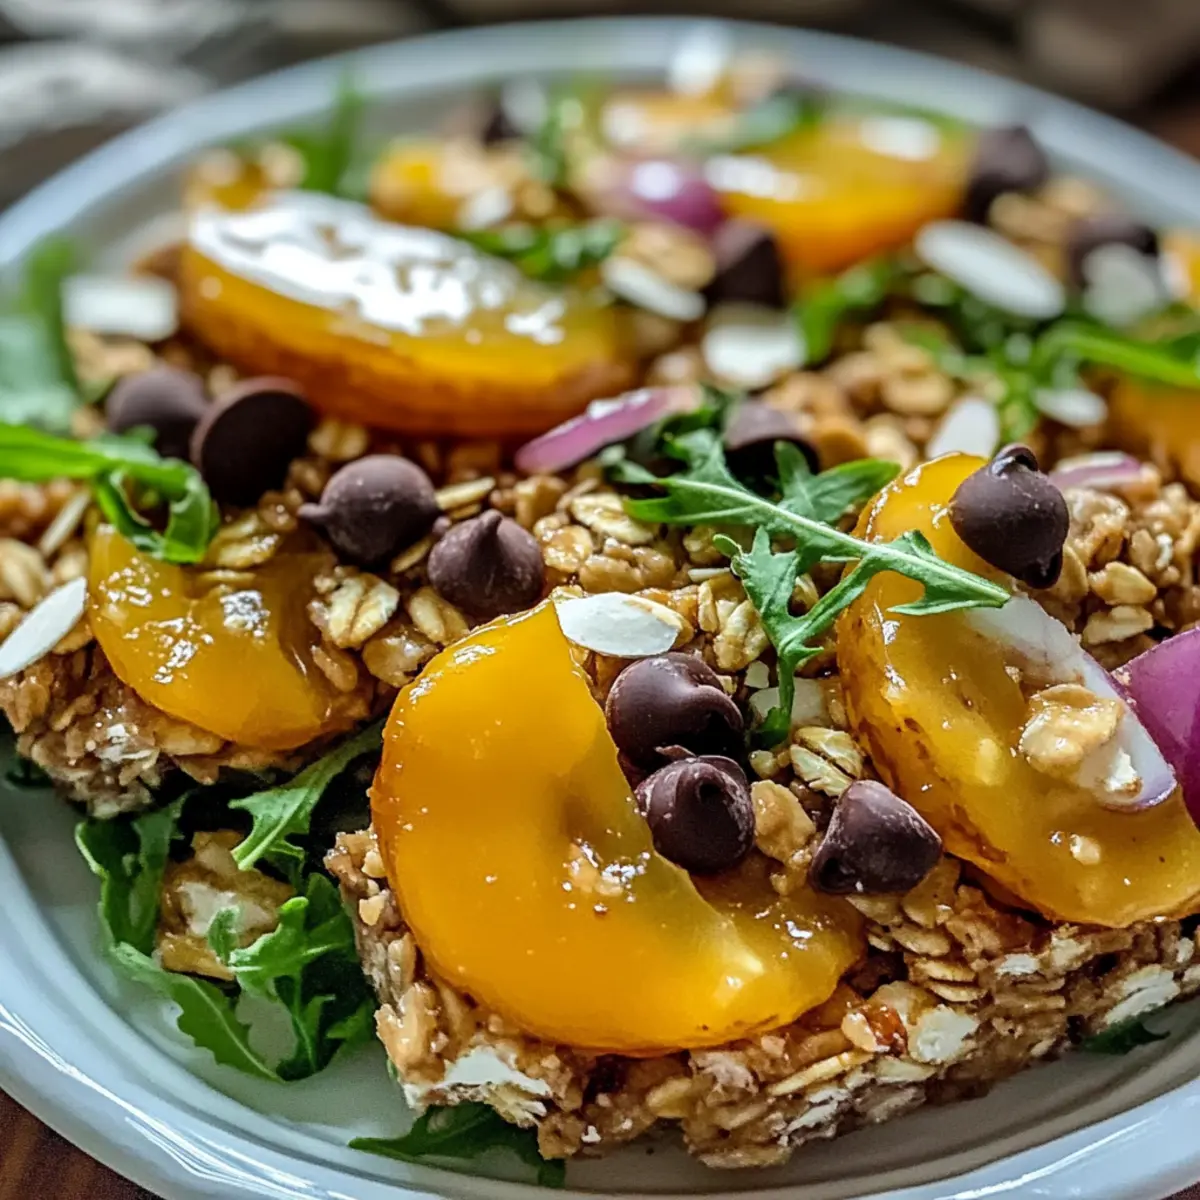
Make Ahead Options
These No-Bake Peanut Butter Chocolate Chip Granola Bars are a dream for busy home cooks looking to save time during hectic weeks! You can easily prepare the mixture up to 24 hours in advance—just follow the steps to combine and press into the baking dish, then cover tightly and refrigerate. This method not only allows the flavors to meld beautifully, but it also helps maintain their chewy texture. When you’re ready to enjoy, simply slice and serve right after refrigerating for that refreshing, snack-ready goodness. For longer storage, you can freeze the sliced bars for up to 3 months; just thaw them in the fridge overnight before serving for delightful snack options!
Expert Tips for No-Bake Granola Bars
• Press Firmly: Ensure to press the mixture tightly into the pan. This crucial step helps the bars hold together beautifully after chilling.
• Customize Wisely: Feel free to adjust the amount of oats or nuts based on your texture preference. Just remember that more nuts may lead to a looser structure.
• Storage Secrets: Store your no-bake granola bars in an airtight container to maintain freshness. For longer storage, freeze them to have a ready-to-go snack at hand!
• Sweetness Balance: When adding chocolate chips, consider the sweetness of your nut butter and honey. You may want to reduce added sweeteners to avoid overly sweet bars.
• Add More Layers: Try incorporating dried fruits or seeds into the mixture for extra flavor and nutrition. Just cut back a bit on the oats to keep the balance.
How to Store and Freeze No-Bake Granola Bars
Fridge: Store the granola bars in an airtight container in the refrigerator for up to 2 weeks to maintain their fresher taste and chewy texture.
Freezer: For longer-term storage, freeze the bars individually wrapped in plastic wrap or in an airtight container for up to 3 months.
Thawing: When ready to enjoy, simply remove the desired amount from the freezer and let them thaw at room temperature for about 15-20 minutes.
Reheating: If you prefer them warm, gently microwave each bar for 10-15 seconds to bring back that delightful melty chocolate goodness.
What to Serve with No-Bake Peanut Butter Chocolate Chip Granola Bars
Pair your delightful homemade bars with these tasty companions to elevate your snack experience!
-
Creamy Yogurt: A dollop of Greek yogurt adds a tangy contrast that complements the sweetness and provides a protein-rich boost.
-
Fresh Berries: Juicy strawberries or blueberries brighten the plate, adding a fresh pop and natural sweetness that harmonizes beautifully.
-
Nutty Trail Mix: Combine crunchy nuts and seeds for extra texture. It brings delightful contrasts in flavor and satisfies that midday crunch craving.
-
Sliced Apples with Cinnamon: Crisp apple slices dusted with cinnamon create a refreshing pairing. The sweet and spicy notes mesh wonderfully with the bars.
-
Iced Green Tea: This refreshing drink complements the nutty flavor, offering a light finish that balances the bars’ richness. Serve it over ice for a cooling treat.
-
Honey Drizzle: A light drizzle of honey enhances the flavor of the bars, making for an irresistible sweetener that ties everything together. Enjoy it as a dipping option too!
Variations & Substitutions for No-Bake Granola Bars
Get ready to put your unique spin on these delightful no-bake granola bars, making them even more tempting and tailored to your taste!
-
Nut-Free: Swap peanut butter for sunflower seed butter, ensuring a nut-free treat that’s just as delicious.
-
Sweeten Up: Substitute honey or maple syrup with agave syrup for a vegan-friendly option, keeping the bars sweet and moist.
-
Fruit Boost: Mix in dried fruit like cranberries or apricots to add a burst of natural sweetness and extra chew, making each bite delightful.
-
Spice It Up: Incorporate a dash of cinnamon or a splash of vanilla extract to elevate the flavor profile and add warm, comforting notes.
-
Chocolate Lovers: Try using dark chocolate or carob chips instead of standard chocolate chips for a healthier indulgence without sacrificing taste.
-
Protein Punch: Add your favorite protein powder to the dry mix for an extra nutritional kick—just remember to adjust the wet ingredients slightly for consistency.
-
Crunch Factor: Experiment with different nuts or seeds! Almonds, walnuts, or chia seeds can each bring a unique texture and flavor, making the bars irresistible.
-
Baked Option: If you’re up for it, bake the mixture at a low temperature for about 15-20 minutes; the result is a delightful twist that adds a crispy texture, just like my yummy Sandwich Pasta Salad brings to your meal!
Embrace your creativity and make this recipe your own—there’s no limit to the tasty combinations you can explore!
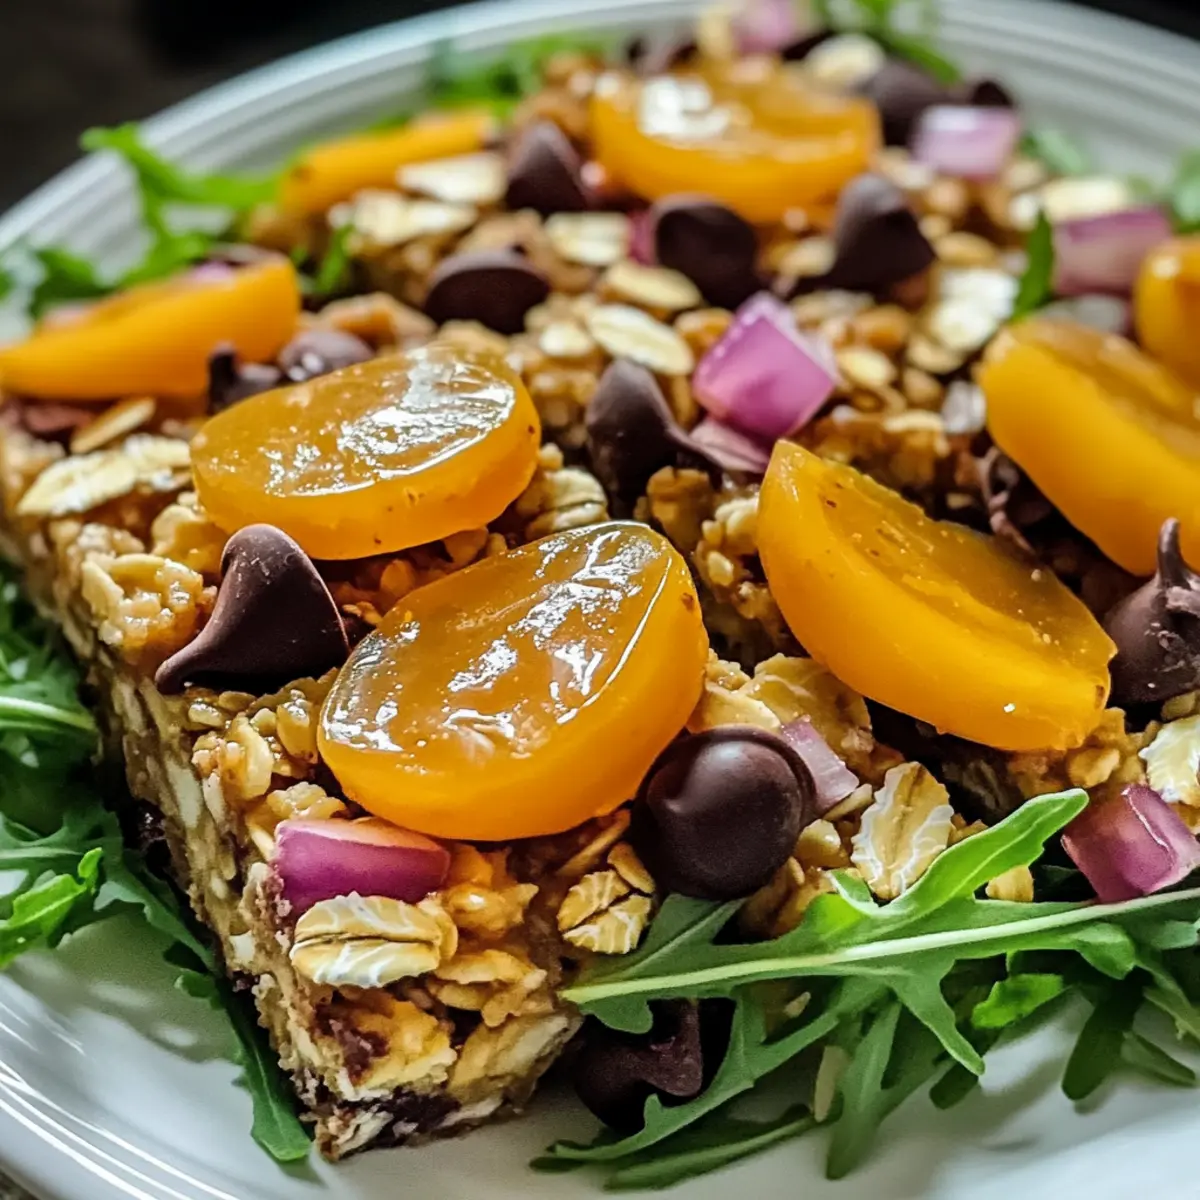
No-Bake Peanut Butter Chocolate Chip Granola Bars Recipe FAQs
What kind of oats should I use for granola bars?
Absolutely! Rolled oats are the best choice for these granola bars as they provide a delightful chewy texture. Quick oats can lead to a softer bar, while steel-cut oats won’t bind well. For the perfect balance, stick with rolled oats!
How should I store my granola bars?
Great question! Store your no-bake granola bars in an airtight container in the fridge for up to 2 weeks. This keeps them fresh and maintains that wonderful chewy texture. If you’re planning to keep them longer, stick to the freezer for up to 3 months.
Can I freeze my no-bake granola bars?
Yes! To freeze them, wrap each bar individually in plastic wrap or place them in an airtight container. They can stay frozen for up to 3 months. When you’re ready to enjoy a bar, allow it to thaw at room temperature for about 15-20 minutes.
What if my granola bars are too crumbly?
If you find your bars are too crumbly, it may be due to not pressing the mixture tightly enough into the pan or not enough binding ingredients. To fix this, feel free to add a bit more peanut butter or honey until you reach a sticky consistency. You can also try adding a small amount of water to help them bind better.
Are these granola bars safe for kids with allergies?
Very much so! These granola bars can be tailored to meet various dietary needs. For nut allergies, substitute peanut butter with sunflower seed butter or another nut-free alternative. Be sure to check any chocolate chips or add-ins for allergen warnings. It’s all about making the recipe work for your family!
How can I customize my granola bars?
The more the merrier! You can easily customize your granola bars by adding your favorite nuts, seeds, or dried fruits. Try cranberries, apricots, or even a sprinkle of cinnamon for an extra flavor kick! Just ensure that any additions don’t overpower the binding ratio so the bars hold together well.
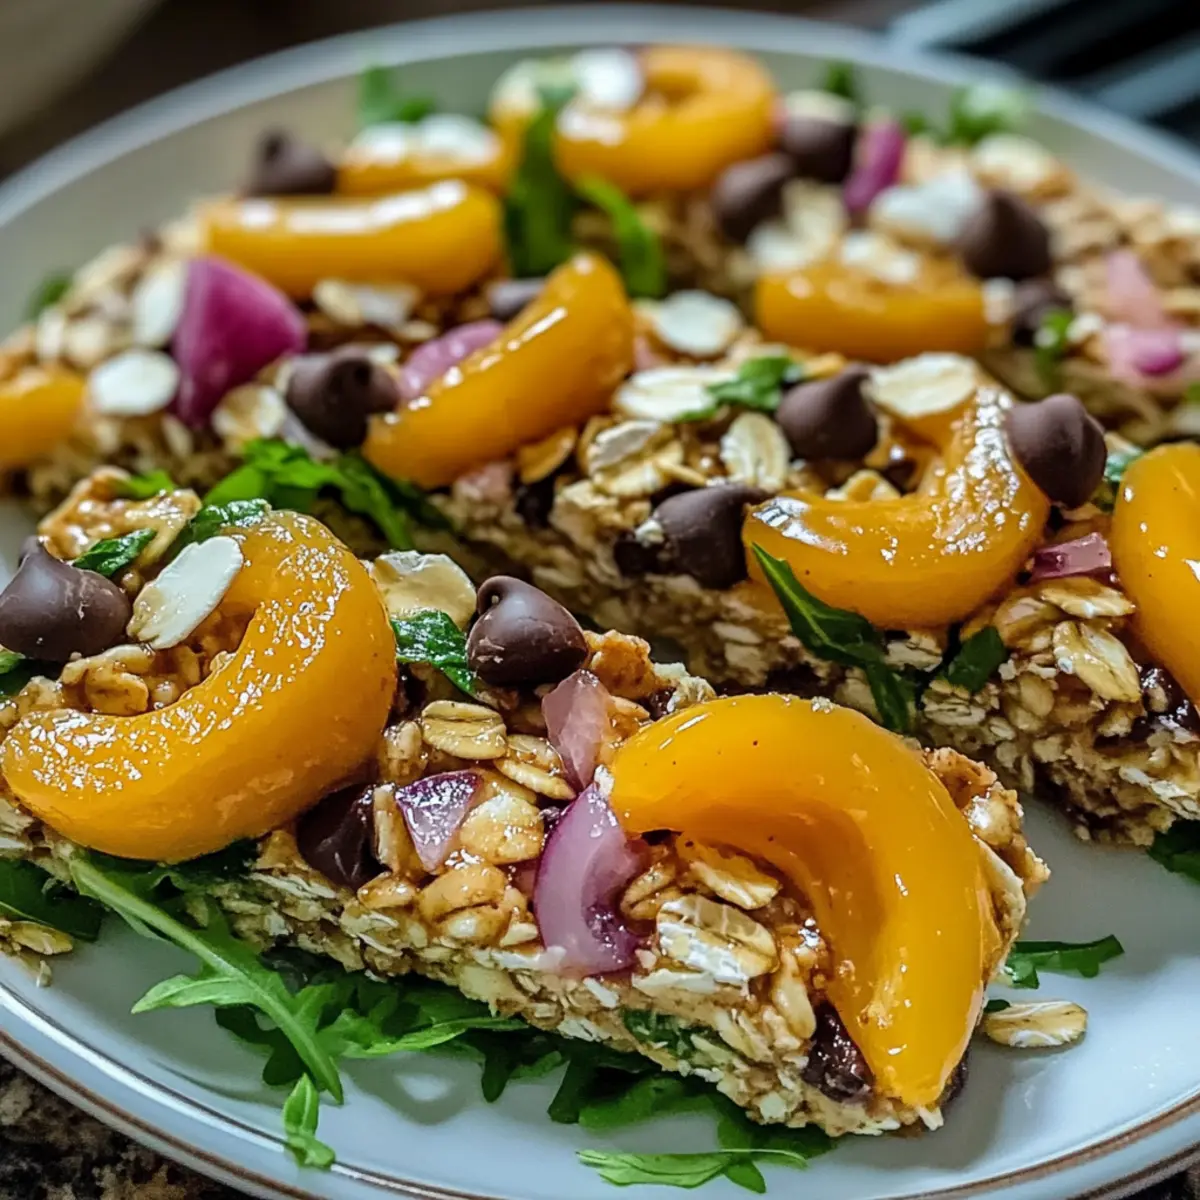
Peach Arugula Salad: A Refreshing Summer Delight
Ingredients
Equipment
Method
- In a large mixing bowl, combine rolled oats with any optional nuts or seeds, mixing evenly.
- In a separate medium bowl, mix peanut butter, honey, and salt until smooth.
- Pour wet mixture over dry ingredients and mix until fully coated.
- Press mixture into a lined baking dish to form an even layer about 1-2 inches thick.
- Chill in the refrigerator for at least 1 hour to set.
- Slice into bars and serve.
Leave a Reply